 Nederland (Nederlands)
 België
 Deutschland
 Finland
 Ireland
 Luxembourg
 Portugal
 Poland
 Österreich
 France
 España
 Italia
 Sverige
 Danmark
Hoe bepaal ik mijn juiste zadelhoogte voor de racefiets?
De juiste zadelhoogte en zadelpositie zijn essentieel voor een fijne en blessurevrije tijd op de racefiets. Maar hoe weet je nu hoe hoog jouw fietszadel moet staan? En hoe bepaal je hoe ver de setback moet zijn?
Je kunt op diverse manieren bepalen wat jouw juiste zadelhoogte en setback is op de racefiets. In deze blog gebruiken we de drie meeste gebruikte manieren om de zadelhoogte voor je racefiets te bepalen. En we laten je ook zien hoe je de setback van je fietszadel goed in kunt stellen.
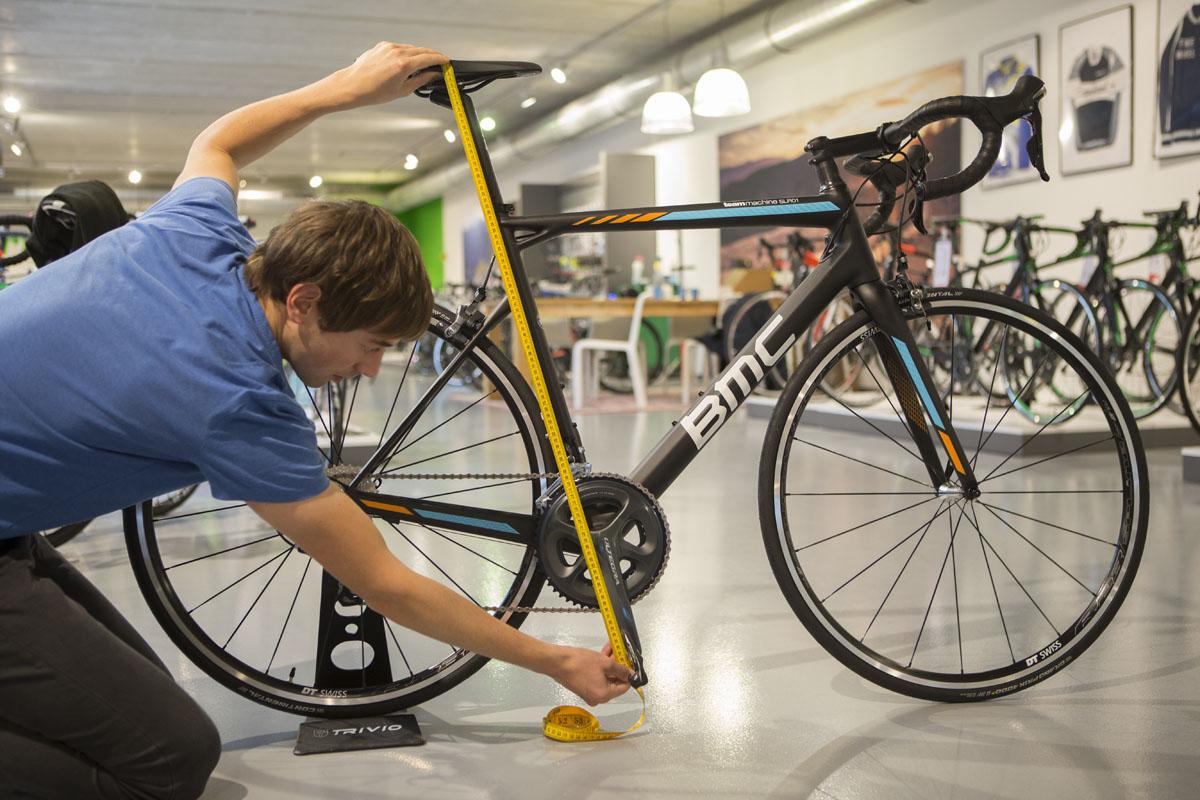
Voordat je je fietszadel in hoogte gaat verstellen doe je er goed aan eerst te meten hoe hoog je zadel nu eigenlijk staat. Als je namelijk aanpassingen gaat doen, dan is het wel zo fijn om te weten hoe hoog of laag je zadel eerst stond.
Bij het meten van de zadelhoogte moet je allereerst je crankarm in het verlengde van de zitbuis zetten. Meet dan vanaf het midden van je pedaalas tot de bovenkant van je zadel. Schrijf altijd jouw zadelhoogte op tot op de millimeter precies.

Als het fietszadel van je racefiets te hoog of te laag staat kan dat allerlei klachten veroorzaken. Van pijnlijke knieën tot nek- en rugklachten. Krijg je na een eventuele aanpassing verergerde klachten of nieuwe klachten? Dan weet je in ieder geval hoe hoog je zadel eerst stond en kun je hem weer terugzetten.
Drie manieren op je zadelhoogte te bepalen
Hiel-methode
De hiel-methode wordt door heel veel wielrenners gebruikt om de zadelhoogte te bepalen. Dit is een makkelijke en snelle manier om te kijken of je racefiets zadel op de goede hoogte staat. Maar dit is ook de minst precieze methode.
Stap 1
Ga naast je racefiets staan en zet je zadel ongeveer op heuphoogte.
Stap 2
Ga zitten op je zadel en zet je hiel op je pedaal. Zorg er voor dat je crankarm wel in het verlengde staat van je zitbuis.
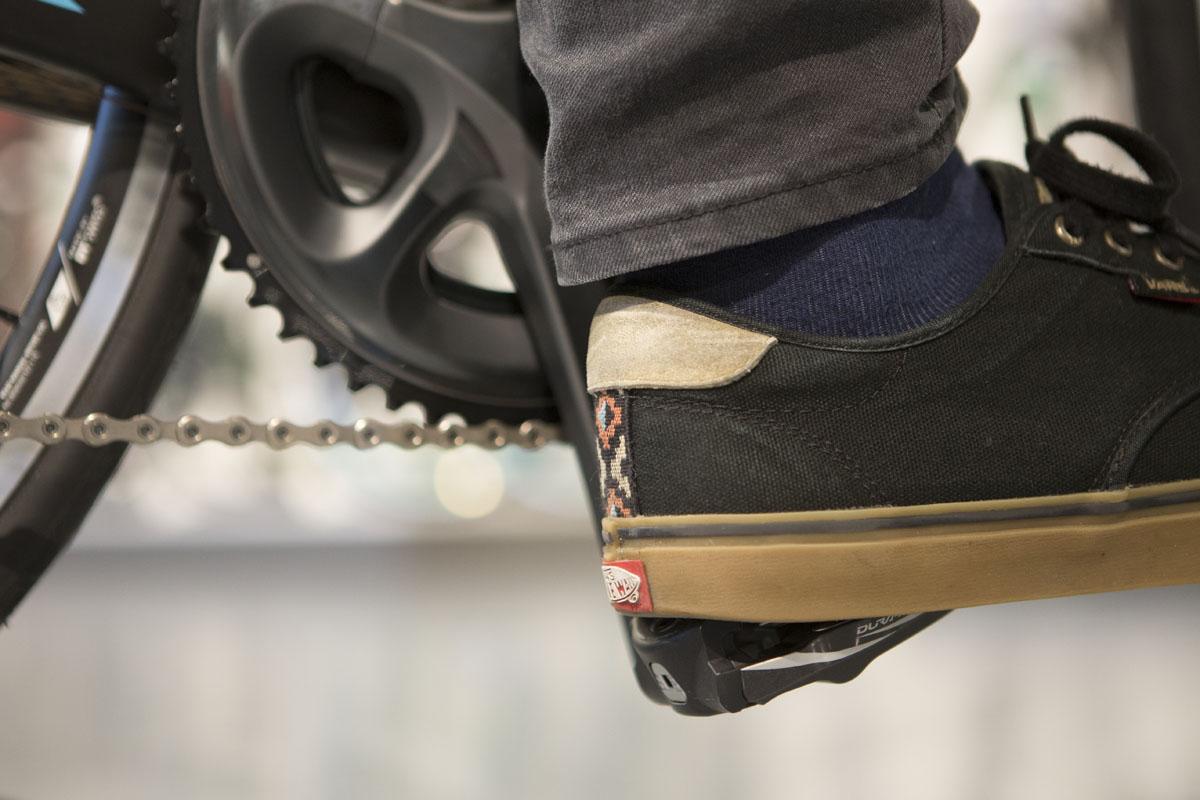
Stap 3

Je zadelhoogte is goed wanneer je je been comfortabel kunt strekken. Dus recht houden, zonder dat je hem overstrekt.
De 109%-methode
Met de 109% methode krijg je een heel precies resultaat. Hiermee krijg je dus officieel een betere uitkomst dan wanneer je alleen de hiel-methode toepast.
Stap 1
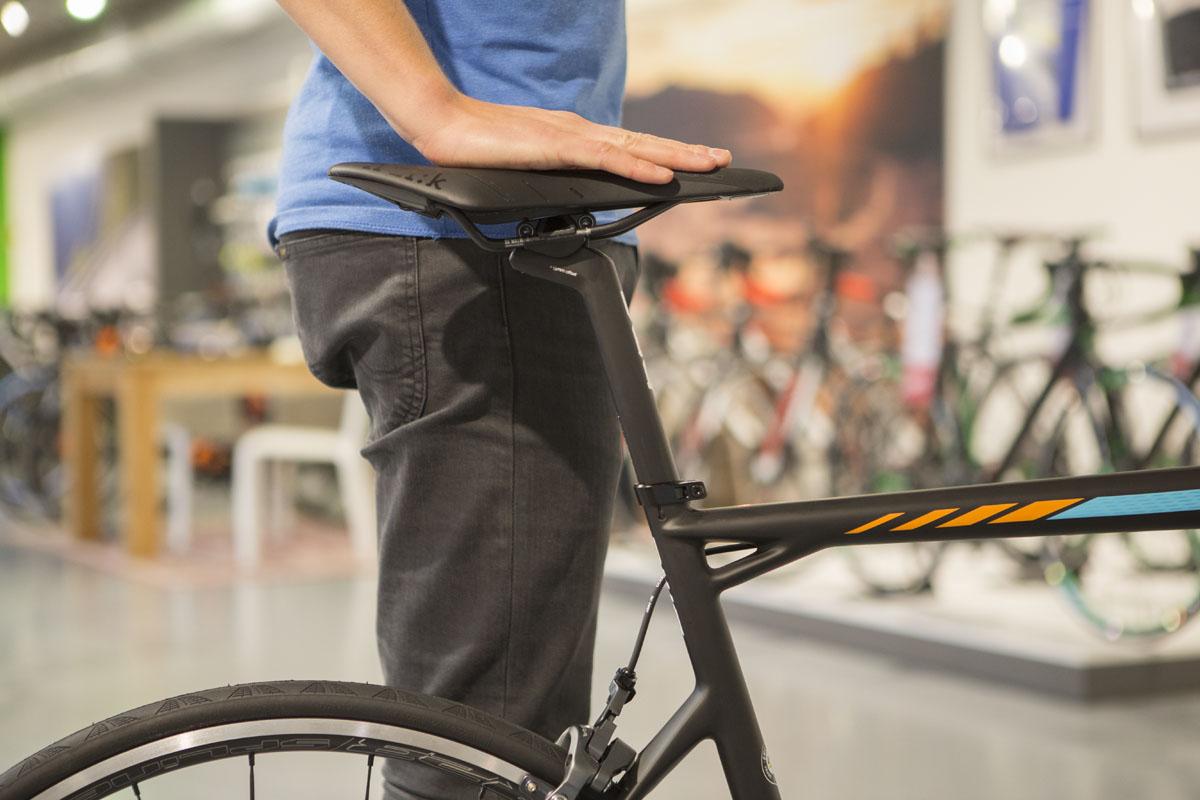
Ga zonder schoenen tegen een muur staan met een dik boek tussen je benen. Duw het boek goed omhoog, het mag best net wat oncomfortabel aanvoelen in je kruis.

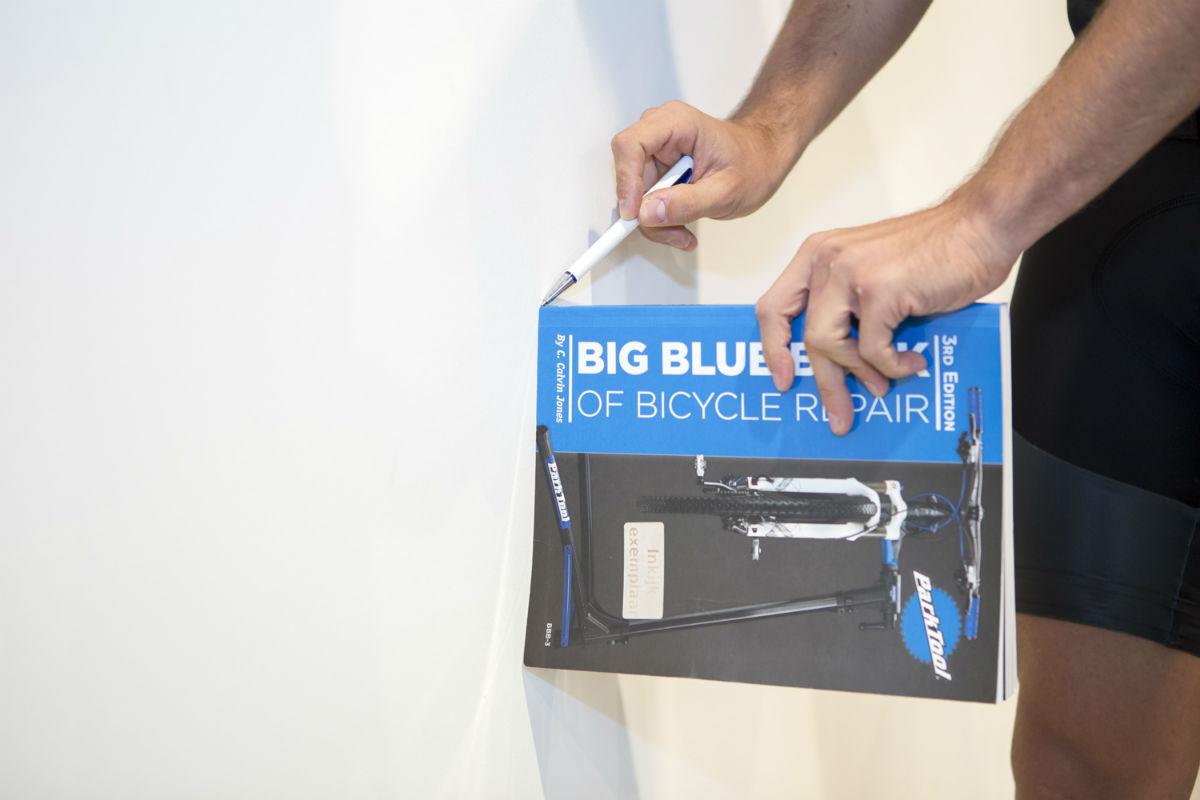
Stap 2
Trek nu met een potlood een streepje op de muur, langs de bovenkant van het boek. Deze markering geeft de hoogte aan van jouw binnenbeenlengte.
Stap 3
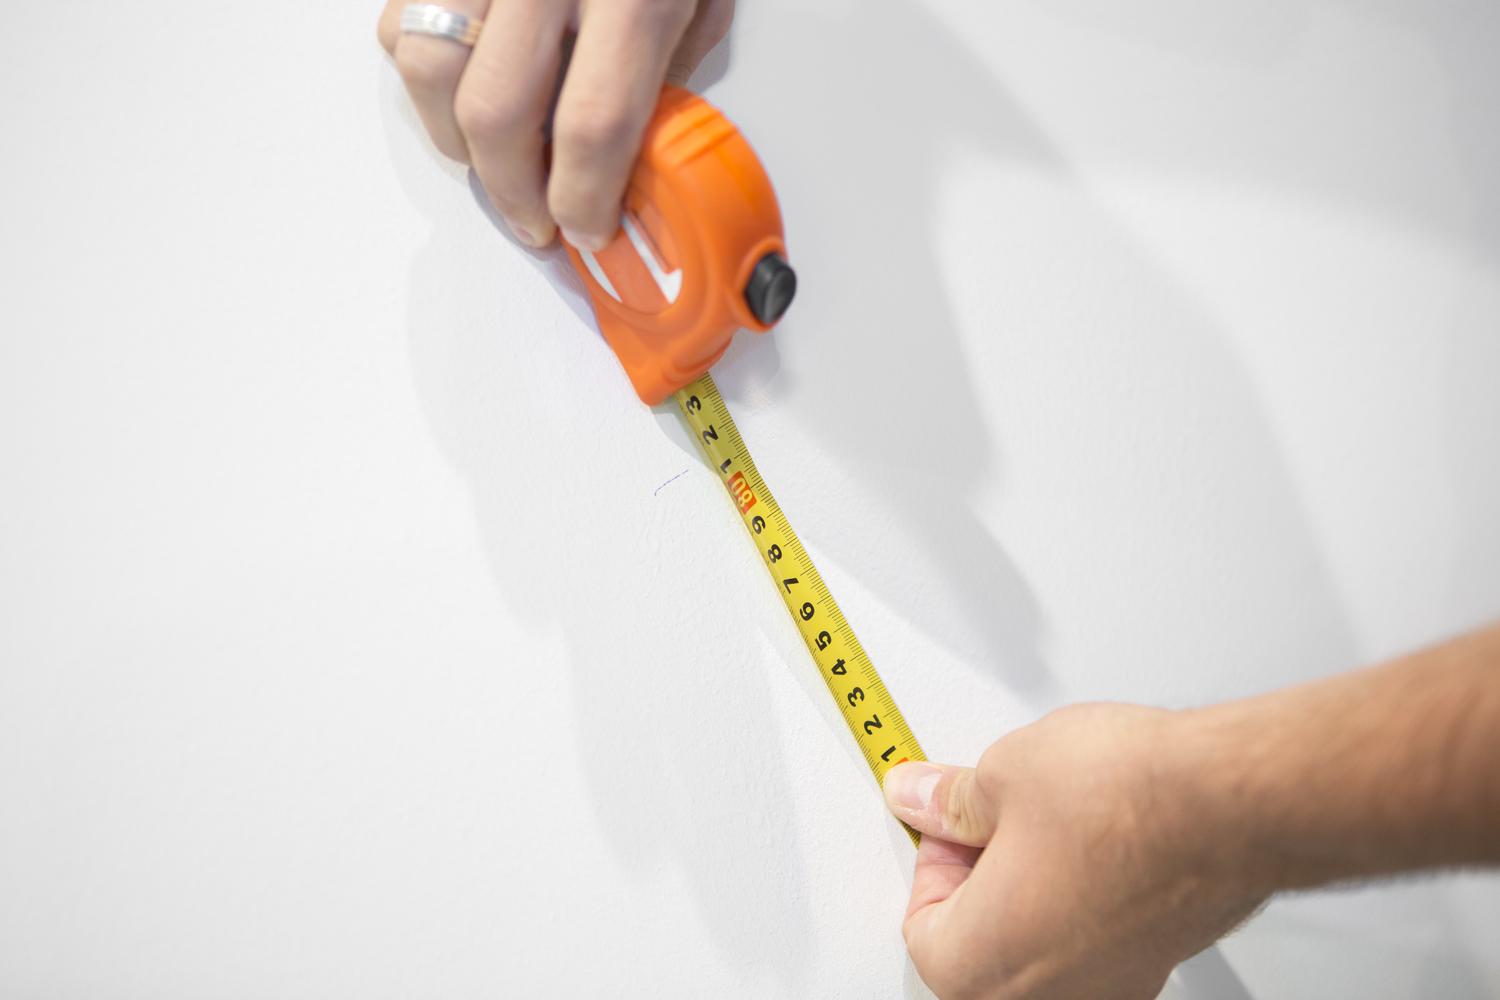
Meet nu de afstand in millimeters nauwkeurig de afstand van jouw markeerpunt tot aan de grond. Dit is je binnenbeenlengte.
Stap 4
Het berekenen van je ideale zadelhoogte aan de hand van je binnenbeenlengte is eenvoudig. Gemiddeld geldt dat jouw zadelhoogte 109% moet zijn van je binnenbeenlengte. Op de rekenmachine kun je dan jouw binnenbeenlengte in millimeters vermenigvuldigen met 1,09.

Het eindresultaat is jouw zadelhoogte in millimeters.
De Holmes methode
De laatste manier om je zadelhoogte te bepalen is de Holmes-methode. Deze is een stuk preciezer omdat je hier ook rekening houdt met hoe je je voeten op de pedalen zet. Bij de eerste twee methoden wordt hier niet naar gekeken.
Volgens de Holmes-methode is de optimale hoek van je knie ergens tussen de 25 en 35 graden. Die hoek is het verschil tussen je bovenbeen en je onderbeen als je pedaal zich in de laagste positie bevindt. Heb je veel last van je knie? Dan zou die waarde dichterbij de 25 moeten uitkomen.
Dit kun je ook zelf vrij goed bepalen. Maar je hebt dan wel een fietstrainer of rollerbank nodig en een behulpzame vriend(in) die je kan filmen.
Stap 1
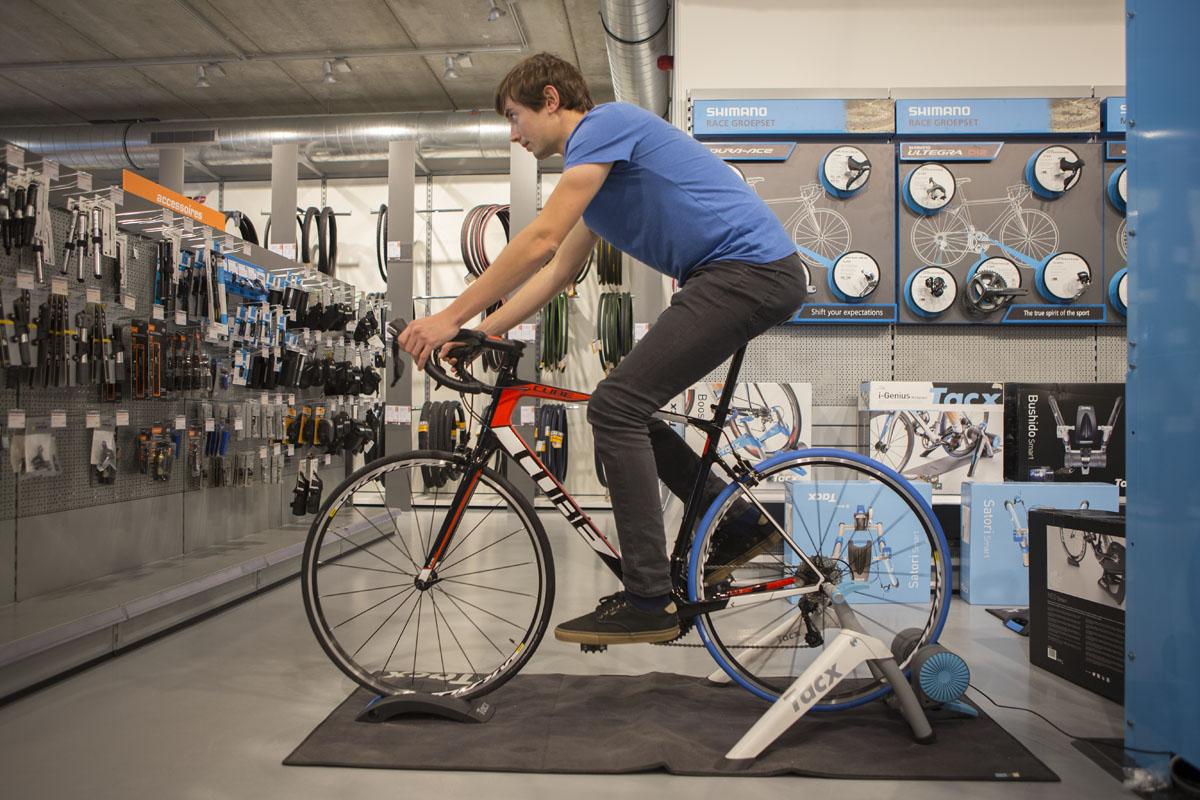
Zet je fiets op de fietstrainer en begin met trappen.
Stap 2
Laat je van de zijkant filmen terwijl je op de fietstrainer fietst. Neem een minuut of iets langer op zodat je meerdere keren kunt meten.

Stap 3
Bekijk de opnames terug en pauzeer de beelden wanneer je pedaal zich in de laagste positie bevindt. Pak een geodriehoek erbij om de hoek/helling van je knie te meten.
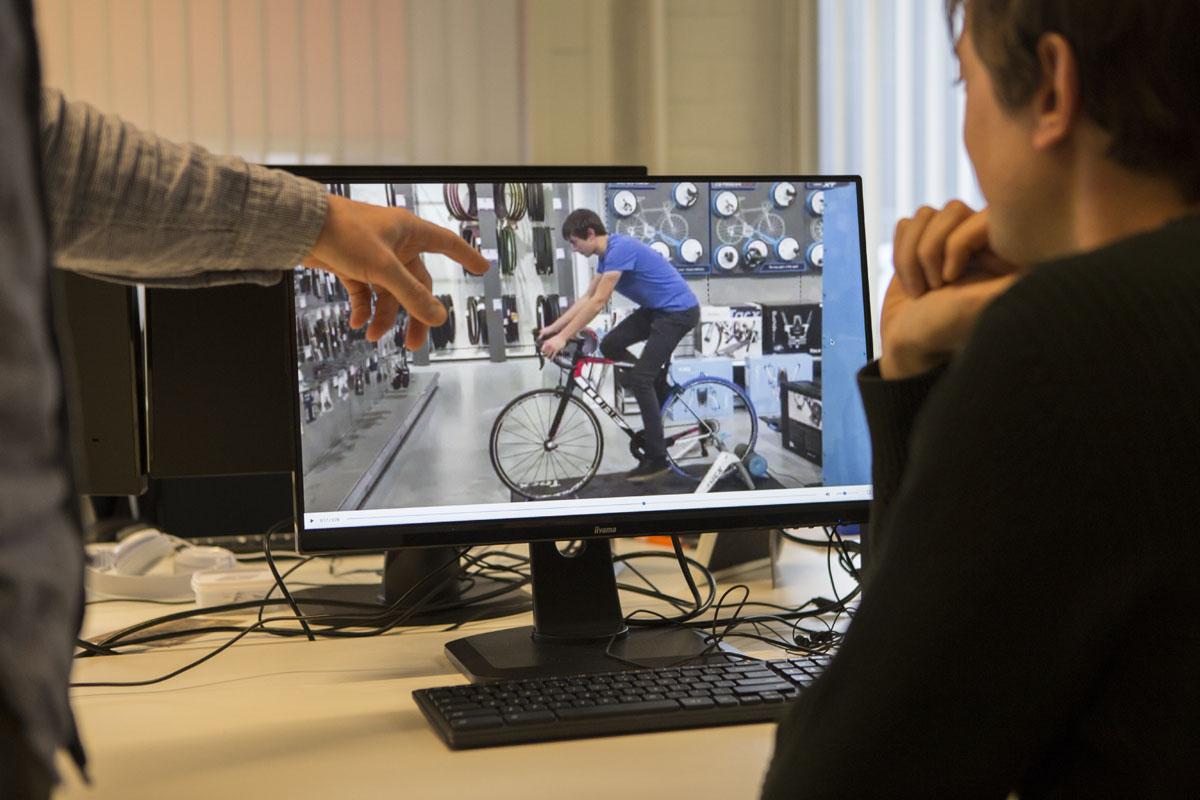
Is de hoek groter dan 35 graden? Dan moet je zadel omhoog. Is je hoek lager dan 25 graden? Dan moet je zadel wat naar beneden.
Setback van je zadel - de horizontale positie
Als je eenmaal de juiste zadelhoogte hebt ingesteld is het ook belangrijk om te kijken of je zadel niet te ver naar voren of achter staat. Deze horizontale positie van je fietszadel wordt de setback genoemd.
Je kunt de setback van je zadel bepalen met alleen een touwtje met een gewichtje eraan.
Stap 1
Ga op je fiets zitten en houd de pedalen horizontaal.

Stap 2
Hang het touwtje vanaf de voorkant van de knie van je voorste been naar beneden.
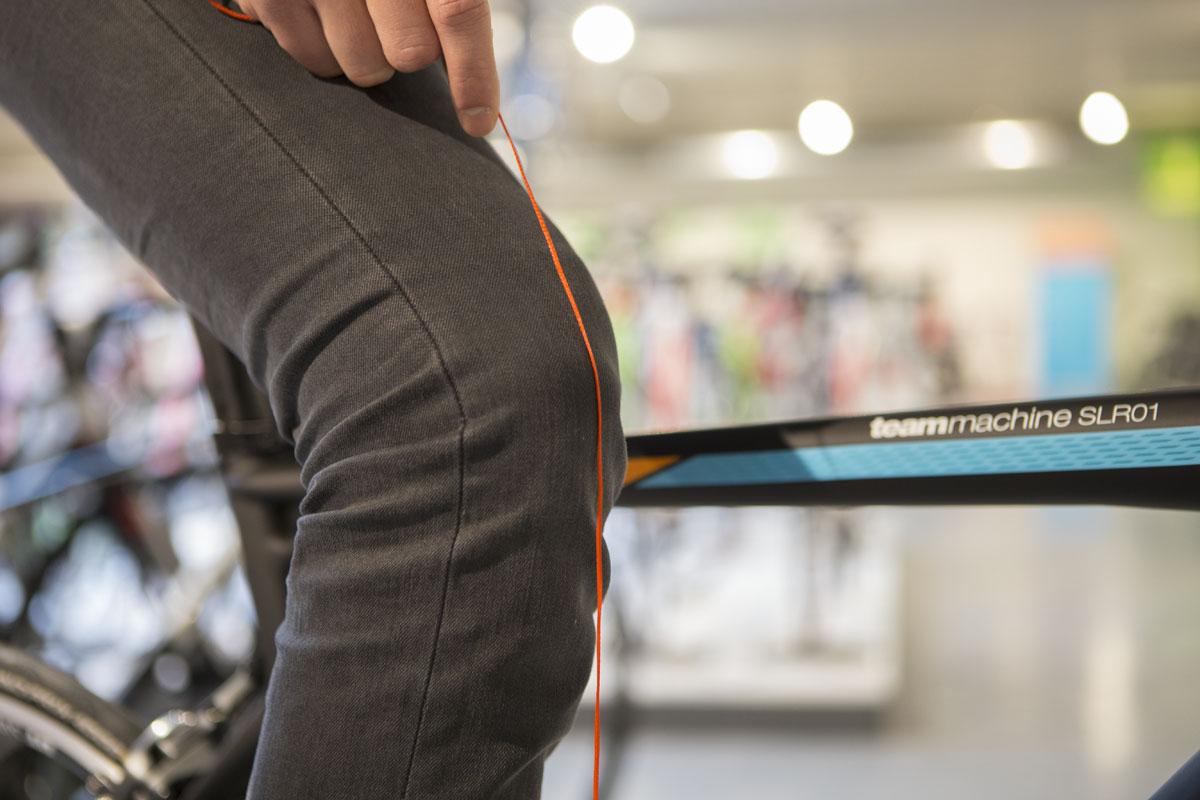
Stap 3
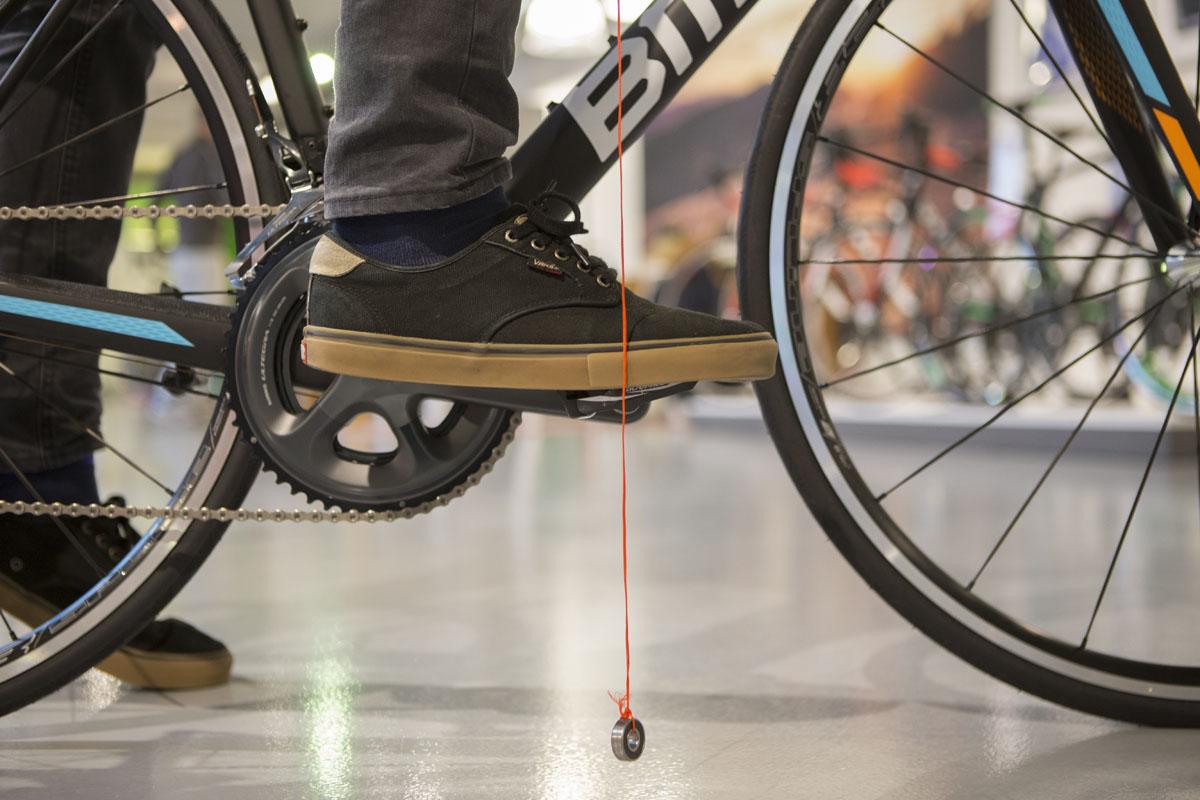
Het touwtje moet precies door het midden van de as van jouw fietspedaal lopen. Hangt het touwtje ervoor? Dan moet je zadel wat naar achteren. Hangt hij erachter, dan moet je zadel wat naar voren.
Hoe schuin mag je fietszadel staan?
In principe fiets je met je zadel horizontaal. Pas als je specifieke klachten hebt en je zeker weet dat je zadelhoogte en de setback goed zijn kun je nog meer aanpassingen doen. heb je rugklachten? Dan wijst de punt van je zadel misschien te ver naar boven.

Heb je veel last van je handen, polsen en schouders? Dan moet de voorkant van je zadel misschien juist iets omhoog gekanteld worden.
Welke aanpassingen aan je zadel voor welke klachten?
Als je zonder klachten fietst staat waarschijnlijk alles goed afgesteld. Heb je een specifieke klacht en wil je zelf wat experimenteren met je zadelhoogte en -positie? Hieronder nog een paar tips om jouw zadel zelf zo goed mogelijk af te stellen.
Tips om je zadelhoogte en -positie af te stellen
- Je zadel staat te hoog wanneer je heupen buitensporig veel op en neer bewegen tijdens het fietsen. Dat kun je zien als je achter iemand fietst.
- Wanneer je je zadel hoger zet, doe dit dan niet met centimeters tegelijk. Begin met 2 á 3 millimeter, ga een stuk fietsen. Wanneer je je comfortabel voelt zet je het zadel weer wat hoger.
- Onthoud dat je lichaam zich uiteindelijk aan iedere zadelpositie aan weet te passen. Wat in het begin vrij ongemakkelijk voelt, went na verloop van tijd. Wees niet bang om te experimenteren, maar vermijd dus ook extremen!
Twijfel over je fietszadel of ernstige klachten?
Heb je ernstige klachten of kom je er niet uit met wat experimenteren? Dan is het tijd om een professional te vragen. Je kunt bij een sportcentrum vragen om een bikefitting.
Bij een bikefitting wordt heel precies naar je lichaam gekeken en kun je jouw racefiets helemaal af laten stellen.
Olle Vastbinder
Je komt mij bijna elke dag wel ergens op de fiets tegen. Ik fiets elke werkdag, door weer en wind, van huis naar mijn werk en weer terug. Vaak op de racefiets, maar in de winter ook op een fijne oude crosser. In het weekend ben ik ook niet van de fiets af te krijgen. Ik pak dan de racefiets voor een lange tocht. Of mijn mountainbike om daar de nodige kilometers mee te maken, liefst met mijn hond Runa. En kun je me buiten trouwens niet vinden? Dikke kans dat ik dan binnen aan het zweten ben op Zwift.
Gerelateerde berichten
![Hydraulische Shimano schijfremmen servicen van je racefiets of MTB [How-To]](http://cdn.mantel.com/images/page?image_id=224&w=400)
Hydraulische Shimano schijfremmen servicen van je racefiets of MTB [How-To]
25 Februari 2022Steeds meer sportfietsen zijn tegenwoordig uitgerust met schijfremmen ...
Hoe weet ik wanneer ik mijn fietsonderdelen moet vervangen?
31 Januari 2022Als fietser lees je vaak dat het belangrijk is om je fiets goed te onderhouden ...
![Derailleurpad richten en vervangen - Zo schakel je weer soepel met je racefiets! [How-to]](http://cdn.mantel.com/images/page?image_id=223&w=400)
Derailleurpad richten en vervangen - Zo schakel je weer soepel met je racefiets! [How-to]
5 Februari 2021Slechte schakelprestaties van je racefiets kunnen veroorzaakt worden door veel factoren ...