 Nederland
 België
 Deutschland
 United Kingdom
 Finland
 Ireland
 Luxembourg
 Portugal
 Poland
 Österreich
 France
 España
 Italia
 Sverige
 Danmark


Maintaining and Cleaning your Road Bike or Mountain Bike [How-To]
Spring is almost here (finally!). This also means it’s time for the yearly maintenance of your road bike or mountain bike. Now you still have time to check everything and repair or replace parts when necessary. It’s a good idea to maintain your bike on time. There’s nothing worse than wanting to go for a nice ride on the first warm and sunny day of spring, only to find out something is broken and you can’t go. Therefore you should now thoroughly clean your mountain bike or road bike and check everything while you’re at it.
Cleaning and maintaining your bike can be combined very well. It’s easy to detect potential problems while cleaning. That way, you know exactly what needs to be replaced or adjusted. By checking your road bike or mountain bike systemically during a thorough spring-cleaning you can be pretty sure you won’t come across problems during your first rides of the year.
Do you follow these tips each time you clean your bike? Then you can be pretty sure that during the season you won’t suffer from breakdowns that could have been prevented. Below you find our tips to keep your bike in prime shape.
Spring-cleaning checklist for your road bike or mountain bike
- Cleaning your road bike or mountain bike
- Wheels, spokes and wheel bearings
- Bike tyres
- Brake pads and brake discs
- Hydraulic brakes
- Cables
- Handlebar tape
- Bike chain
- Cassette
- Chainrings
- Jockey wheels
- Bottom bracket bearings and headset bearings
- Bolts
- How often do you have to clean and maintain?
Cleaning your road bike or mountain bike
Good maintenance starts with proper cleaning. When you tinker with a dirty bike, you risk getting sand on a bolt. Instead of improving your bike’s condition, you’d cause even more damage.
After your ride: wash your bike immediately
If your bike is really dirty after a ride, rinsing off the dirt immediately, using a garden hose or a mobile cleaner, is worth the effort. The dirt then won’t stick to your bike.

Don’t use a high pressure cleaner. It seems to be a quick and easy way of cleaning, but a high pressure cleaner is forceful enough to wash the grease out of the bike’s bearings. The bearings wear out quicker and they might start to rust.
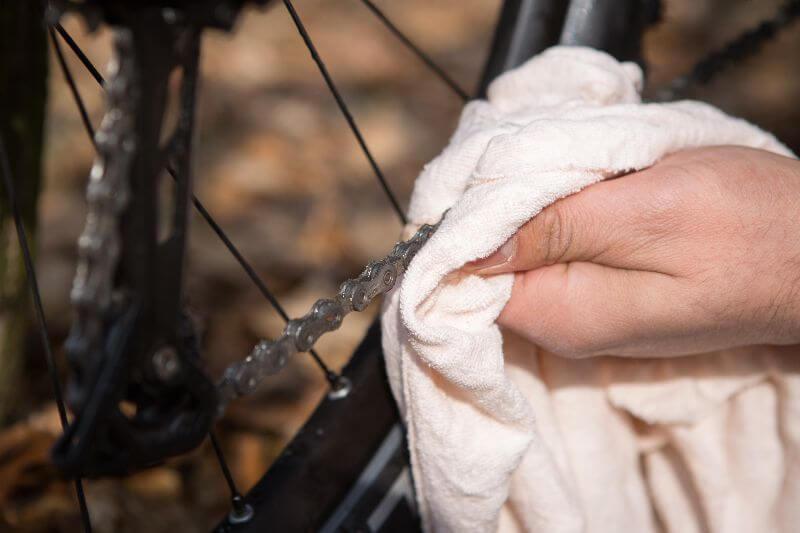
Did your bike not get too dirty, so that rinsing it is sufficient? Use a towel to dry your bike. You should especially pay attention to the surrounding of the bearings and drivetrain.
Rinsing not sufficient? Clean thoroughly
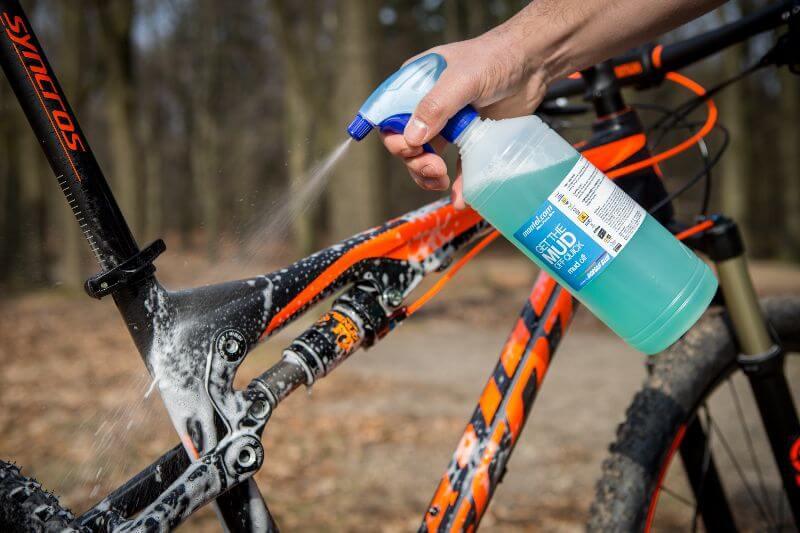
When your bike is really dirty, or if you haven’t been cleaning it thoroughly in a while, you have to wash it by hand too. Prepare some lukewarm soap sud and use a good bike cleaner.
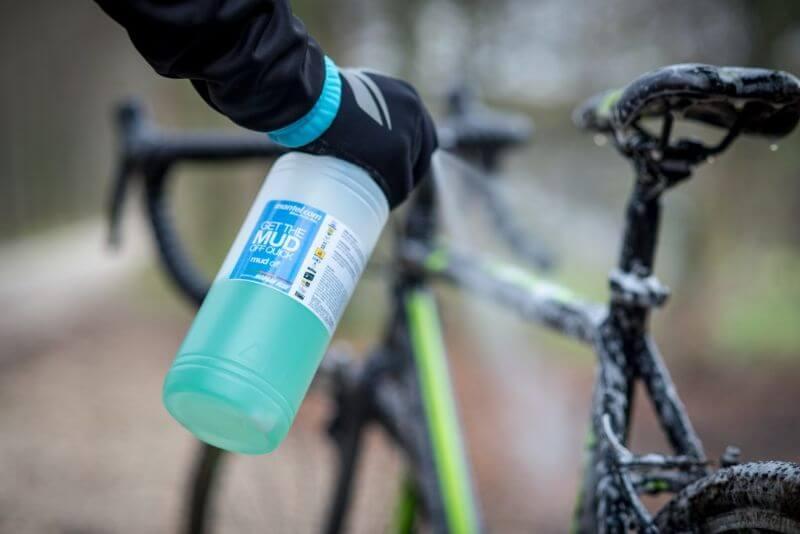
Bike cleaners help to loosen any dirt on the bike. Your bike will also dry with fewer stains on it.
Remove mud buildup with a soft brush or a flannel. This prevents scratches on your frame. The advantage of using a flannel is that access to certain spots is easier.
Cleaning and degreasing your bike chain
Cleaning your bike chain is an important part of cleaning your bike. If it’s not too dirty, you can clean it with the same soap sud as the rest of your bike. Make sure to clean it last though, so you don’t get the grease on the rest of your bike.
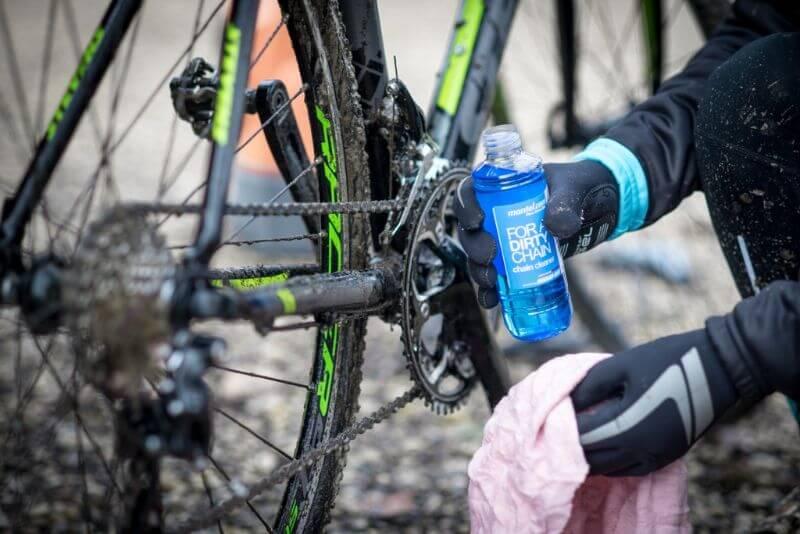
If your bike chain is very dirty, or if you don’t succeed in cleaning it with the sud, it’s time to degrease your chain. Use a good chain cleaner and maybe special chain cleaning tools. Rinse off the degreaser with some water.
Only use cleaning products that are suitable for bicycles. Normal degreasers might damage the material and the rest of your bike.
Clean the whole drivetrain
When your bike chain is dirty, the rest of the drivetrain is often dirty as well. Your cassette might be full of dirt, and your jockey wheels will probably be filthy too.
It’s advisable to clean these parts too, otherwise your chain will be dirty again in no time. These spots are hard to reach though if you don’t have a suitable brush. Often, the best option is to take off the cassette in order to clean it properly.
For your chainwheels, a narrow brush is often sufficient to clean them without having to remove them.
Maintenance of your road bike and mountain bike
After having cleaned your road bike or mountain bike, it’s time to check all the parts one by one. Some parts might need additional cleaning to get rid of all the dirt.

You can only see if a part has to be replaced if it’s really clean.
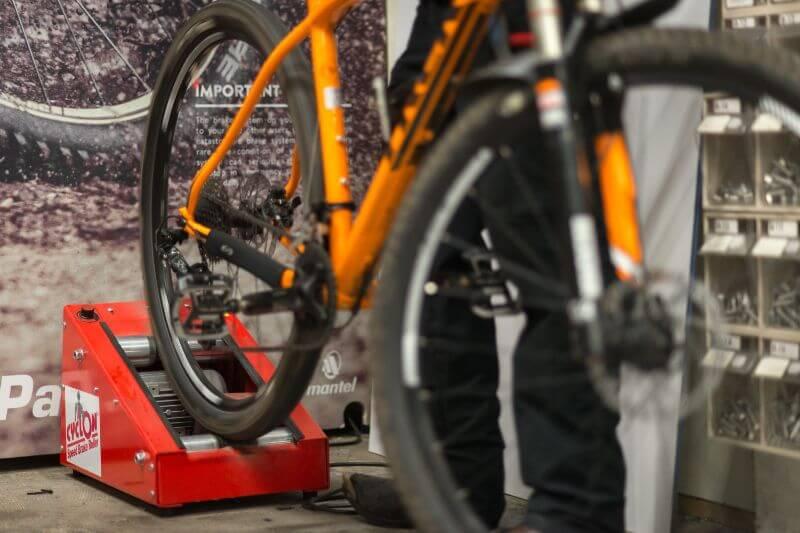
Check your wheels and wheel bearings
The first thing you should check is whether your wheels are still true. Let them turn and have a good look. Do you see any run-out? Then you have to center the wheel. This isn’t something everyone can do at home. It’s probably a good idea to go to the shop.
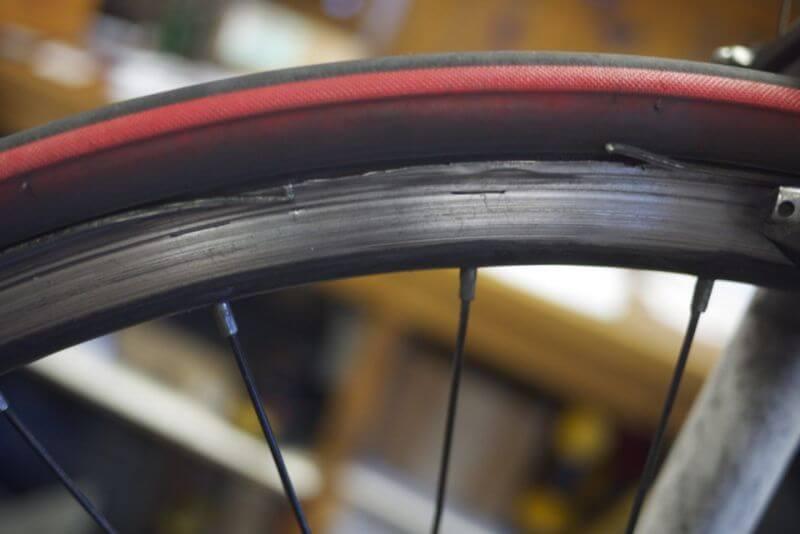
When your wheels are true (again) you have to check the thickness of the rim (if you have rim brakes, that is). It wears out too. Do you see that the braking surface is hollow? Then your wheels have to be replaced.
If you don’t replace them, the wheel might collapse during a ride, probably the moment you’re braking. And this is one of the most dangerous things that could happen. Are you unsure whether your wheels are still safe? Take them to a good bike mechanic for advice.
Are your bike tyres still good?
Nothing is more annoying than a puncture, and it’s even worse if it happens several times during one ride. Checking them regularly helps to prevent punctured bicycle tyres. Get out small stones and make sure cuts aren’t too deep or too long. While you’re at it, also have a look at the condition of the tread and its wear.
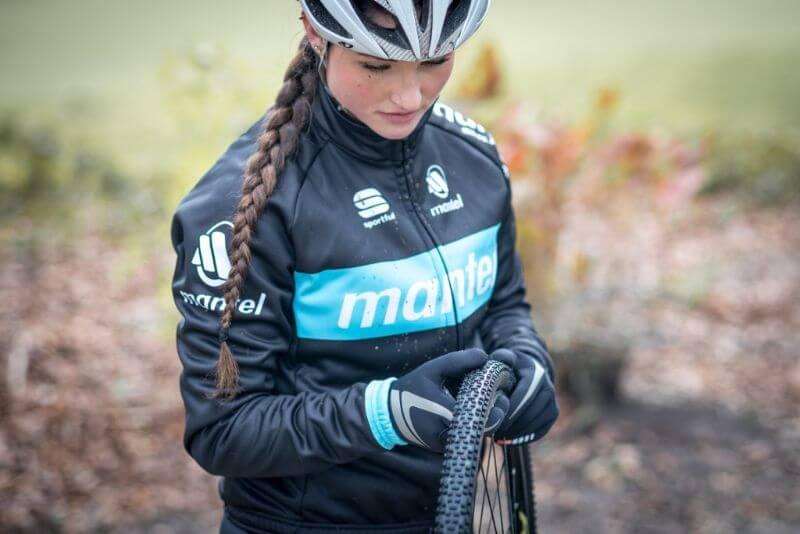
When you check the tyre, you should also check whether the valve of the inner tube is still in good condition. Open it a little and let out some air. Is the valve still standing upright and is it easy to open and close it? If that’s not the case, you might want to replace your inner tube.
Check your brake pads
Obviously, the condition of your brakes is of vital importance. Whether you are using rim brakes or disc brakes, you’ll have to check the brake pads. If you have a bike with rim brakes, you can take out the wheels to have a good look at the brake pads.
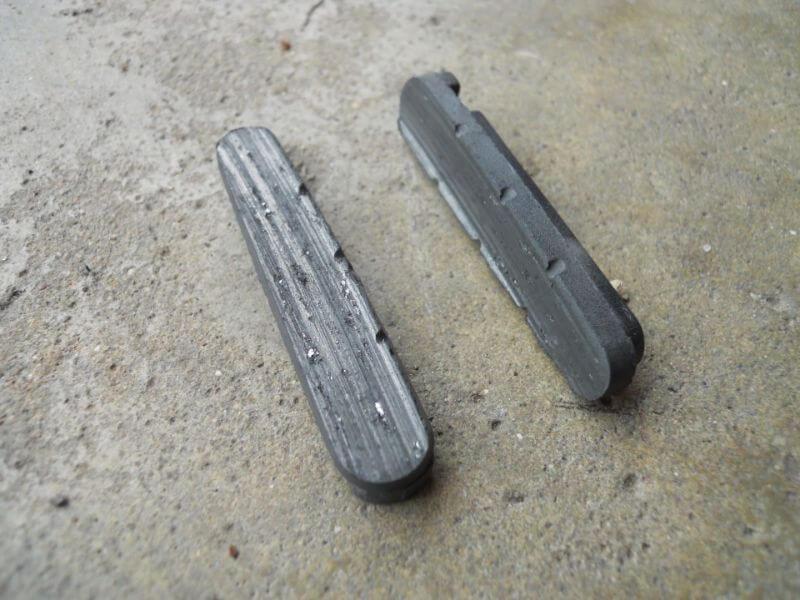
Make sure you remove dirt and aluminium chips from the brake pads. But first check whether there is still sufficient rubber left and whether the brake pads have worn out evenly. If the brake pad is not positioned correctly, a protruding rubber edge might develop. If such a protruding rubber edge at the upper side makes contact with your tyre, the tyre might be damaged.
Do your brake pads need replacement, or are you unsure? Replace them. Are they still in good condition, clean them with brake cleaner.
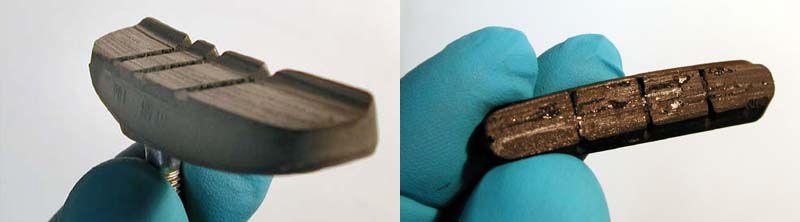
Disc brake pads
In order to properly check disc brake pads, you have to take them off. First remove the wheel. Then remove the spring (security device) of the safety pin before removing the safety pin.
Now you can easily pull upwards to take off the brake pads. Clean them with brake cleaner and dry them off. Sand them a little when dry. You can also clean the brake discs with brake cleaner and lightly sand them. In that case, it is important to bed in your brake pads and brake discs again.
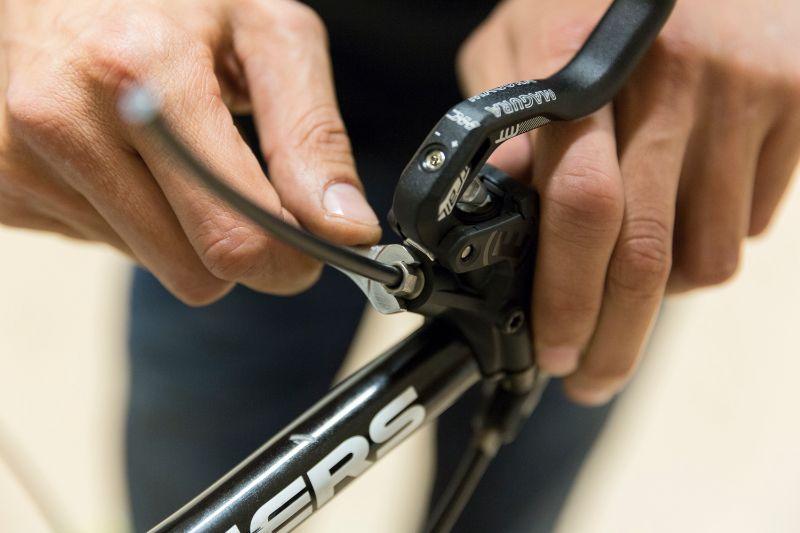
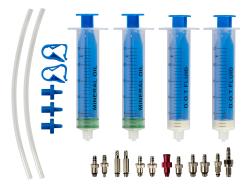
Do your brakes feel spongy and unresponsive? In that case you probably have to bleed them. Bleeding means purging air which makes your hydraulic brakes less powerful from your brake lines. You can easily bleed your brakes yourself if you have the right tools.
Check and replace cables
Shifting cables and mechanic braking cables wear out too. Inside the cables, a coating ensures supple shifting. If you get the impression that shifting becomes harder, the coating is probably worn out.
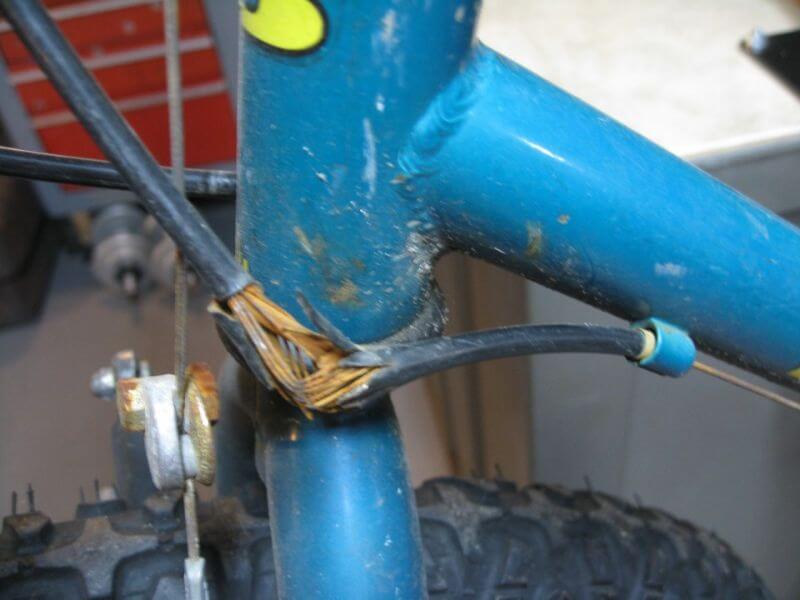
It’s also possible that the steel cables have rusted inside the external cables. These steel wires make the cable sturdy and prevent it from being too flexible. If a cable is damaged on the outside, it’s best to replace it.
If your external cable is not in good condition anymore, it might break or split open. This would make it almost impossible to brake or shift gears.
New handlebar tape
If you replace your shifting or braking cables, you can as well wrap some new handlebar tape. You probably have to take off the handlebar tape anyway in order to replace the cables.
New handlebar tape is not really a vital part of bike maintenance. Yet it feels good to go for a ride with new handlebar tape.
Check and lubricate your bike chain
You can easily check the condition of your bike’s chain with a chain checker tool. You simply put it on top of your bike chain, and it shows you immediately whether you should replace your bicycle chain.
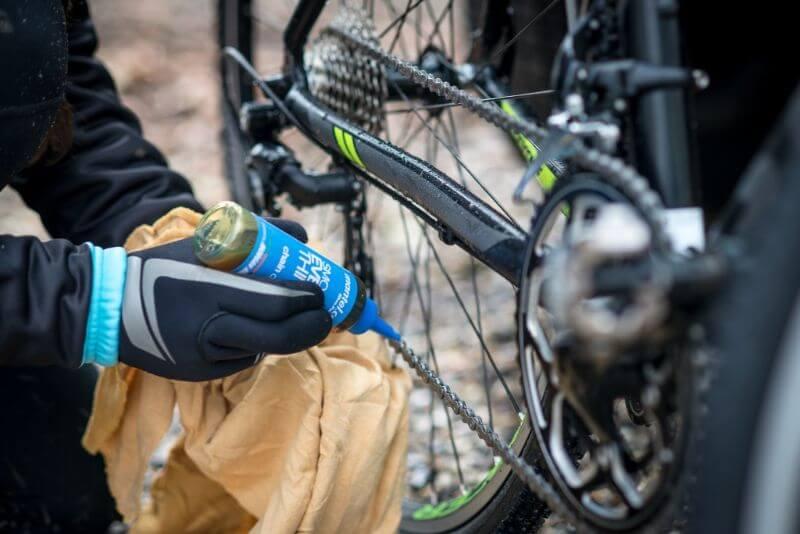
Is the condition of your bike chain still good? Make sure to lubricate it regularly. Use oil or wax lube, and lubricate it the night before a ride so that before your ride, you can wipe off surplus lube with a dry and clean cloth.
Some types of chain lube have been developed specifically for wet or dry conditions. Chain lube for dry conditions is less sticky, so that dust doesn’t stick to the chain as easily.
Wet lube is somewhat thicker and ensures that the chain remains lubricated when it’s raining.

When should you replace the cassette of your road bike or MTB?
Determining whether your cassette needs to be replaced is a little trickier. The easiest way is to apply the rear brake and push down the pedal. Make sure that you shift to the gear you use most often.
If you see the chain moving on the cassette, it’s likely that the cassette has to be replaced. If you’ve just installed a new chain and it suddenly slips through every now and then, you should also replace the cassette.
When do you have to replace a chainring?
It’s easier to see whether a chainring needs replacement. The top of the teeth must be flat and symmetric.
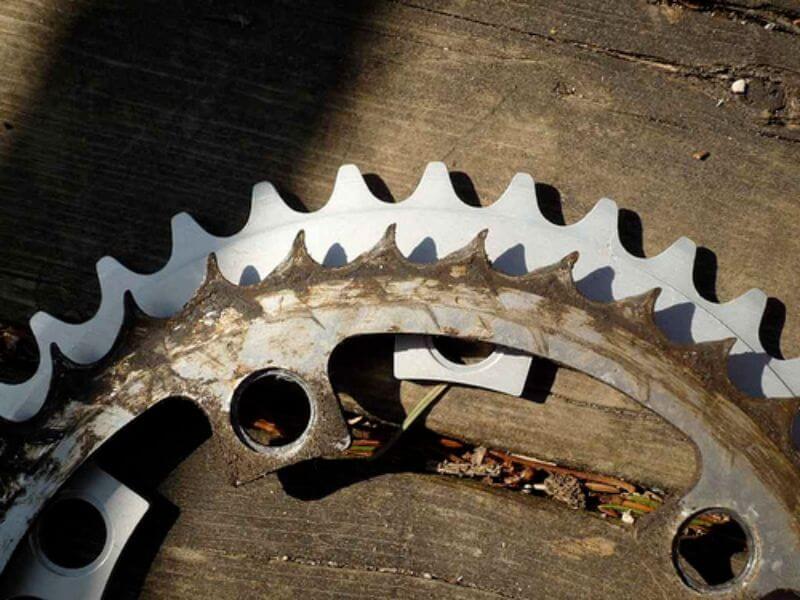
Are the tops of the teeth rather pointed instead of flat, and do they have a ramp-like profile on one side? In that case, you have to replace the chainring. Often, the worn-out teeth of a chainring are called shark teeth. On the photo you can see why.
Replace jockey wheels
You could almost forget about them, but jockey wheels also have to be maintained and replaced. Checking whether your jockey wheels are worn out is easy. The more pointed the teeth of the jockey wheel, the sooner you should replace them.
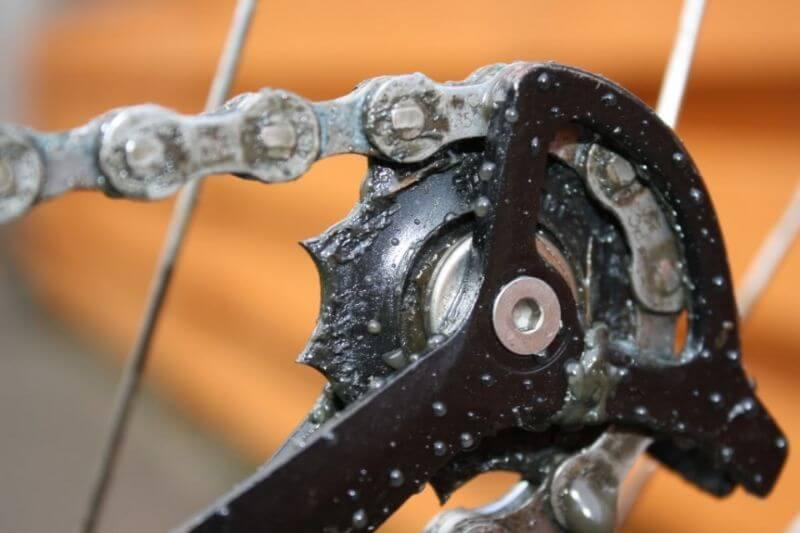
If you ride with worn-out jockey wheels, your bike chain might wear out quicker too. Besides, shifting might feel less precise because the chain has more play.
How do you check the bearings?
After some time, any bearing can show some degree of play. For many wheel bearings and bearings in the frame, this play is not an immediate problem because they are equipped with industrial bearings.
Yet it is advisable to replace those bearings. With a worn-out bearing, you are pedaling less efficient, and it feels way better if every part of your bike works smoothly.
The most important bearings you should check are the headset bearings, bottom bracket bearings and wheel bearings.
Jiggling helps you to check the condition of the bearings. For the headset beraings, aplly the front brake and move the handlebars to the front and back. Do you feel some play? Your headset bearings might need replacement.
To check the wheel bearings, apply the brakes again and push sideways and down. Do you feel a click? Either your wheel wasn’t installed properly, or the bearings are worn out.
Finally, checking the bottom bracket bearings is possible by grabbing one crank arm and push it sidewards. If you feel a click, it is time to replace your bottom bracket bearings.
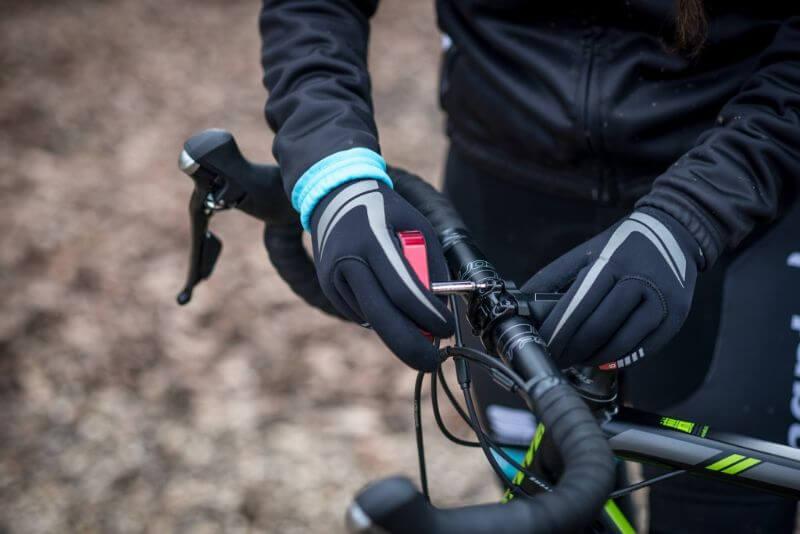
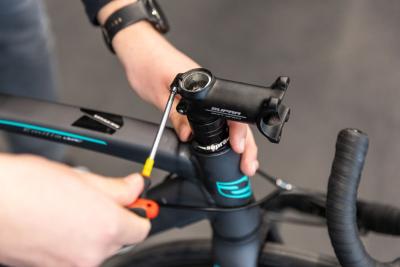
Check the bolts
One last point you have to check are the bolts. Check all the bolts on your bike, as they can come loose because of the vibrations during your rides.
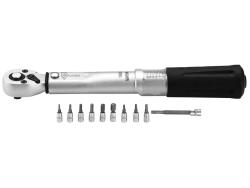
We recommend to use a torque wrench. When using one, you can be sure that the bolts are neither too tight nor too loose. You find a note with ‘Nm’ beside all bolts. This is the correct force for tightening the bolts.
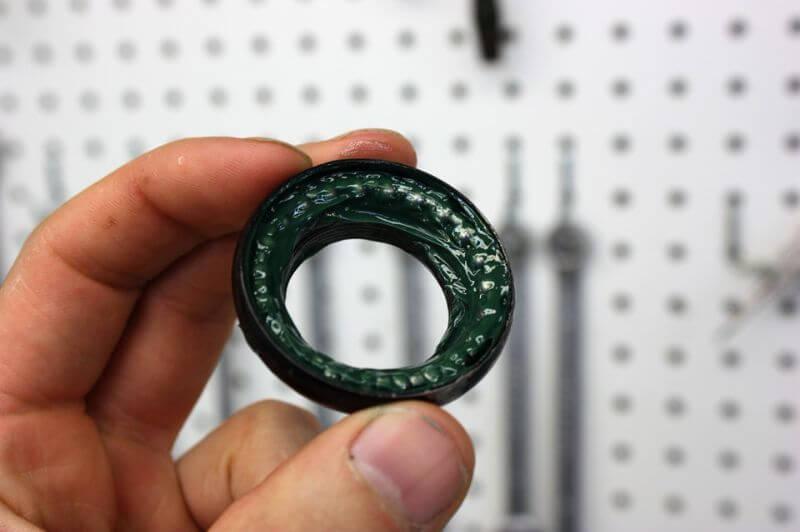
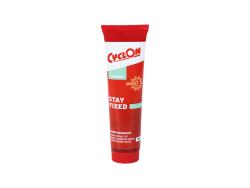
If you have taken off certain parts, such as your pedals, or install new bike parts, you should always apply some assembly grease. Assembly paste prevents squeaking and creaking, and - even more importantly - ensures that you can take off that part in the future.
Do you have bike parts made of carbon or even a carbon frame? Then you have to use specific assembly paste for carbon. It helps to keep everything in its place without having to tighten the bolts with too much force.
How often should you clean your road bike or mountain bike?
Whether you should perform all these steps after your ride depends on the conditions. Do the roads get salted a lot? Then we recommend to thoroughly check all the parts of your bike once a week.
Depending on your level of skill you can be done with this in just 30 minutes. Is it only raining or are the temperatures below zero? In that case, it’s most important to keep the drivetrain clean and well-lubricated.
The finishing touch - wax your frame
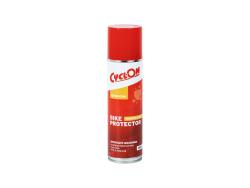
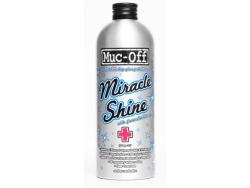
Done with all the maintenance? If you really want to make your road bike or mountain bike shine, you can use polish wax. You apply it as a protective layer which makes your bike look good as well as making it easy to clean.
The wax or silicone spray prevents dirt from sticking to your frame and parts. Do you have disc brakes? Be careful not to get any polish wax on the brake discs!
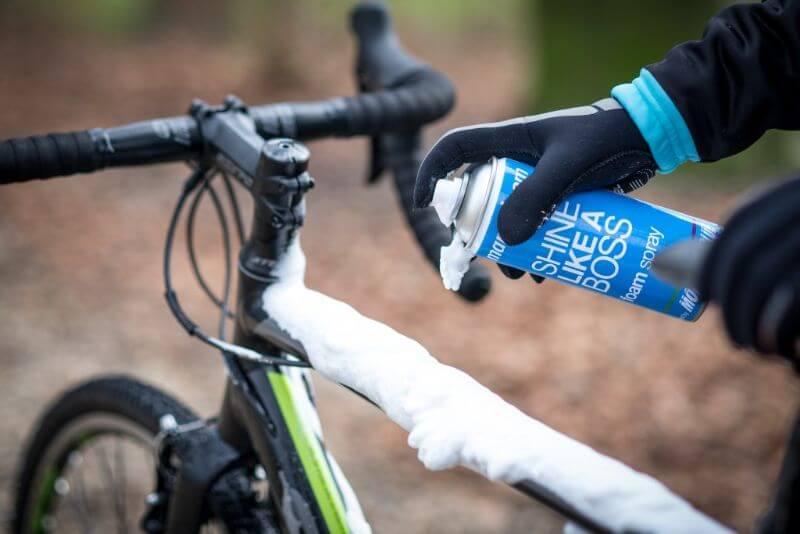
When the brake discs get greasy, it’s almost impossible to get them back in working condition without getting new discs and brake pads. So better cover them with a clean cloth before applying polish wax...
Eva van den Berg
Since starting work at Mantel, I’ve been reading and writing about bikes on a daily basis. This added to the fact that I am testing new products, has caused me to get excited to expand my own bike collection. I wonder what the inside of my garage will look like in a few years. Luckily I have a big garage at home!
Related posts
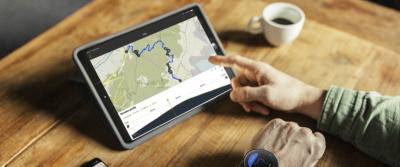
How To Plan a Route Using Komoot? [How-To]
27 March 2023Planning and finding your own cycle routes sounds more complicated than it actually is ...
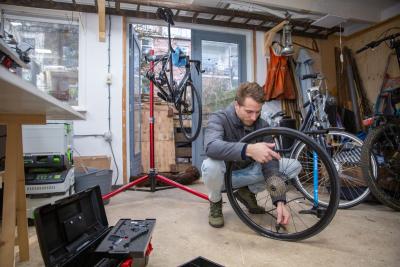
Do your own bike maintenance work! [Do It Yourself Tips]
7 February 2023Buying a new road, mountain or gravel bike is one thing. Maintaining your bike properly is another ...
Replace the stem of your road bike in 11 steps [Bike Techcenter]
26 April 2022For road cyclists, being comfortable on your bike is of the utmost importance ...