 Nederland
 België
 Deutschland
 United Kingdom
 Finland
 Ireland
 Luxembourg
 Portugal
 Poland
 Österreich
 France
 España
 Italia
 Sverige
 Danmark


Replace the stem of your road bike in 11 steps [Bike Techcenter]
For road cyclists, being comfortable on your bike is of the utmost importance. Pain experienced during cycling can be caused by many factors, an important one being the settings of your road bike. If your bike saddle is too high or your handlebars are too low, it affects your riding position and can cause soreness over time. Another common cause of an incorrect sitting position is the wrong length or position of the stem. If the stem of your road bike is too long, you may lean too far forward when cycling. To change this, you can adjust the position of the stem or fit a shorter one. After reading this How-To blog, you will be able to replace the stem on your road bike yourself!
As stated above, there can be many different reasons for cycling in the wrong position. And there are different ways to solve it. One of these is to create a more comfortable position by raising your road bike handlebars.
It also happens that the handlebars of a road bike are all wrong for the rider. If this is the case for you, it is recommendable to choose a different model that suits you better. Changing road bike handlebars can eliminate all sorts of complaints such as neck pain, hand numbness or back pain. Click here to find out how to mount new handlebars on your road bike.
Adjust the position of the stem
It may not be necessary to replace the stem of your road bike. Every person has different physical dimensions, such as longer legs and a shorter torso or vice versa. In addition, every road cyclist and mountain biker has their own goals which may require a more aggressive riding position or, rather, a more comfortable one.
This too should be taken into account when adjusting the position of the stem. Know that you can turn the stem upside down for a different handlebar position and, therefore, a more comfortable or aerodynamic riding position.


Replace the stem of your road bike
The length and/or position of the stem is an important aspect in your riding position. Replacing a stem is much easier than you may think. Have you had a professional bike fit done and found out that a different stem length would be better for your riding position? Continue to read then because in this blog you will learn how to mount a shorter or longer stem in 11 steps.
Also, upon buying a new road bike many people forget to also buy a stem of different length although they may well need one. This is because new bikes are fitted with the average stem length that matches the size of the bike. When buying a new stem, make sure the dimensions match those of your head tube (1 ⅛ or 1 ¼) and handlebars (25.4 mm, 31.8 mm or 35 mm).
Tools needed to replace the stem

It takes the following 11 steps to replace the stem of your road bike. Here we use the Pro LT model.
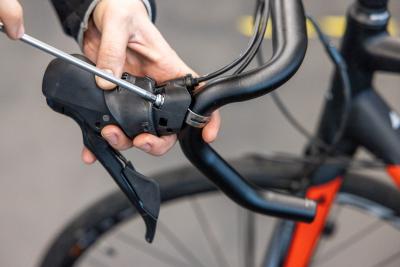
1. Remove the handlebar bolts
There are 2 or 4 hex bolts on the front of the stem / handlebars. Remove these using a 4 mm or 5 mm Allen key. Carefully leave the handlebars attached to the cables.


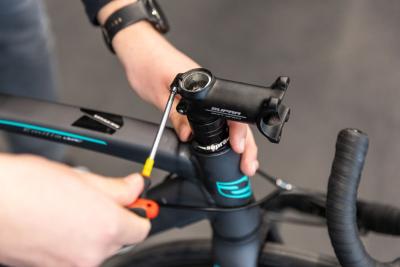
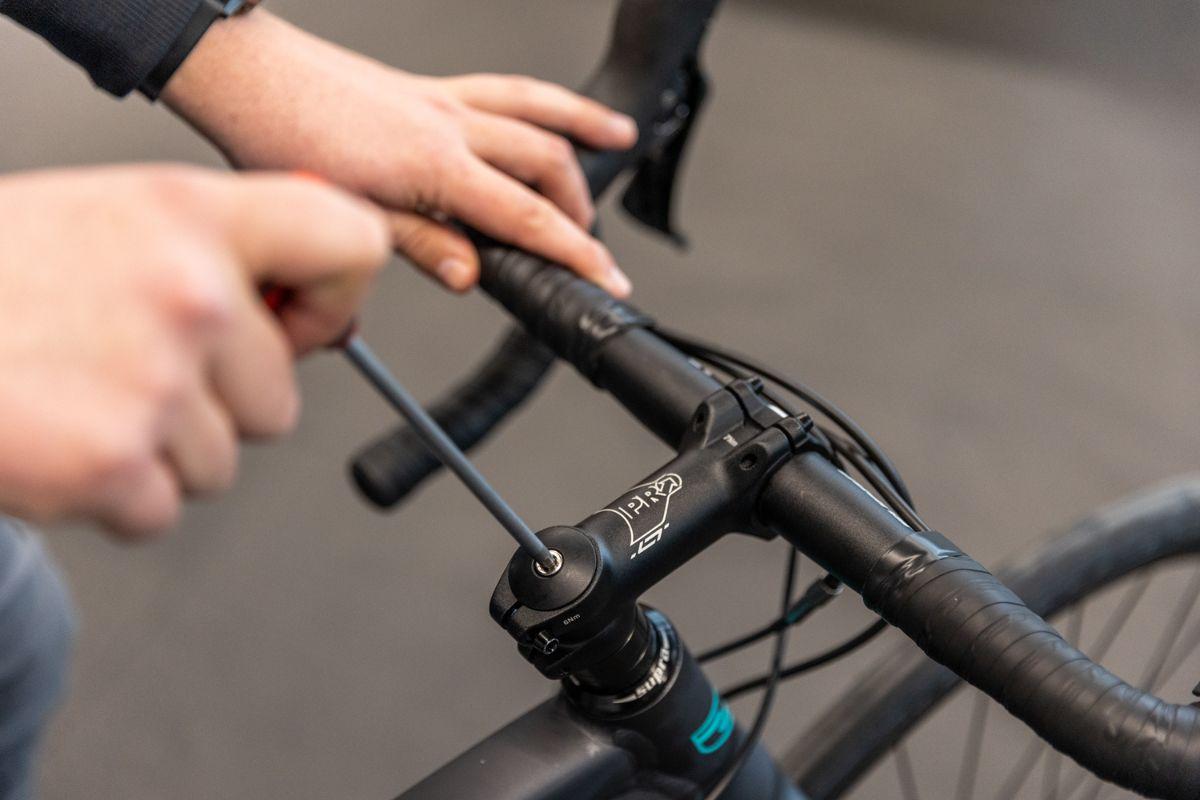
2. Remove the top cap bolt
On top of the stem is the top cap of the headset. Inside the top cap is a longer bolt that must be unscrewed and removed. It usually requires a 3 or 4 mm Allen key.


3. Loosen the bolts at the sides of the stem
Use the 4 or 5 mm Allen key to loosen the bolts at the sides of the stem. Loosen them to a point where you can move the stem easily, then lift and remove the stem from the fork tube.


4. Put the new stem in place
Remove the new stem from the packaging. Using the spacers, determine how high to mount the new stem. When you have determined the correct height, slide the stem over the fork tube. Depending on the space at the top, you may want to add another spacer for more stiffness. This is because it is important that both stem bolts clamp well on the fork tube.
To ensure sufficient clamping force on the top spacer and to be able to eliminate any play, it is important to leave about 3 - 5 mm of space in the spacer. Once all this is at the right height, put the new stem in place.
5. Put the top cap bolt back in place
Put the top cap and its bolt back in place, then turn the bolt a few times without fully tightening it.

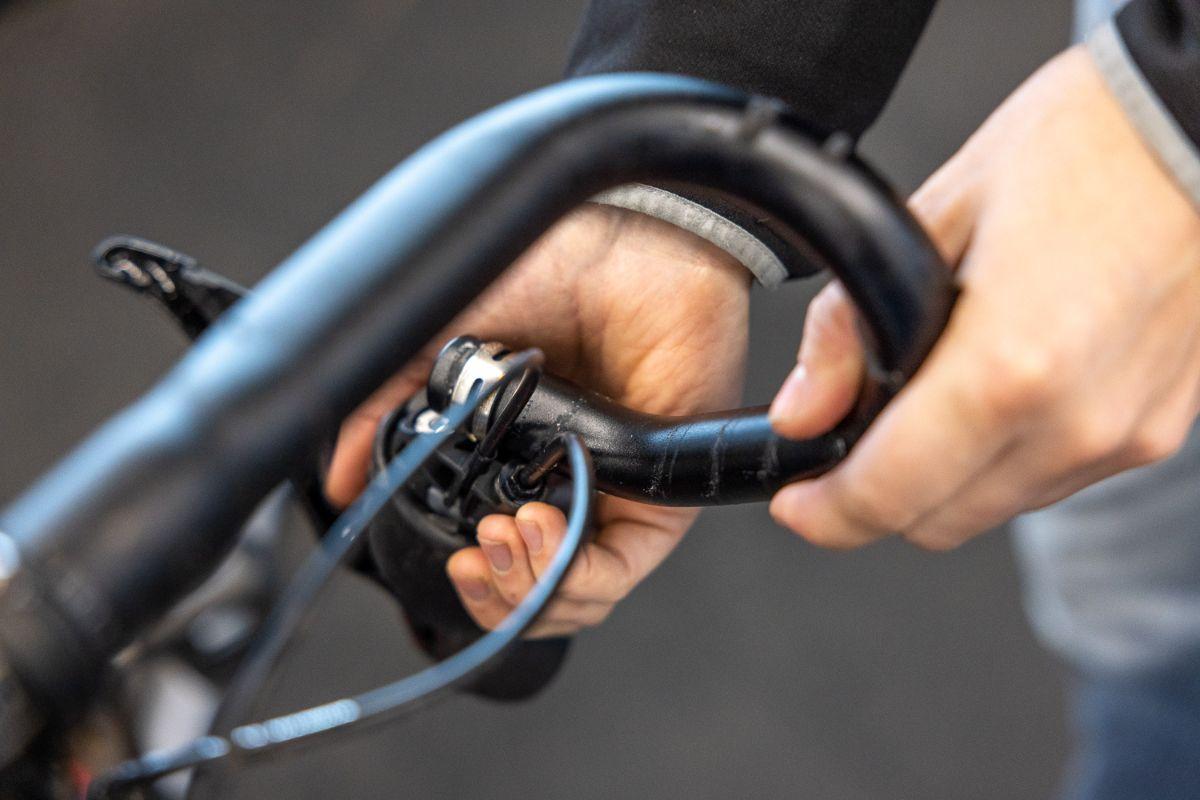
6. Put the handlebars back in place
Put the handlebars of your road bike into the stem and fit the cap with the 2 or 4 bolts, then tighten until you can just adjust or rotate the handlebars. Make sure it is exactly centred.

7. Put the handlebars in the right position
Tilt the handlebars of your road bike so that the lowest part of the drops is horizontal and the shifters are at an upward angle of some 10 degrees.
8. Use a torque wrench to tighten the screws
Use a torque spanner to tighten the screws on the handlebars to the correct torque. This is usually indicated on the stem; in this case it is 7 Nm.


9. Tighten the top cap bolt
Tighten the top cap bolt until there is no more play. Take a minute to find the right balance between letting the handlebars turn smoothly and eliminating the play. Check this by squeezing the front brake and moving the handlebars to the left and right; then turn the handlebars a quarter turn and move the steering cam. Adjust until it's right.
Then make sure the stem and handlebars are straight forward. Check this in relation to the front wheel; are they positioned at right angles to each other?
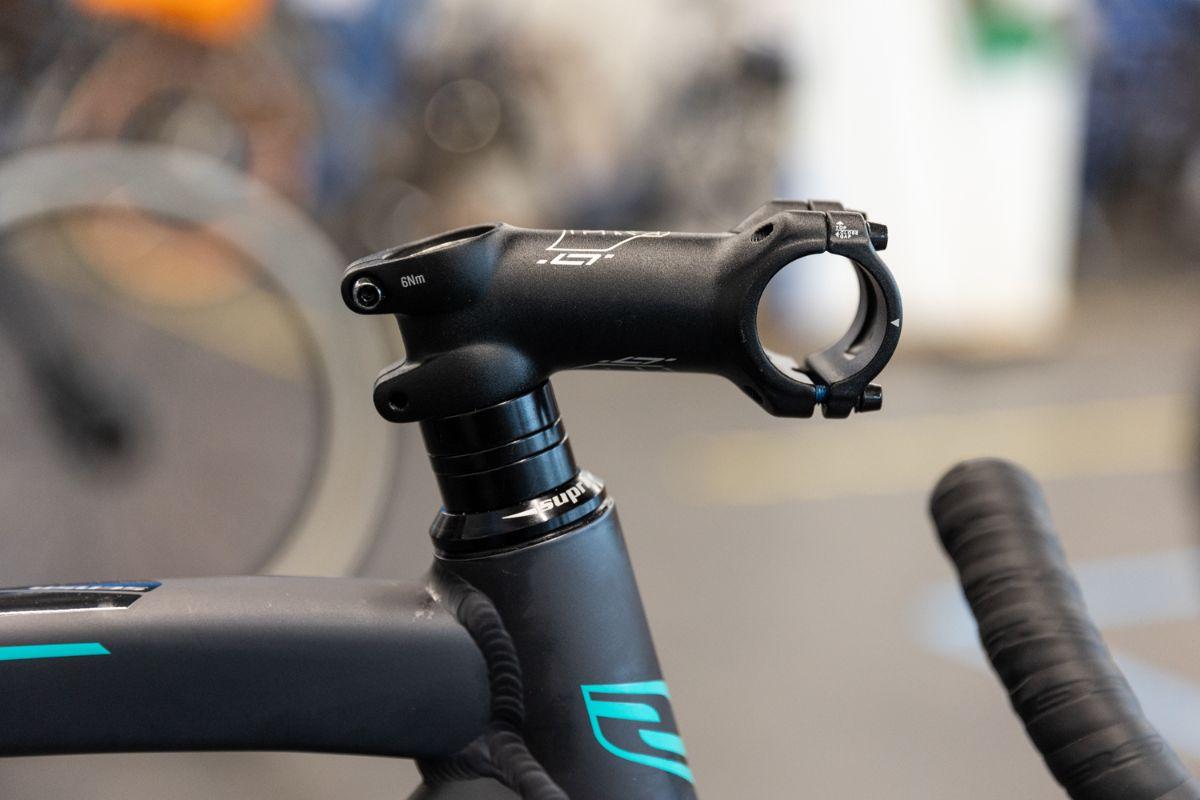
10. Tighten the stem
Now carefully tighten the stem on both sides. Finally, use the torque spanner to check whether the bolts are tightened correctly according to the recommended torque printed on the stem, in this case 6 Nm.


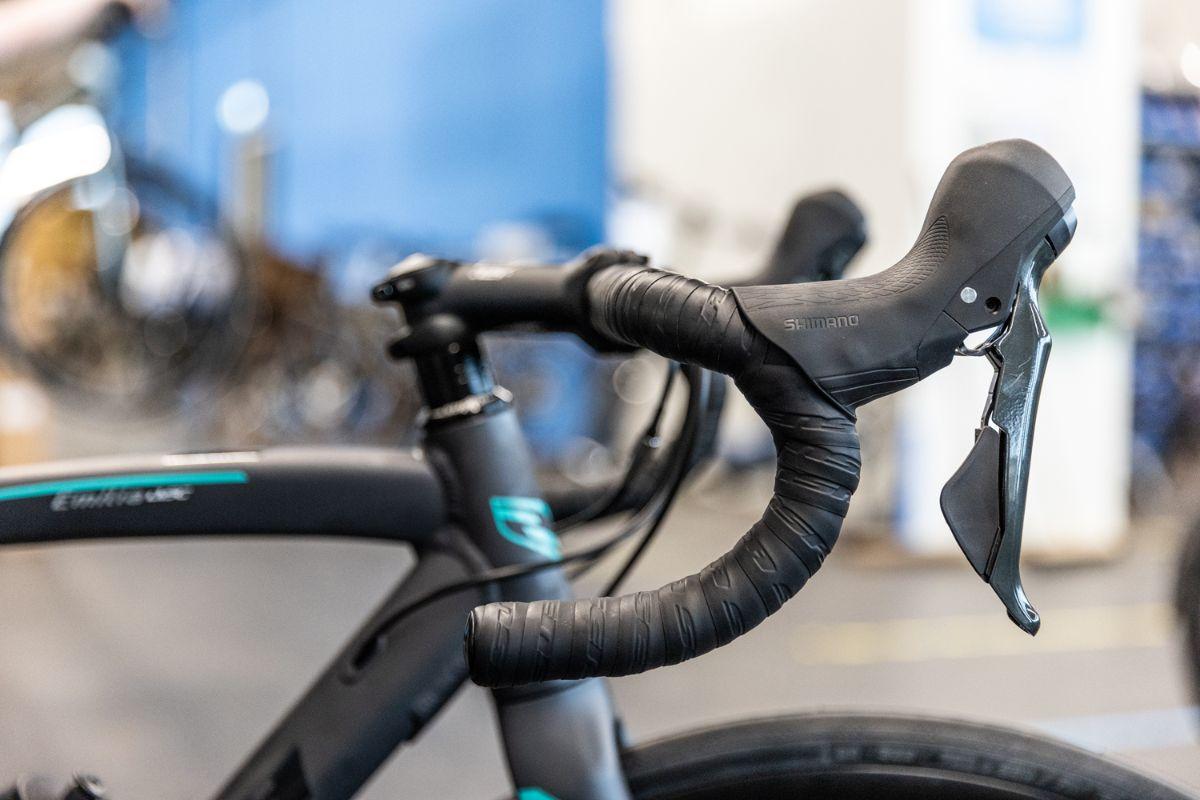
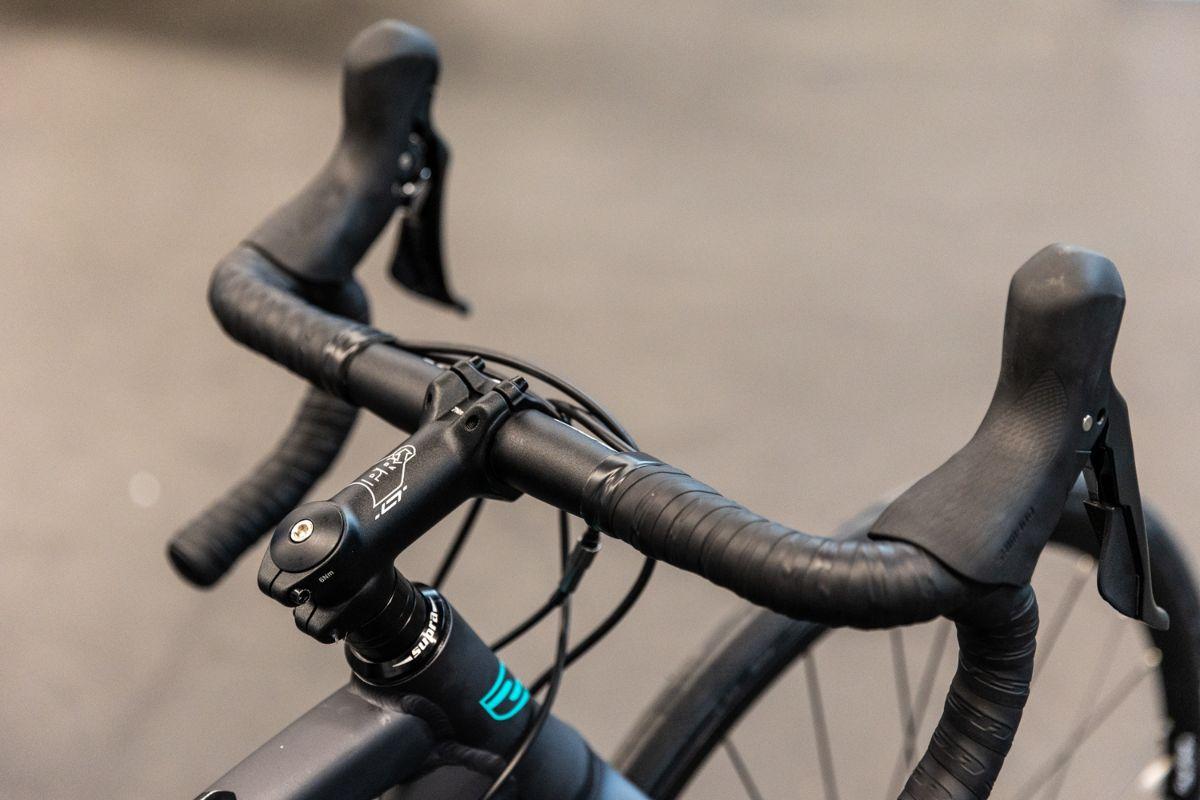
11. Voilà, you have a new stem!
Still experiencing physical discomfort?
If, after replacing the stem on your road bike, you’re still experiencing discomfort or soreness it is probably caused by something else. If this is the case, do not hesitate to contact our customer service and ask for advice, or consider investing in a professional bike fit for a perfect setup of your bike.
Mees Janssen
I am very occupied with everything that has to do with cycling in my spare time. The fact that I get to do this during my job as well makes it all the more special. Since I live in Arnhem, I like to go cycling in my “backyard” (de Posbank) with my road bike or mountain bike. Besides cycling myself, I also love to watch professional cycling on the tv. My television is doing overtime during the summer, because I like to follow all the big cycling tours like the Giro, the Tour de France and the Vuelta. It may come as no surprise that when the Giro d´Italia crossed Arnhem in 2016, I was over the moon!
Related posts

How To Plan a Route Using Komoot? [How-To]
27 March 2023Planning and finding your own cycle routes sounds more complicated than it actually is ...
Do your own bike maintenance work! [Do It Yourself Tips]
7 February 2023Buying a new road, mountain or gravel bike is one thing. Maintaining your bike properly is another ...
How to replace your MTB or road bike handlebars [How-to]
7 February 2022Handlebars are an important part of your road or mountain bike. Firstly, you use them for steering ...