 Nederland
 België
 Deutschland
 United Kingdom
 Finland
 Ireland
 Luxembourg
 Portugal
 Poland
 Österreich
 France
 España
 Italia
 Sverige
 Danmark


How to set up your Front Fork Suspension
Almost every mountain bike has front fork suspension. Most of these suspended front forks have air suspension. This can be set and tuned for rider weight, type of terrain, and personal riding style. This is why we’ve often been asked the question: how do I set up my front fork suspension? Our colleague Maurice happily explains the ins and outs in the techcenter blog “how to set up your front fork suspension.”
A properly set up front fork improves the handling of the bike and increases rider comfort. Many people assume that setting up the front fork is a complicated job which can only be performed by a bicycle mechanic.
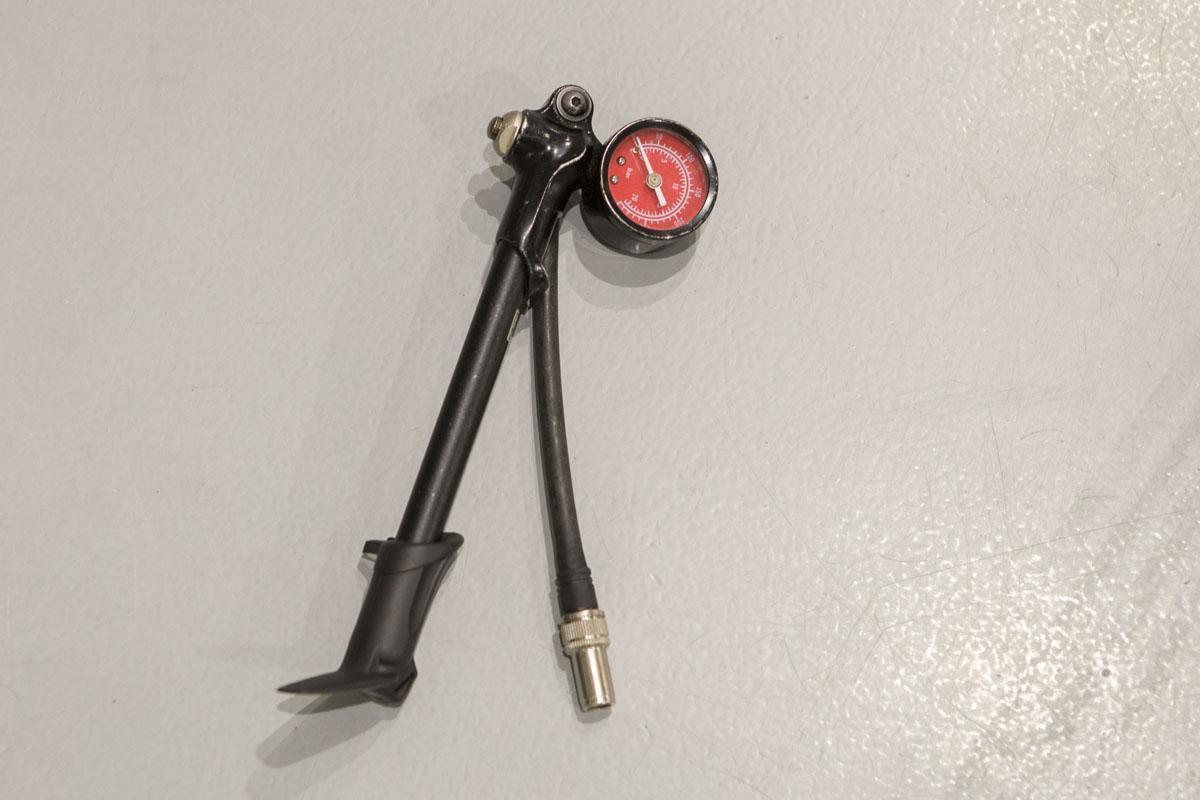
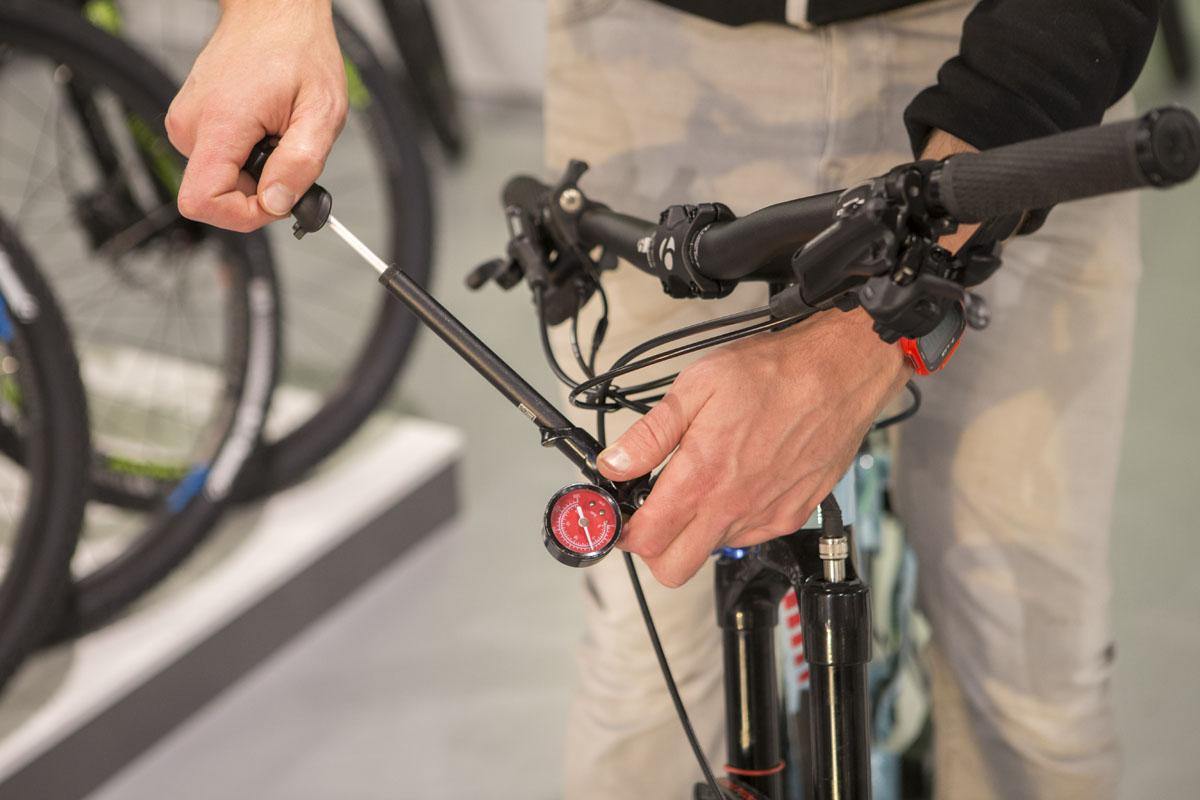
Nothing could be farther from the truth! All you need is a shock pump and a little patience. With the right equipment, you can have your fork set to the correct pressure in under 10 minutes.
Too hard or Locked
More often than not the front fork is set up too hard or, even worse, constantly locked. You rob both yourself and your bike of a lot of performance. A frequently heard misconception is that a suspended front fork only causes you to lose energy.
Something which is often overlooked in that case is that a well-functioning, suspended front fork increases your speed because of the extra control and comfort it gives you!
Front fork suspension setup
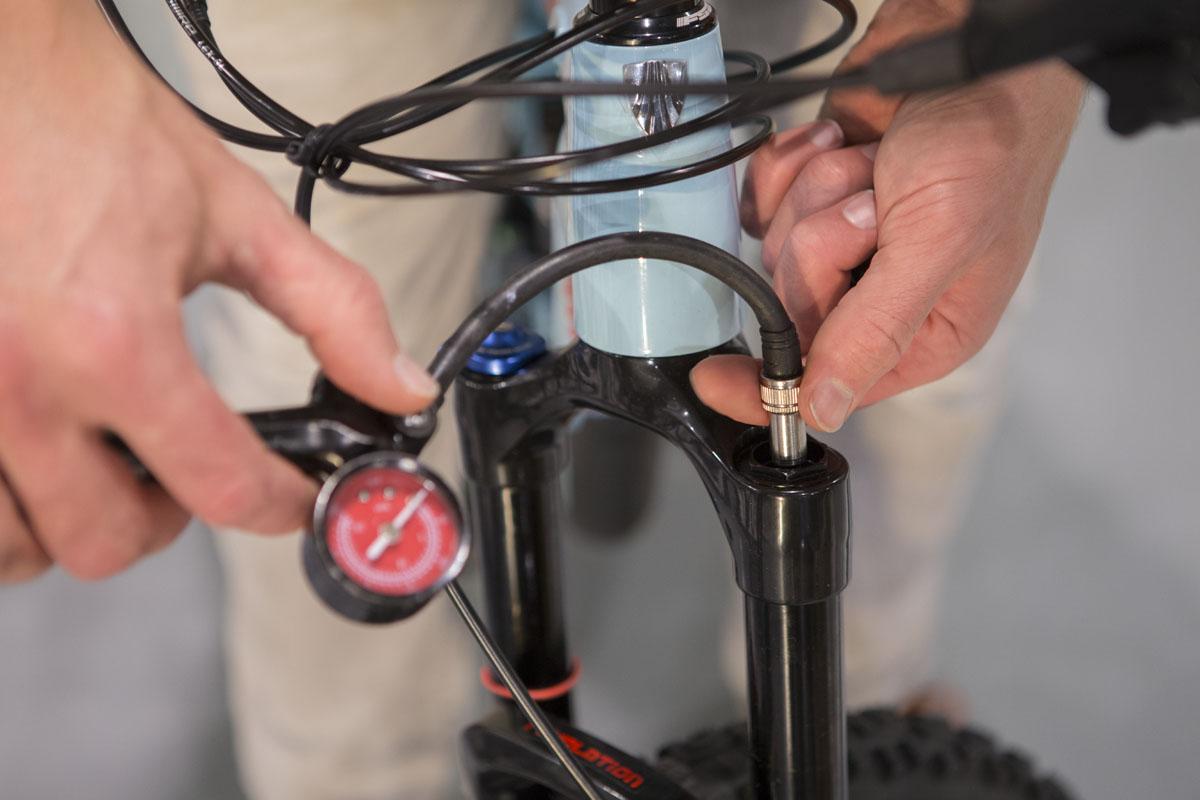
So how do you set up your front fork? Firstly, you’ll need a shock pump with an easy to read pressure gauge. It also pays to have the recommended pressure chart for your specific front fork. In some cases, there’s a list of recommended pressures printed on the fork itself for you to check.
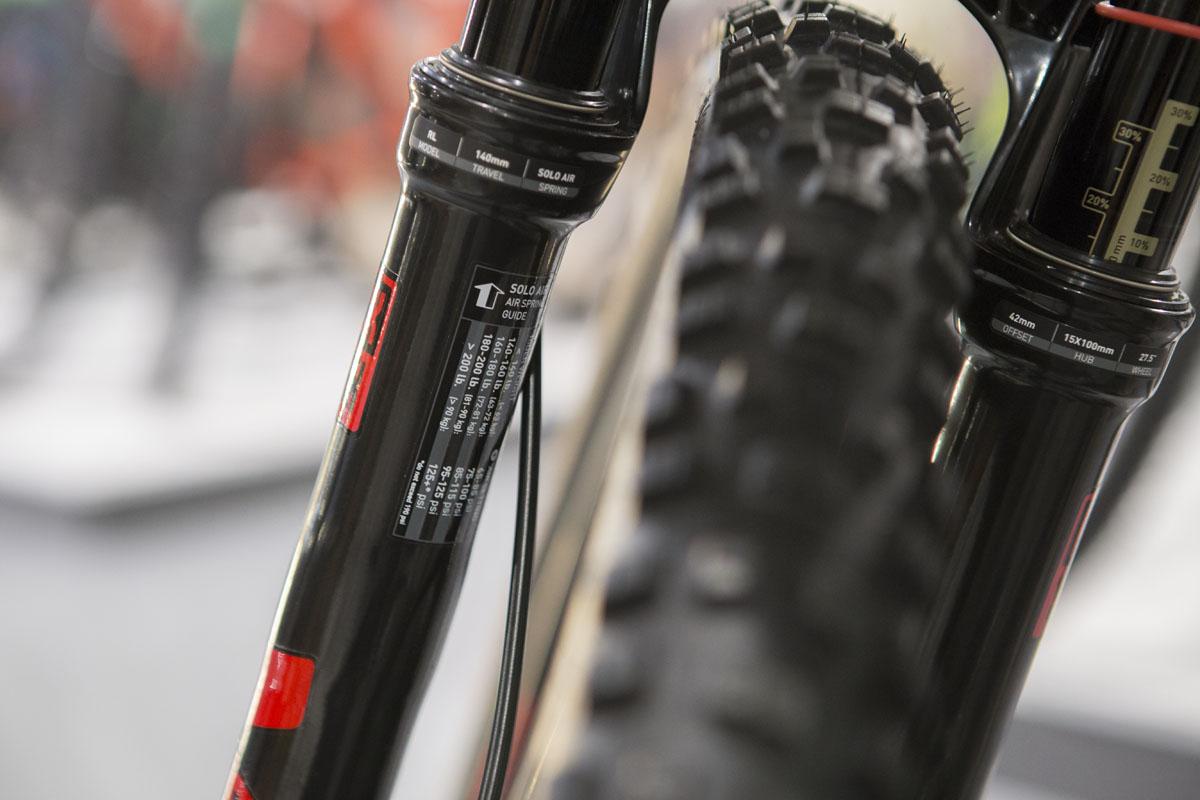
Such a chart can provide you with advice on the right pressure based on rider weight. This is your own weight including all of your cycling clothing and any extra gear you carry.
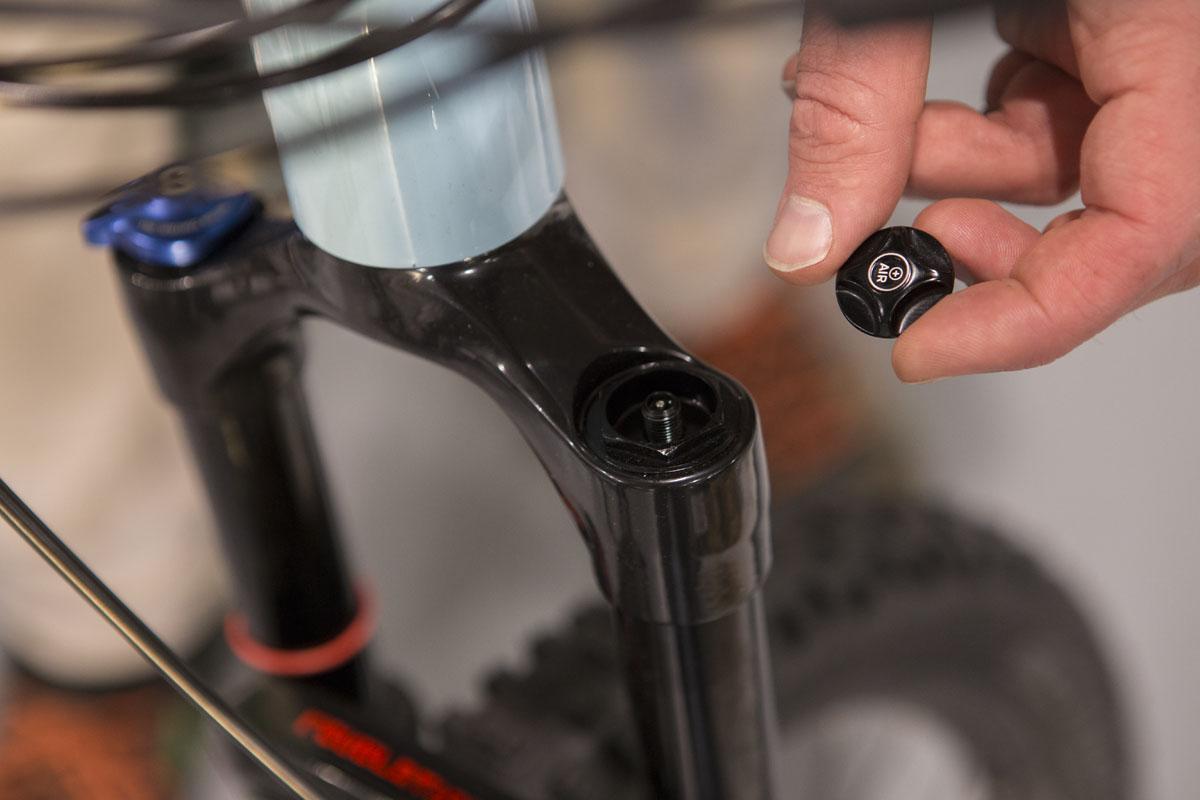
The shock pump helps you set the front fork at the right pressure. You can adjust the amount of “sag” of the fork. Sag refers to the negative suspension travel. This denotes how far the front fork is compressed by simply sitting on the bike.
All in all, the front fork should sag approximately 20% of its total length when you sit idly on the bike. So if your total front suspension travel is 100 mm, the fork should sag roughly 20 mm.
Check it yourself!
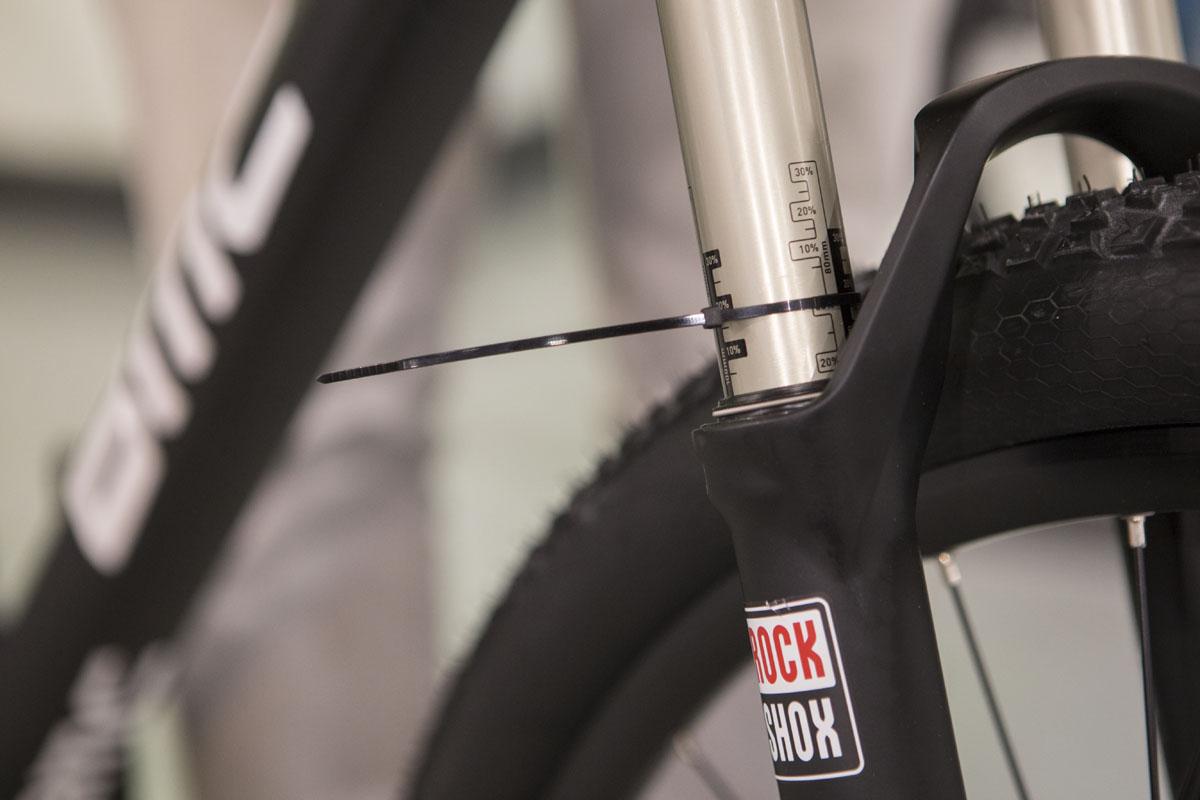
This is something you can easily check. Simply sit down on the saddle and then gently get off the bike from the back. The rubber ring around one of your fork legs shows you how far the fork was compressed. You can also put a tie-wrap around the fork when you’re testing.
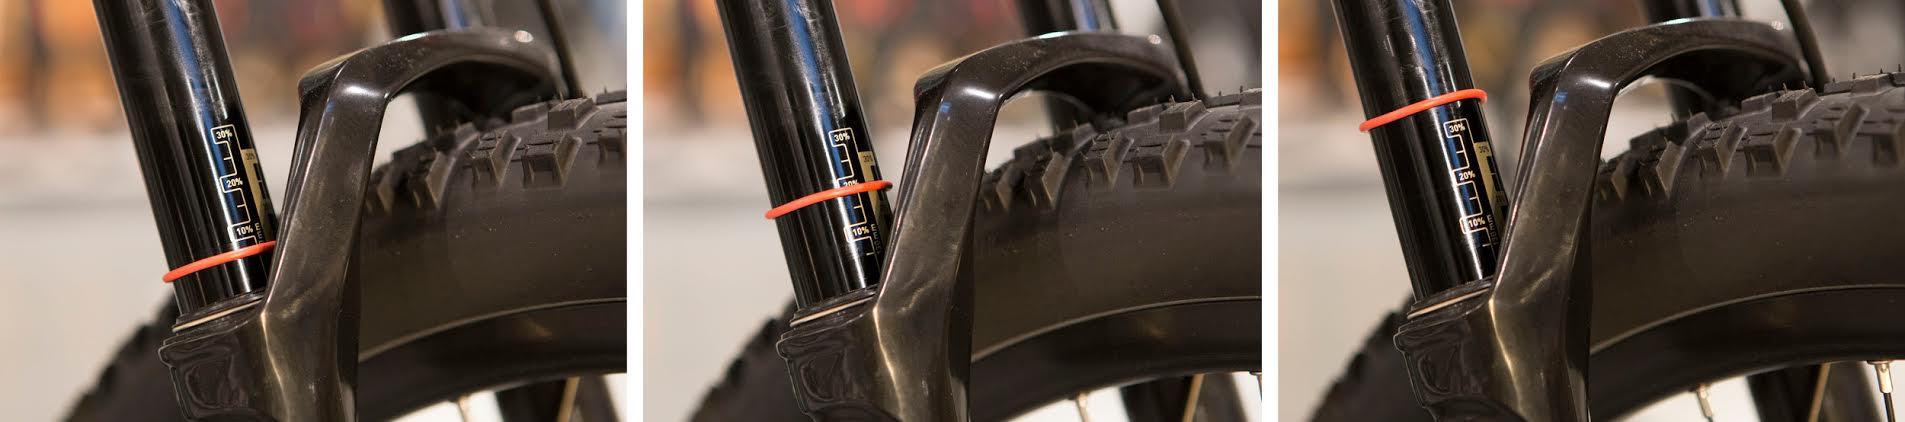
In some cases, the amount of sag is shown on the side of the fork both as a percentage as well as in millimetres. The so-called negative suspension travel is very important.
You’ll want the fork to rebound back when you go through a pothole. This helps you maintain the most contact with the ground, as well as control over your mountain bike.
Contact is Key!
If your front wheel loses contact with the ground, particularly in corners, then you won’t be in control over your bike. Negative suspension travel helps your front wheel remain grounded even when going through potholes, ensuring you maintain traction around corners.
There is such a thing as having too little pressure in the front fork as well. This leads to a poorly handling bike caused by an overly steep headtube angle as well as your fork reaching the end of its suspension travel too hard and too quickly. Having the pressure set properly is essential to how your bicycle responds and rides then!
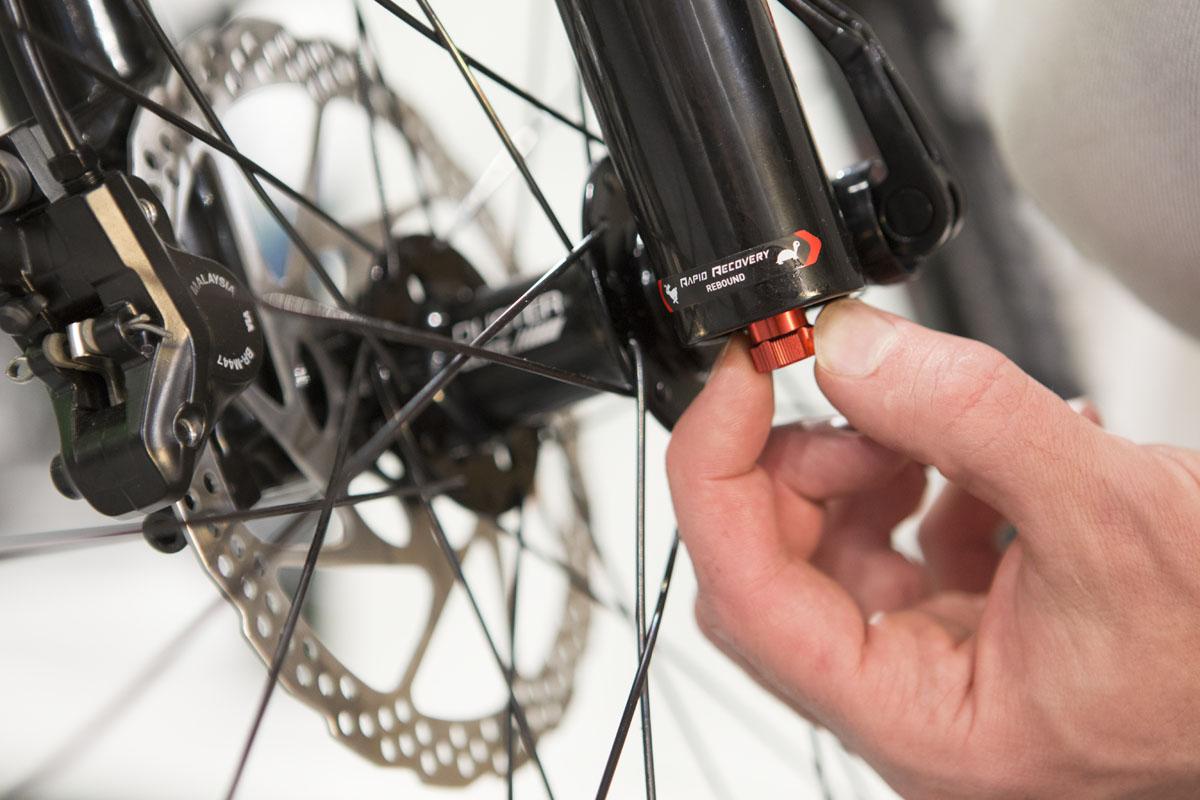
How do you set your rebound?
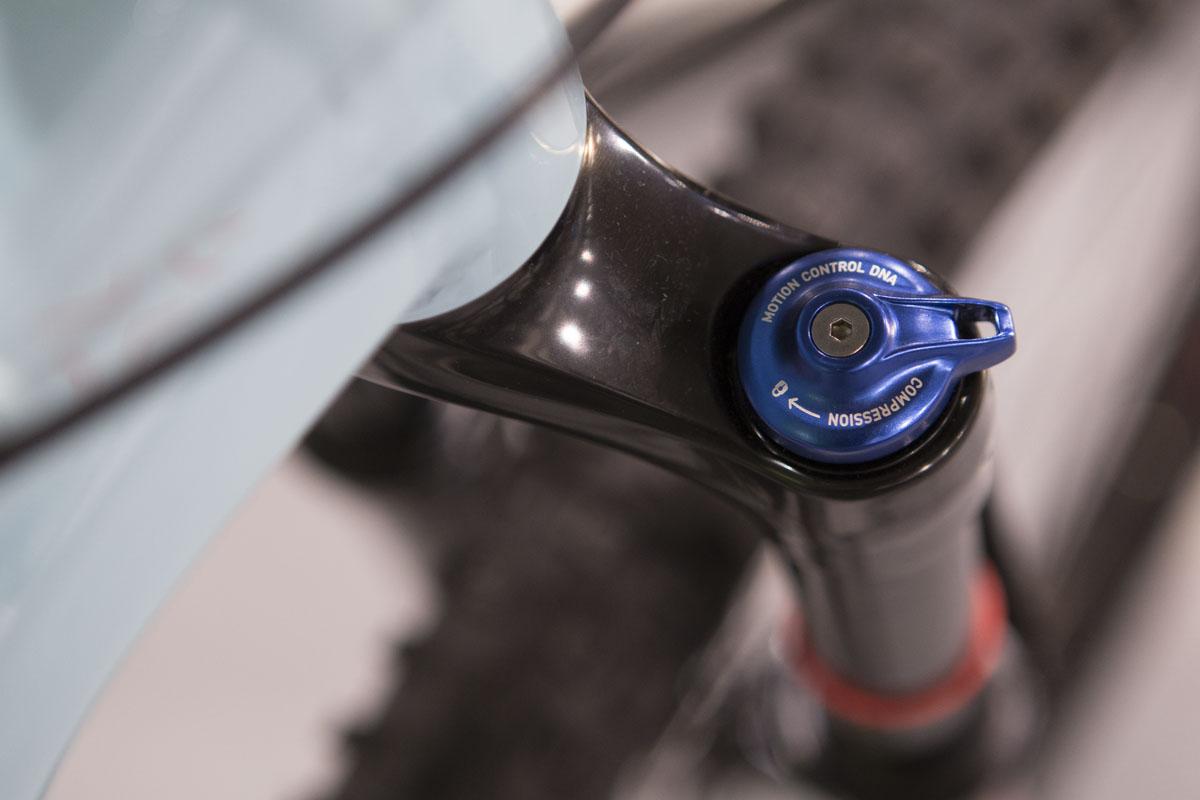
There’s another setting you need to get right besides the shock pressure. That’s the rebound, that refers to the speed at which the front fork returns to its starting position. Too quickly and it’ll act like a pogo stick, too slow and it won’t be ready to absorb the next bump in the road.
On the top, though more often at the bottom of the (right) fork leg, there’s a dial to set the rebound. The tighter this is set, the slower the fork will return to its original position. The lighter, the faster.
Set the rebound as lightly as possible and compress the front fork by leaning on the bars as shown below. Release the fork by quickly letting go (nearly) of the bars. The fork will quickly jump back to its original position.
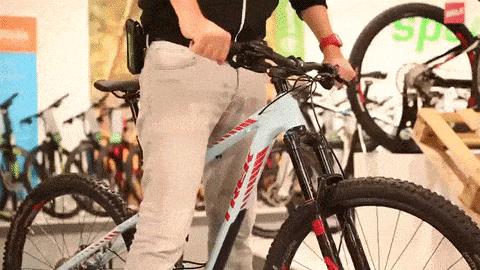
The ideal setting for the rebound is that the front fork resets itself as quickly as possible but without the front wheel bouncing off the ground. Continue to increase the tension on the rebound and repeat the motion shown in the clip.
Once your front wheel stops coming off the ground, your front fork is dialed in properly and you’re ready for a test ride to fine-tune your setup.
Testride
Go for a quick spin on your bike to see whether everything is set right. Use your bodyweight to compress the front fork repeatedly in a pumping motion. The fork should rebound to its original position quickly and not sag or bounce after again.

Does the front fork still bounce around a little? Then slightly tighten the rebound a little more.
Bring your shock pump on the first ride!
That’s how you set the front fork correctly. Take your shock pump with you on the first ride so you can make small adjustments on the go, dialing in your setup. Our friends at GMBN show you the finer details in the video below.
Maurice Reurich
I started racing BMX bikes when I was 5, and got my first road racing licence when I was 8. I spend my time chasing my personal bests these days on Strava, both on my mountain bike and road bike.
Related posts

How To Plan a Route Using Komoot? [How-To]
27 March 2023Planning and finding your own cycle routes sounds more complicated than it actually is ...
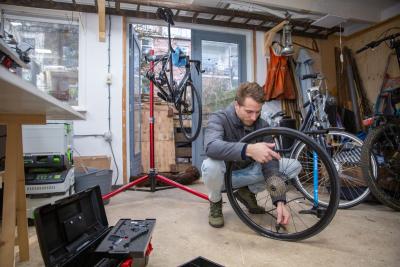
Do your own bike maintenance work! [Do It Yourself Tips]
7 February 2023Buying a new road, mountain or gravel bike is one thing. Maintaining your bike properly is another ...
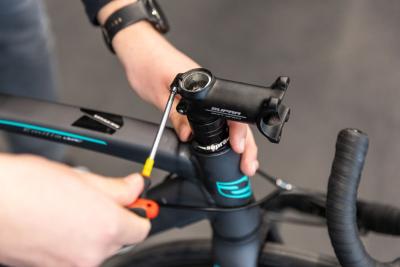
Replace the stem of your road bike in 11 steps [Bike Techcenter]
26 April 2022For road cyclists, being comfortable on your bike is of the utmost importance ...