 Nederland
 België
 Deutschland
 United Kingdom
 Finland
 Ireland
 Luxembourg
 Portugal
 Poland
 Österreich
 France
 España
 Italia
 Sverige
 Danmark


Cleats - How to fit SPD cleats on your cycling shoes
Does clipping in and out no longer go smoothly with your cycling shoes? Or do your shoes constantly slip off the pedals because they are no longer properly attached? If so, chances are that your cycling cleats are worn out and need to be replaced. In this blog, we will explain how to fit SPD cleats on your cycling shoes. The procedure is something you can easily do yourself. Also, some forms of pain such as knee pain, for example, can be reduced or remedied by a better positioning of your cleats.
If you have new cycling shoes, you should always install the cleats yourself. While installing cleats may seem to be a trivial job, cleats with an incorrect placement can ruin your cycling pleasure.
Fortunately, adjusting and installing your cleats is rather simple. Apart from new cleats, you don’t need many tools. If you already know exactly where your new cleats should be, you can get started right away. If you’d like to learn more about how to adjust your cleats first, read the following section.
The difference between cycling cleats for road bikes and MTB
Firstly, it is useful to know that road bike shoes require different cleats than MTB shoes. And that you must check that the cleats fit both on your shoe and on your pedal. The method of replacing cleats for your MTB or road bike is quite similar, so you can follow the same steps.
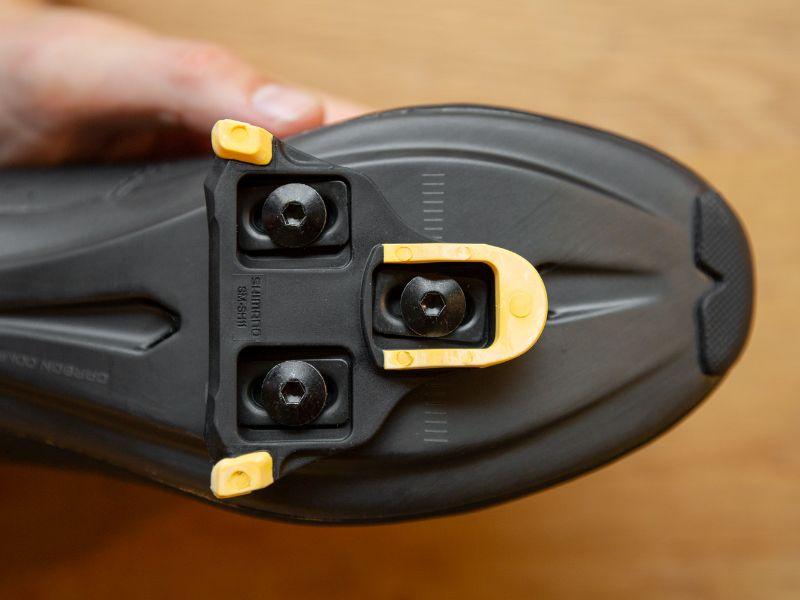
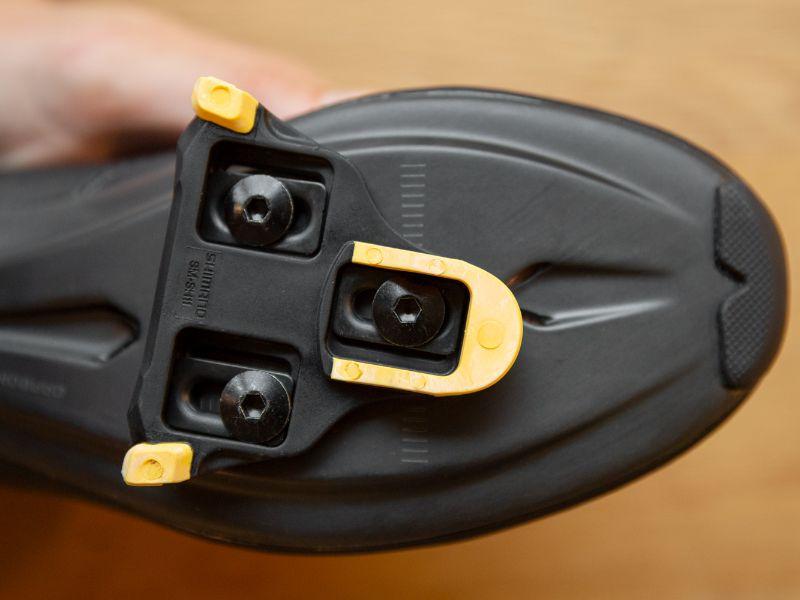
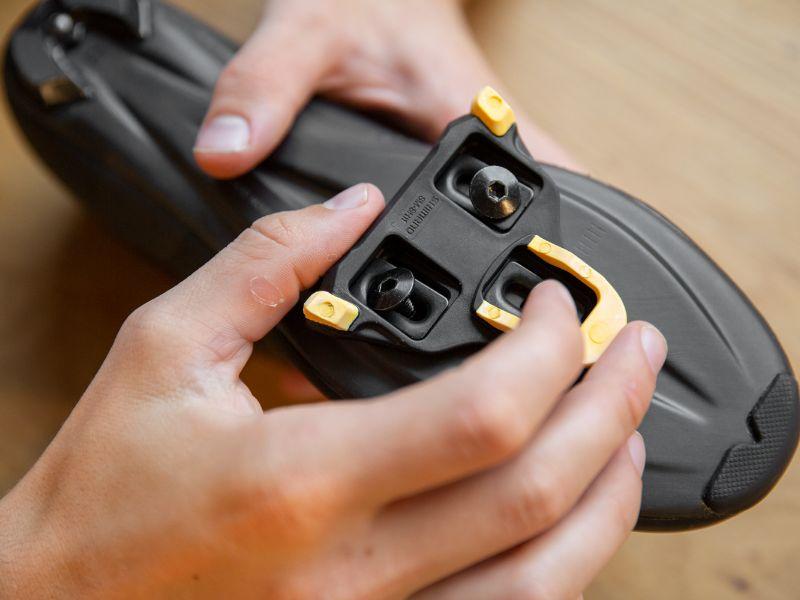
A road bike shoe cleat is (almost) always secured to the shoe with 3 bolts. This applies to cleats from brands such as Shimano SPD-SL, Look Keo and Time. Speedplay cleats have 4 bolts but come with an adapter for 3-hole cycling shoes.
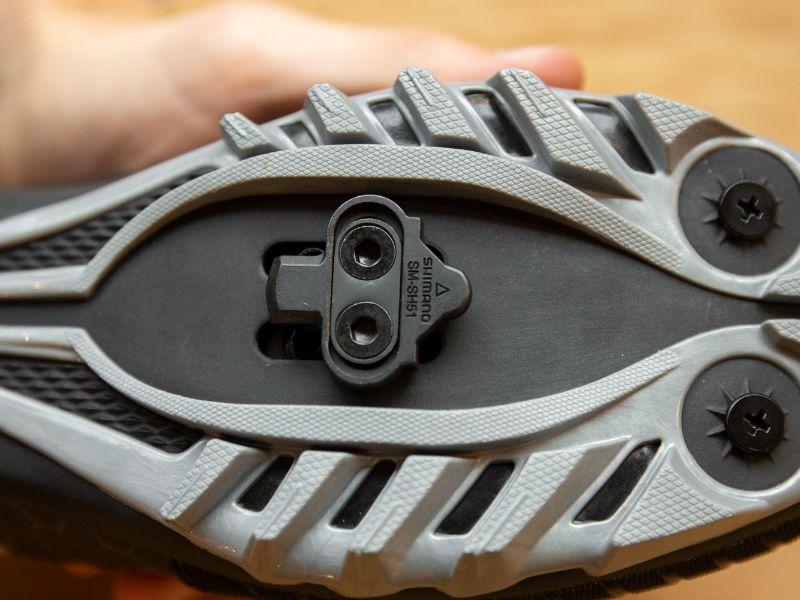
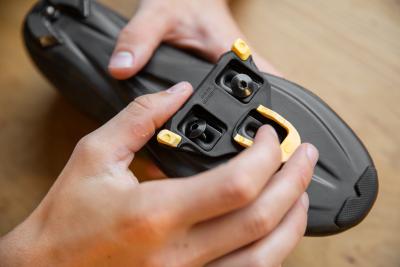
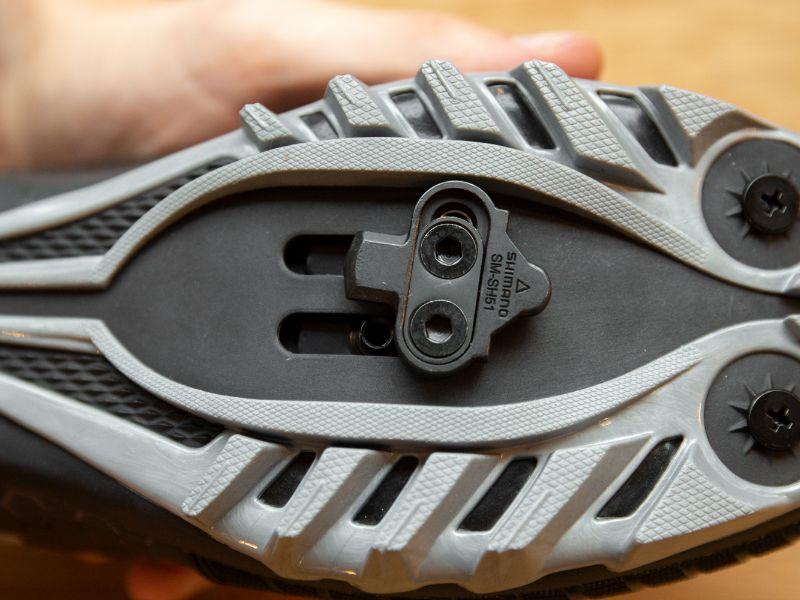
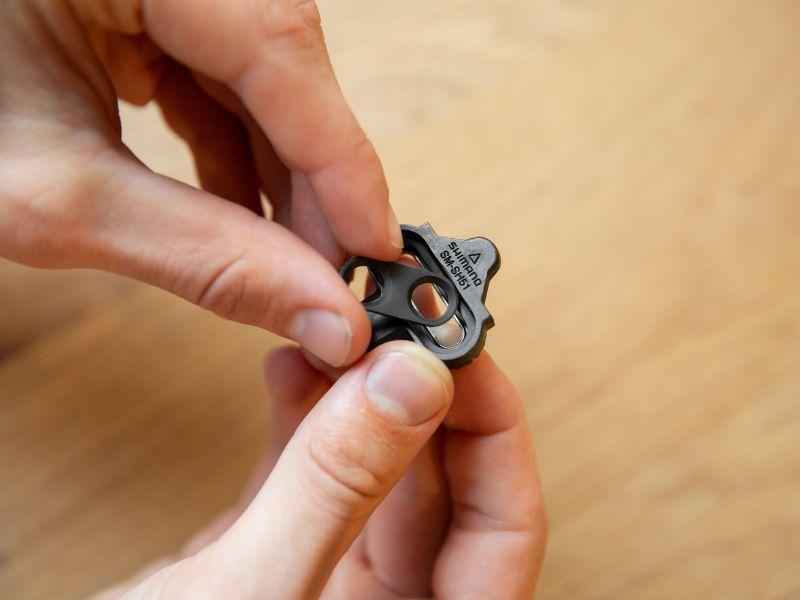
Cleats for MTB cycling shoes are always secured with 2 bolts. Shimano SPD-PD, Crankbrothers, Time, Ritchey and Look are a few brands that offer cleats for mountain bike shoes. The cleat itself is much smaller for mountain bike shoes than that for road bike shoes.
Placing new cycling cleats
If you weren’t happy with the placement of your cleats before and want to change it, or if you have new cycling shoes, there are three positions you need to take into account. We will list them here and then tell you for each position how to place them.
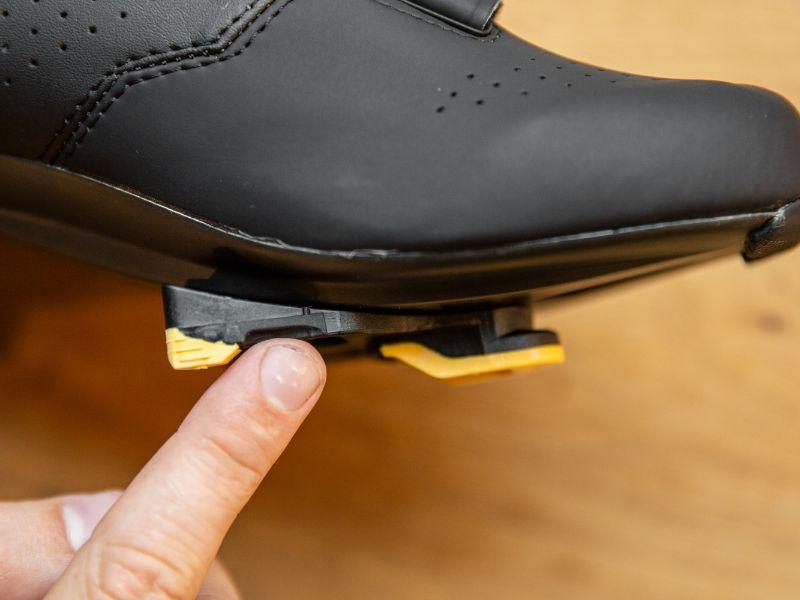
First of all, the position of the ball of your foot in relation to the pedal axle is important. This determines how far forward or backward your foot will be on the pedal. And this then determines how far forward or backward your cleat should be.
Secondly, note the angle between your heel and the crank arm. Do you want your heel to come closer to the crank or be further away from it?
Thirdly, note the distance between your cycling shoe and the crank arm. How close do you want your shoe to be to the crank arm?
1. The position of the ball of your foot in relation to the pedal axle
Most road and mountain bike riders ensure that the ball of the foot is directly above the pedal axle. For the average cyclist this is a good starting position for installing the cleat.

If you cannot feel the ball of your foot very well, use a piece of tape to stick a small bolt on the ball of your bare foot. Then put your cycling shoe on, and it will be much easier to locate the ball of your foot through the shoe.
Once you have located the ball of your foot, draw a short line on the sole of your cycling shoe. You have now marked the first measurement point. The line is the point that should be directly above the pedal axle when you have installed the cleat.
2. Feet inward or outward?
Human feet hardly ever point straight ahead. Either your feet point towards each other with the toes, or your feet point outward with the toes. For your comfort it is important that you take this into account when adjusting your shoe cleats.
To see how to install your cleats, stand still for a moment in an upright position. Look at your feet. Are they straight, with the toes turned inward or with the toes turned outward?
Are your feet parallel? Then install the cleats as straight as possible. Are your toes pointing outward? Then turn your cleats slightly inward when installing them. Or are your toes pointing inward? Then turn the cleats slightly outward when adjusting them. There is no need to compensate for the entire misalignment of your foot, so do not overdo it!
Do you feel pressure or pain in your knees while cycling? Then adjust the cleats just a little. Does the feeling persist? Then you may be wise to check your saddle height, as an incorrect saddle height can also be a source of knee problems.
3. The distance between your cycling shoe and the crank arm
You can also move a cleat from left to right. In doing so, you can prevent the heel or side of your shoe rubbing against the crank, and you can apply pressure to your pedal as straight as possible.
This setting, too, differs from person to person. However you do it, make sure that your shoe does not touch the crank arm when pedalling.
Knee problems and the position of your cycling cleats
If you have physical complaints, such as pain in the knee, these may be caused by the position of your cleats. It may be worthwhile to learn more about this subject first.
If you’re interested in learning more about adjusting your cleats, go to Steve Hogg's website. He is one of the most renowned bike fitters. And on Bikefit.com you will find much more information about installing cleats and bike fitting in general.
Replacing or installing your cleats
Now that you know in which position to install your cleats it is time to get to work. You don't need much to replace or install your cleats. This is your shopping list.
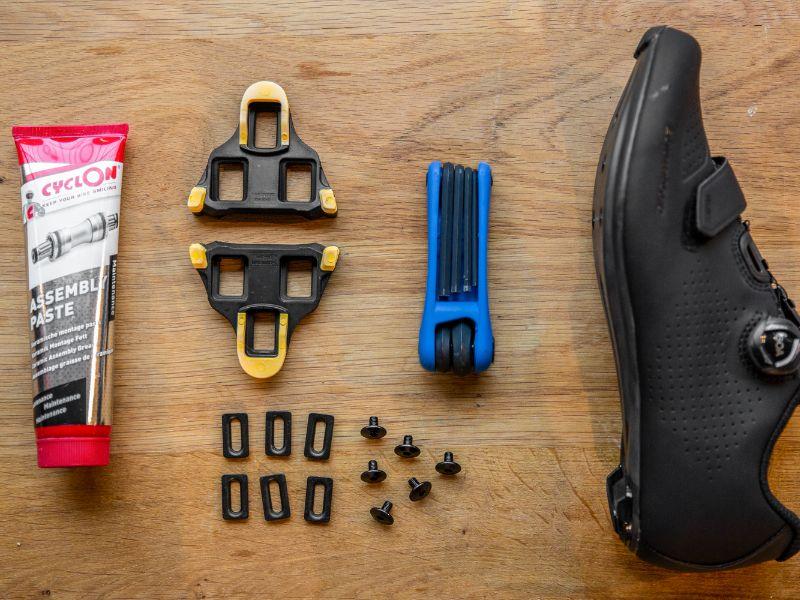
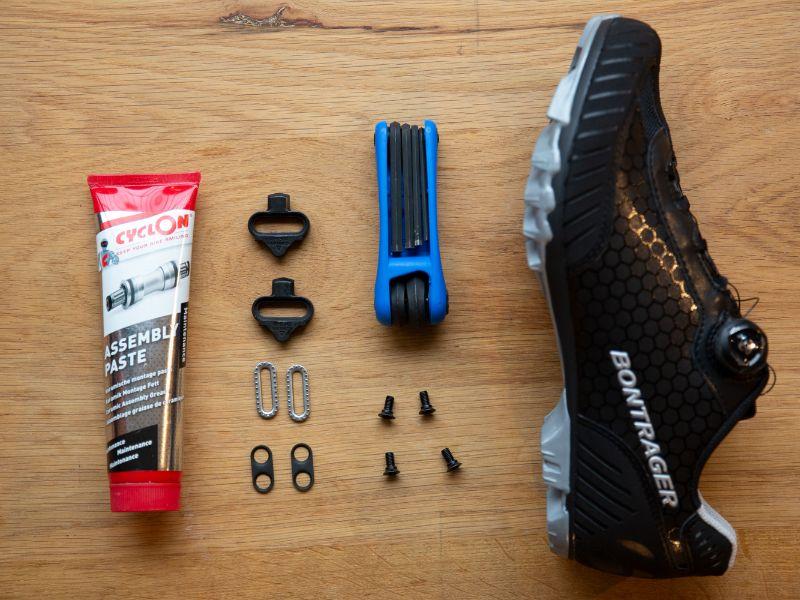
What do you need to replace your cleats?
- New cleats
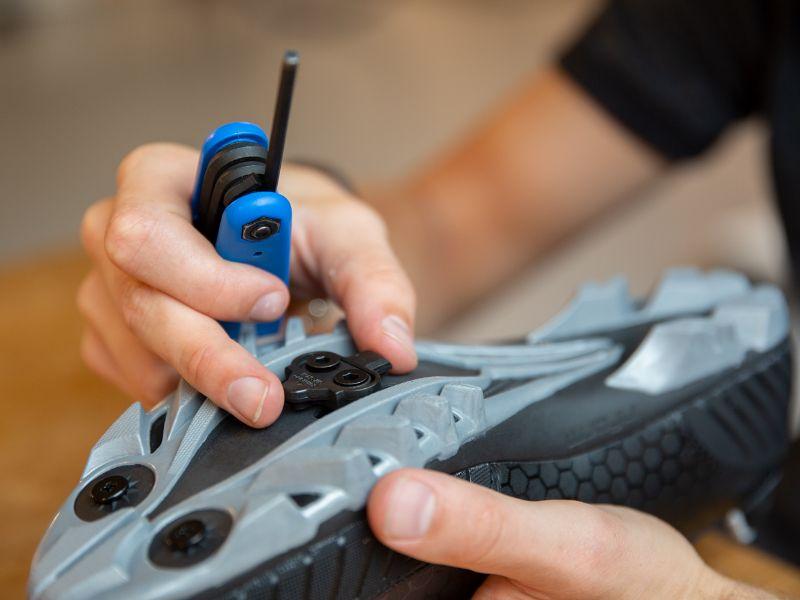
- Allen key 3 or 4 mm
- Assembly paste (or Loctite)
- For sticklers for details there is a measurement aid
How to install a cleat for road bike shoes
We will assume here that you are installing or adjusting a 3-hole system. The 3 holes in your sole correspond with the 3 holes in your cleat.
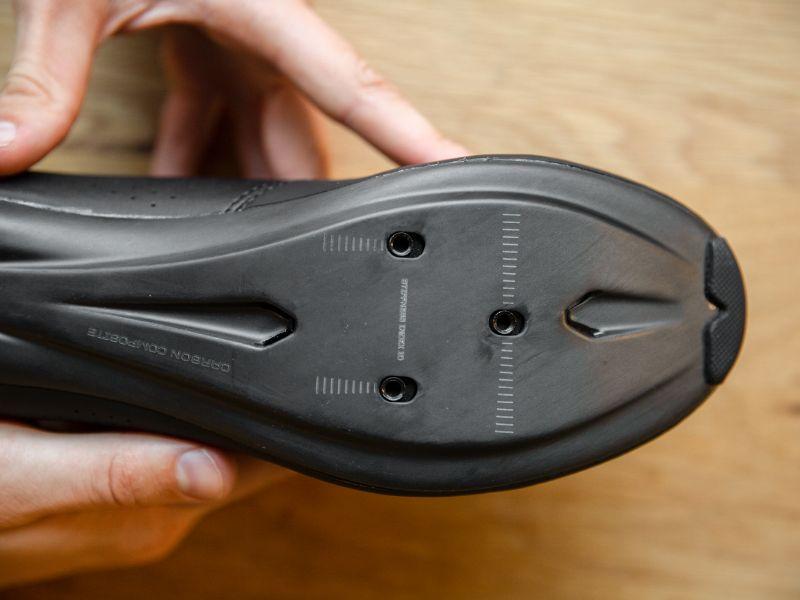
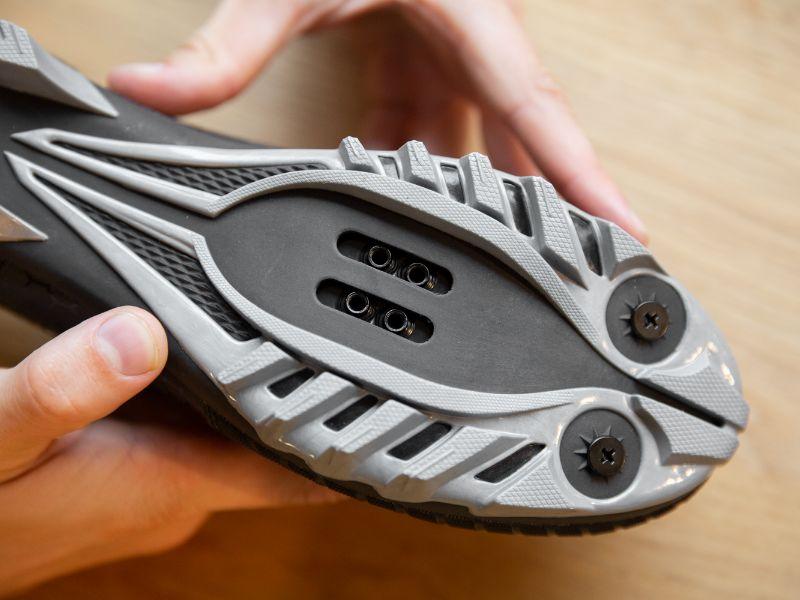
If the sole of your shoe has 4 holes, close together, then you have mountain bike shoes. With mountain bike shoes, you only use 2 of the 4 holes - either the 2 at the front or the 2 at the back. Do you have 4 holes far apart in a large rectangle? Then they are Speedplay-specific road bike shoes.
Are you installing new cleats and were you satisfied with the placement of your old cleats? If so, use a pen to trace the outside of your old cleat on the sole of your shoe before removing the cleat. This will help you to install the new cleat in exactly the same position. With MTB shoes you can often use the imprint of your old cleats to recreate the placement.
Do you have new cycling shoes on which to install cleats? Then you can determine the 3 positions by following the steps listed above.
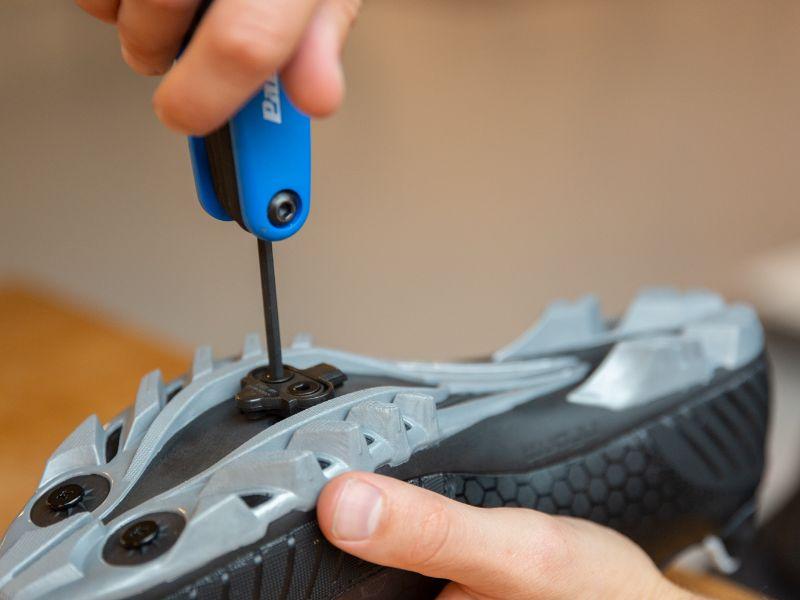
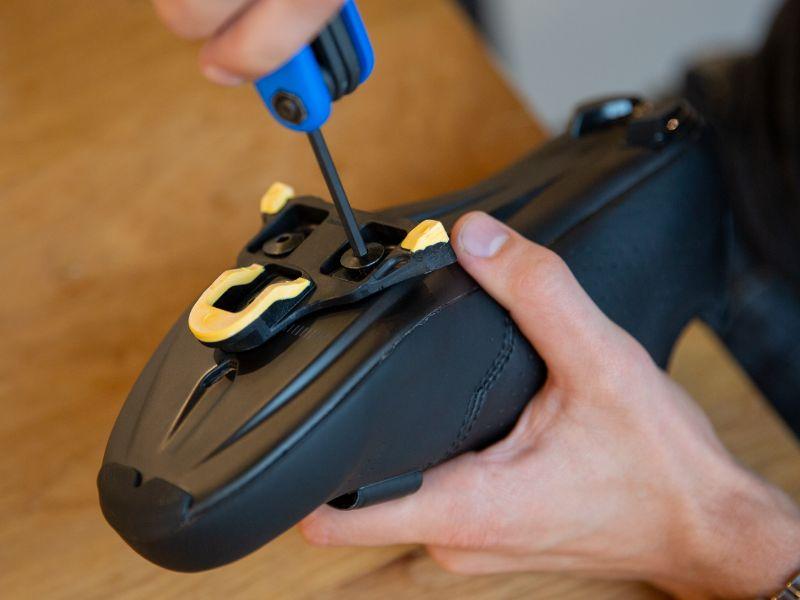
Replacing your cleats in 10+1 steps
- Begin by unscrewing the bolts
- Remove the old cleat
- Give the shoe sole and the holes for the bolts a good cleaning
- Grease the new bolts with assembly paste or Loctite
- Put the new cleat in place
- Turn in the bolts by hand
- Put the cleat in the correct position
- Tighten one bolt a bit, then the second one, then the third one; repeat
- If you have carbon shoe soles, use a torque wrench for the last turns
- Remove any remaining assembly paste
- Make a test ride!
Here are a few more tips on how to remedy common aches and pains.
Tips for remedying knee pain which occurs during cycling
| Painful area | Adjustment option |
| Front of the knee | Move saddle up or backwards |
| Back of the knee | Move saddle down or to the front |
| Outside of the knee | Shoe towards the crank (cleat outwards) |
| Inside of the knee | Shoe away from the crank (cleat inwards) |
| Achilles heel | Foot to the front, cleat further backwards |
Olle Vastbinder
You can find me on a bicycle almost every day. I commute each day from my house to work and back. Often on my road bike, and during the winter on an old crosser. And if that isn't enough, you can find me on my bike during most weekends too. On my trusty road bike or my mountainbike. And if you can't find me outdoors riding my bike, odds are I might be riding on Zwift
Related posts

How To Plan a Route Using Komoot? [How-To]
27 March 2023Planning and finding your own cycle routes sounds more complicated than it actually is ...
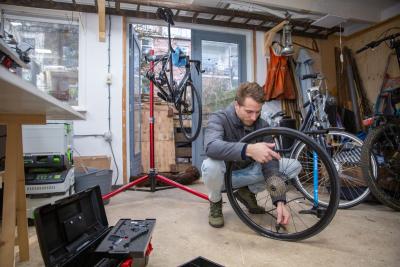
Do your own bike maintenance work! [Do It Yourself Tips]
7 February 2023Buying a new road, mountain or gravel bike is one thing. Maintaining your bike properly is another ...
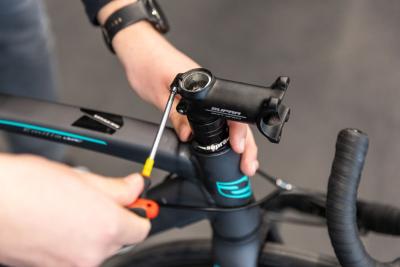
Replace the stem of your road bike in 11 steps [Bike Techcenter]
26 April 2022For road cyclists, being comfortable on your bike is of the utmost importance ...