 Nederland
 België
 Deutschland
 United Kingdom
 Finland
 Ireland
 Luxembourg
 Portugal
 Poland
 Österreich
 France
 España
 Italia
 Sverige
 Danmark


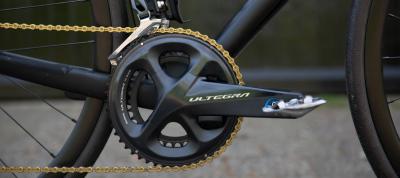
How do you replace the Shimano crankset of your road bike? [How-to]
Replacing a crankset on your road bike is a job you can easily do yourself. It may seem complicated, but it really isn’t. For this occasion we mounted the brand new Shimano Ultegra Stages double-sided power meter. The steps are exactly the same as for replacing a normal Shimano crankset. We will gladly guide you through all the steps. Replacing a Shimano crankset? From now on you can do that yourself!
You don’t need a lot of tools to replace your crankset and it doesn’t matter if you’re mounting a Stages power meter or just replacing a crankset.
Replacing crankset on your road bike: what do you need?
- 2 clean cloths
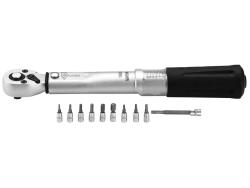
- Torque wrench (or Allen key)
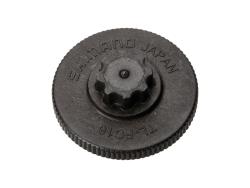
- Cranktool
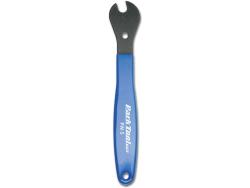
- Pedal wrench (not always needed)
- Assembly grease or Assembly paste
- Bearing grease
- And your new crankset of course
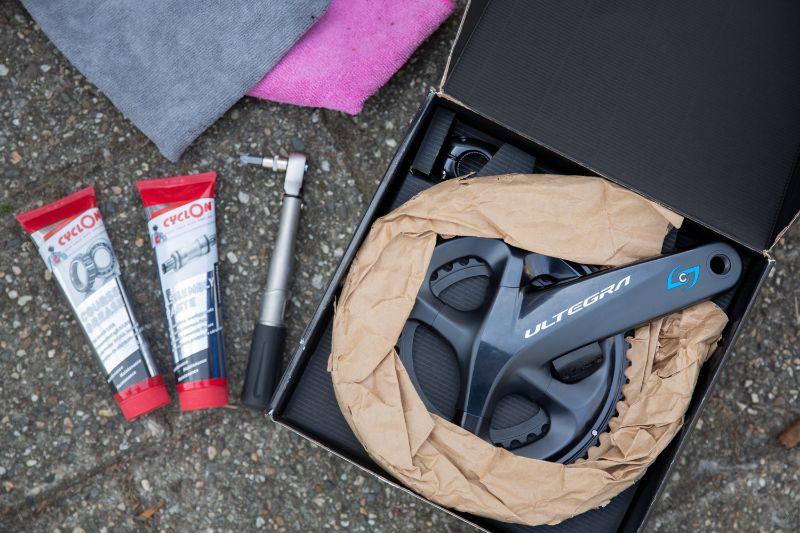
A torque wrench is not necessary, but very useful. You can use an ordinary Allen key, but in that case you can tighten your new crankset less precisely. If you don't run into any problems, you can finish this job on your own in 15-30 minutes.
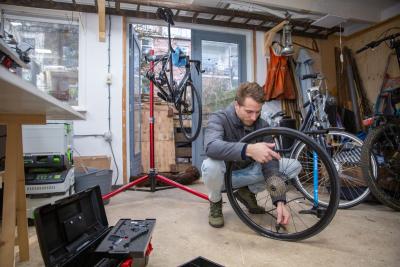
Our bike tools to replace the Shimano crankset
Loosen the pedals
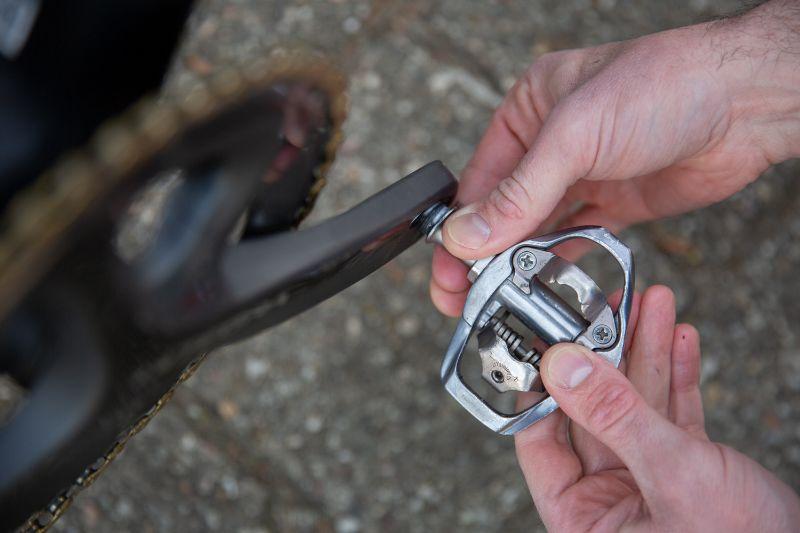
The first step is to remove your pedals. You can use an Allen key or a pedal wrench to do this. In order to unscrew the pedal you have to turn it antirotional.
Loosen the crank bolts and then the crank nut

Your crank arms are always secured on the left side of your bike and the two bolts in your crank arm ensure that your crank arm stays in place. First loosen the two bolts of your crank arm. The large plastic crank nut now holds the two crank arms together. Loosen the crank nut with the cranktool.
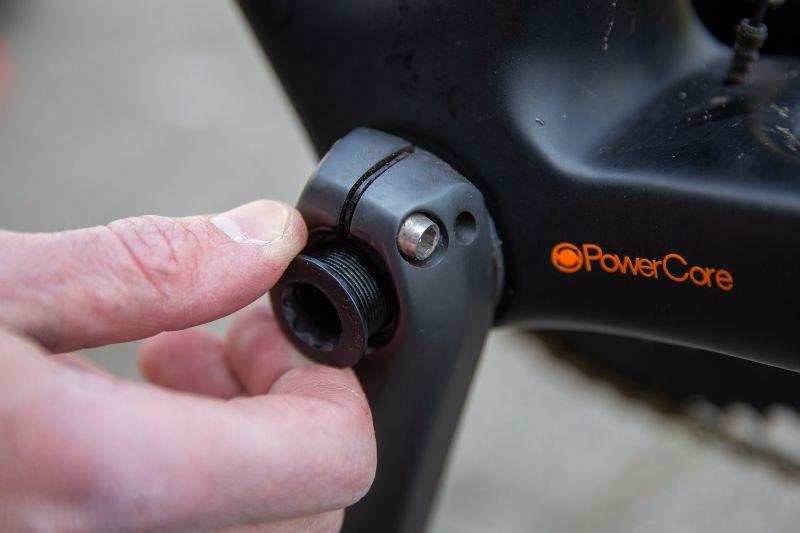
The crank nut is never very tight and can easily be loosened with the cranktool. This part is made of plastic and can easily be damaged, so be careful with it.
Take of your left crank arm
Remove your left crank arm from the bottom bracket. That takes quite some force. A little wiggle with the crank arm helps to get it loose. Always do this carefully, you don’t want to damage your bike.
The drive-side crank arm and chainrings can now be removed from the bottom bracket. It is often easy to shift to your small gear first.
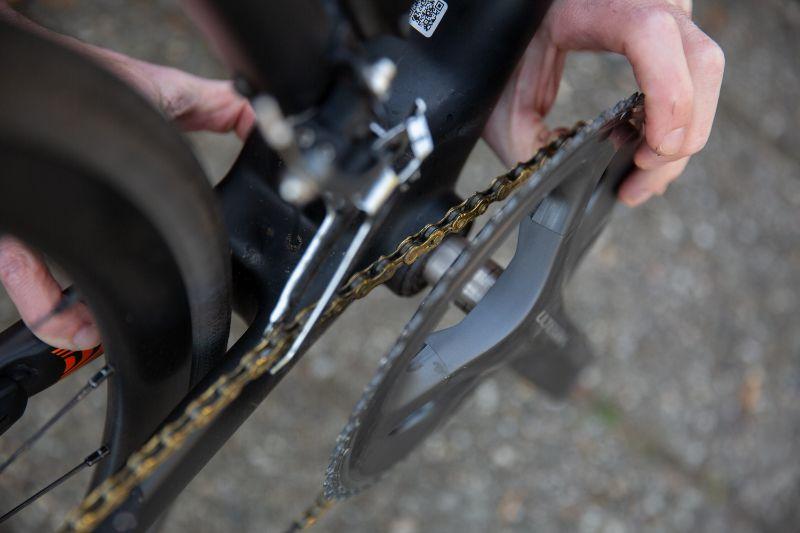
If it starts moving and comes loose, you can then remove the chain.
Clean everything thoroughly
Your crankset is not often removed. When you replace the crankset, it is therefore an added benefit that you can give the bearings and the inside of your bottom bracket a proper cleaning.
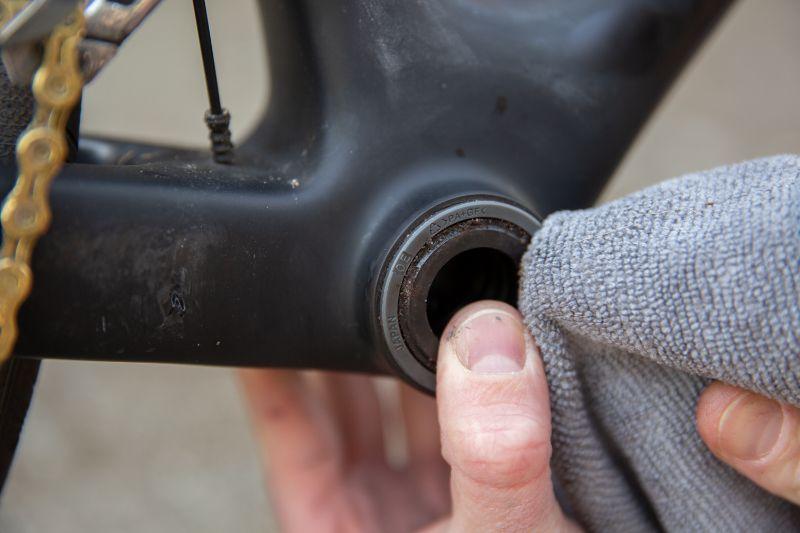
Take a clean cloth and try to get rid of as much dirt as possible. Do this nice and thoroughly. Preferably, do not use water, it can seep into your bearings. Just a dry cloth is often enough.
Lubricate all moving parts
Now that everything in and around your bottom bracket is clean again, you have to lubricate it with bearing grease.
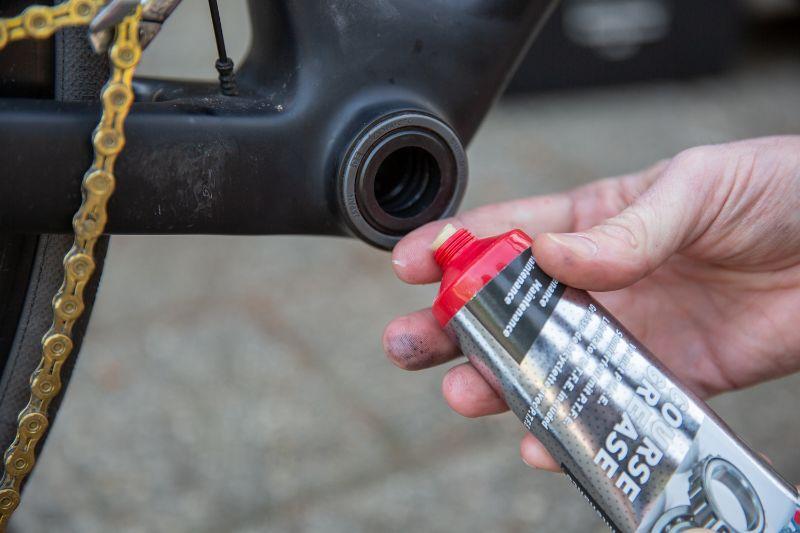
Lubricate your new crank arm and the inside of your bottom bracket. Don't forget the outside of your bearings.
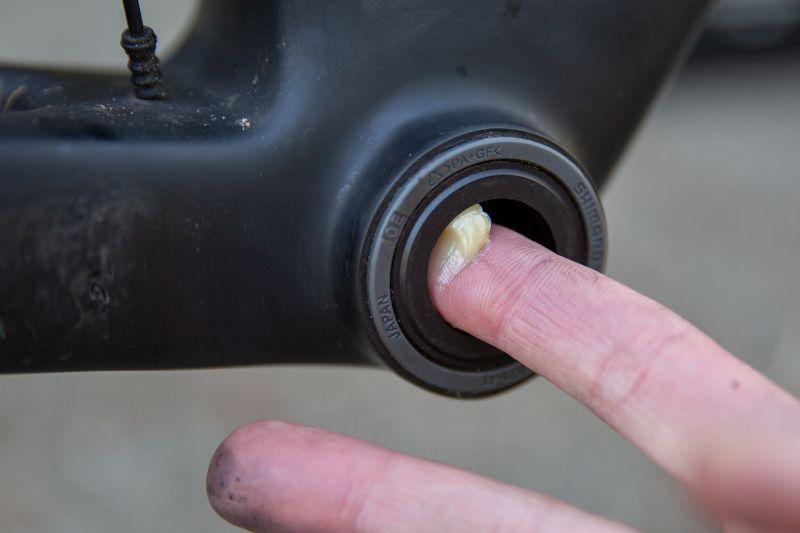
By the way, you don’t have to lubricate the bearings very thickly, that only attracts more dirt.
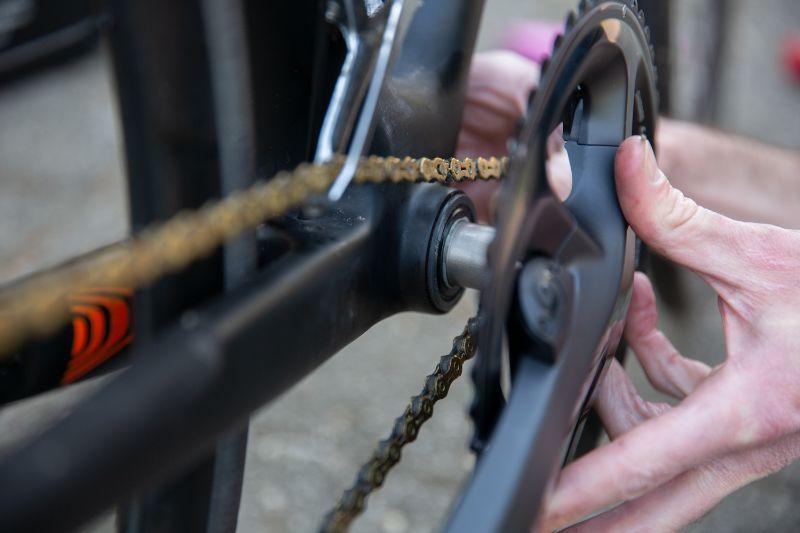
Put the drive-side back into your bike
Now you can put the drive-side back into the bottom bracket. Don’t forget to put the bike chain around your drive-side crank first too.

You won't be the first to forget to hang your bike chain on the right side until the end of the assembly process.
If that does happen to you, it is of course not a disaster. With a chain tool and a new pin you can adjust your chain in no time. And if you also have a Missing Link, it’s a real piece of cake.
Put your chain on the chainring
At this stage, you can put the chain back on the small chainring while inserting the drive-side crank in the bottom bracket.
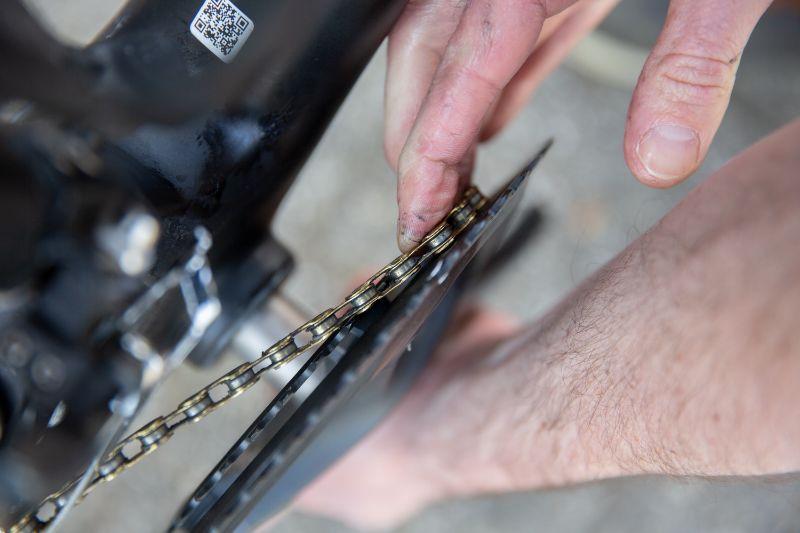
In many cases, starting at the bottom and then rotating your crank arm works the easiest.
Mount your left crank arm
If your bike chain is correctly positioned and your right crank arm is correctly positioned, you can slide your left crank arm over the protruding part of your crankshaft. If all goes well, you can put it around your crankshaft in one way.

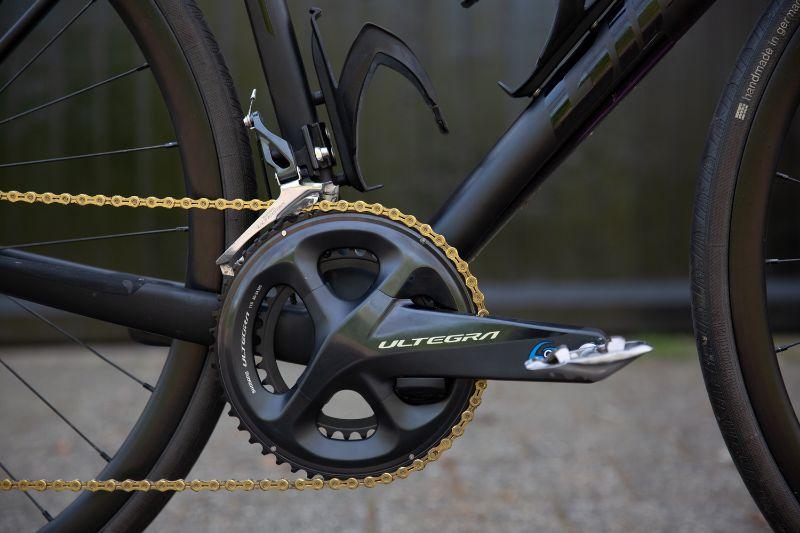
Pay close attention to the position of the crank arm of the drive-side and of course choose the opposite horizontal position. In our case, we mount a Stages power meter, but a normal crank arm is mounted in the same way.

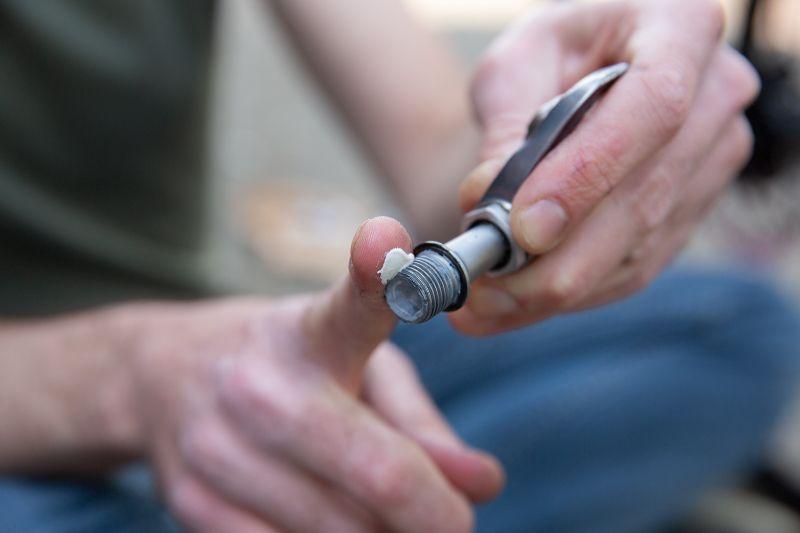
Be sure to put a little bit of assembly paste to the inside of the new crank arm too. That way it will be much easier to take it off again in the future.
Tighten the crank nut
You can now manually tighten the crank nut again. And as always with threaded parts, apply a little bit of assembly paste first.
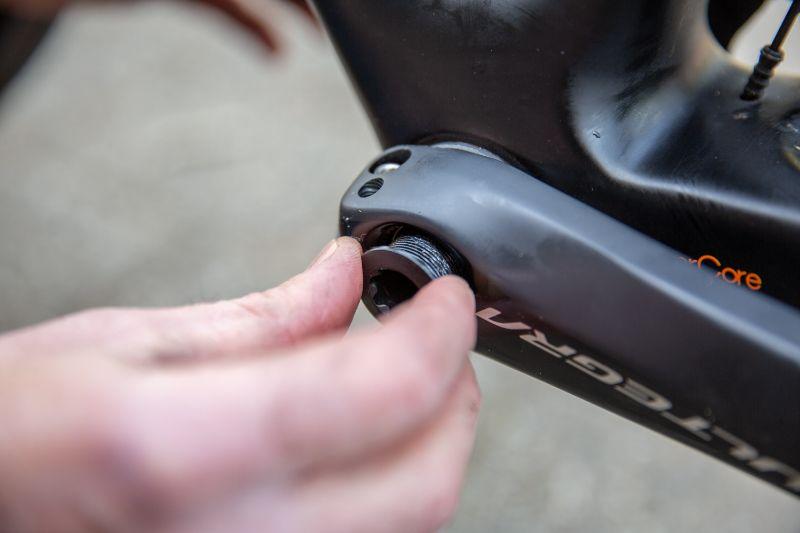
Prise the crank arm just a little bit (!) while tightening the crank nut with the crank tool. This way you’ll prevent any play in the crank. Hand fixed is sufficient.
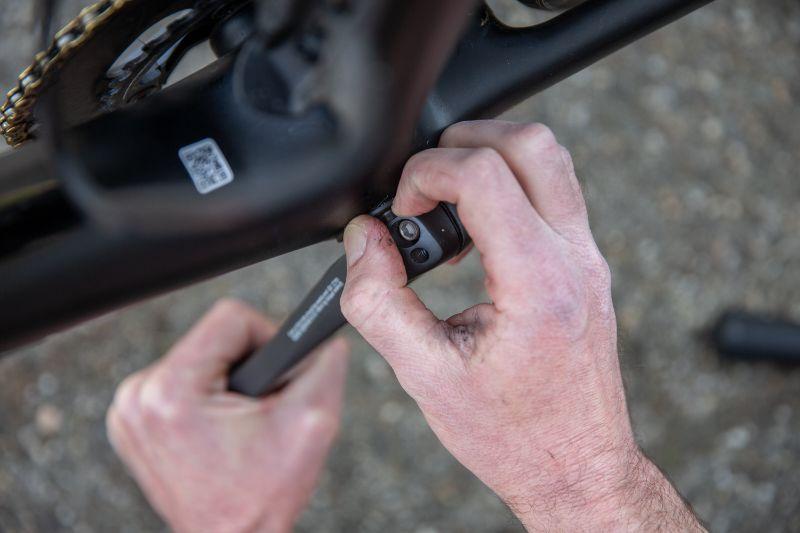
Secure the crank bolts
Now we’re at a point that requires your attention. Tightening the crank bolts must be done evenly and with the right force. In total, the crank bolts must be tightened with a force of 12-14 Nm.
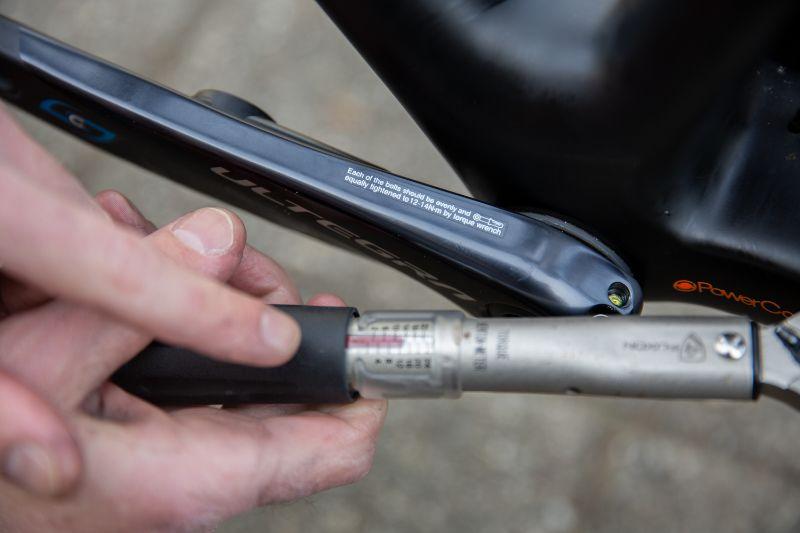
Do not tighten one bolt first and then the second. Tighten the bolts in turns. Build up the pressure so the force is evenly distributed. You can secure them in 4 steps. Firstly, tighten the bolts hand fixed, then to 6 Nm, then to 9 Nm and finally to 12 Nm (or a little more).
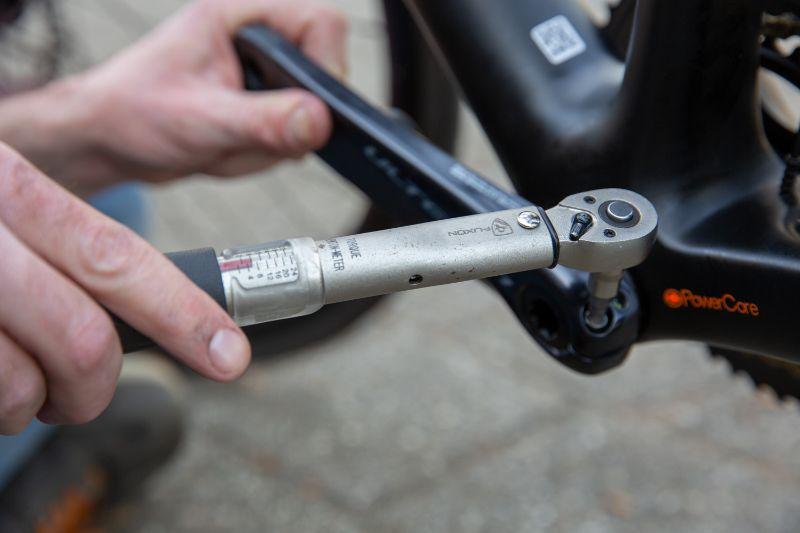
The reason for this is that otherwise you run the risk that one bolt may be tightened to 12 Nm, but the other much more tightly. This can break or tear the bolt.
Check for any play
If the bolts are tightened properly, you can check if there is no play in your bottom bracket. Hold your bike in one hand and pry the crank arm with your other hand. You shouldn't feel any movement or click now.
Give your crank arm a big swing. If it doesn't turn smoothly for 1 full turn, your crank nut is too tight. Does it spin much more than 1 rotation? Then it is too loose.

Is that the case? Then you have to unscrew the bolts and tighten your crank nut a bit more.
Mount your pedals
If all is well, you can now also put your pedals back on. Check carefully if you have your left or right pedal. If you have the right pedal, you can let your bike do most of the work. But don’t forget to apply a bit of assembly paste, of course. By pedalling backwards with the pedal axle fixed in your hand, your pedal turns itselfs in place.
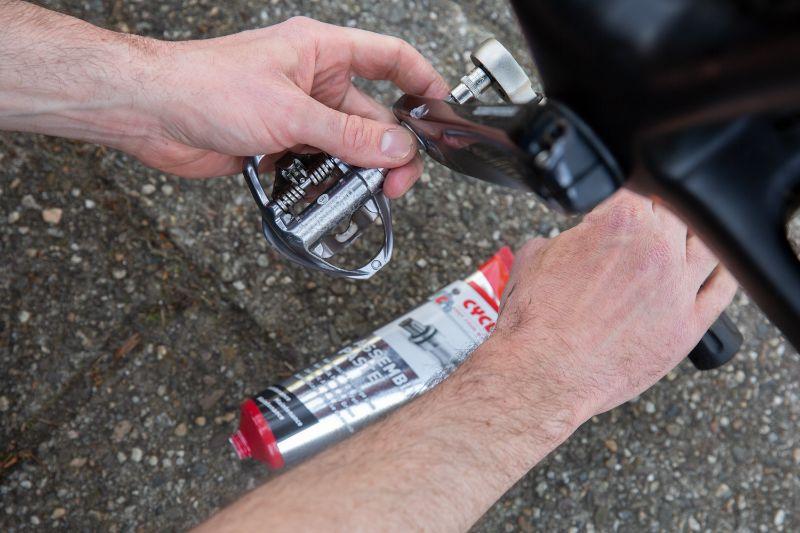
You only need to do the last few strokes with an Allen key or pedal wrench to secure it.
Cycling (and calibrating)
Hop on your bike and see if everything works well. If all goes well, you won’t feel or hear anything out of the ordinary. If you mounted a regular crankset, you are good to go. If you chose a double-sided Stages power meter, you still need to calibrate it.
Are you currently cycling with a single-sided power meter from Stages? In that case you’d only need to buy a right-side power meter. However, in order to mount this power meter you (unfortunately) have to remove your crankset as well.
Stages double-sided power meters
Olle Vastbinder
You can find me on a bicycle almost every day. I commute each day from my house to work and back. Often on my road bike, and during the winter on an old crosser. And if that isn't enough, you can find me on my bike during most weekends too. On my trusty road bike or my mountainbike. And if you can't find me outdoors riding my bike, odds are I might be riding on Zwift
Related posts

How To Plan a Route Using Komoot? [How-To]
27 March 2023Planning and finding your own cycle routes sounds more complicated than it actually is ...
Do your own bike maintenance work! [Do It Yourself Tips]
7 February 2023Buying a new road, mountain or gravel bike is one thing. Maintaining your bike properly is another ...
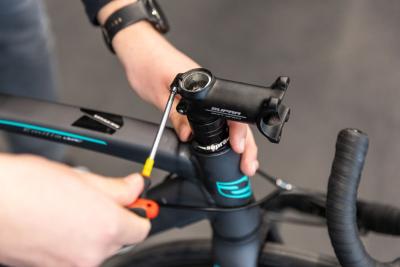
Replace the stem of your road bike in 11 steps [Bike Techcenter]
26 April 2022For road cyclists, being comfortable on your bike is of the utmost importance ...