 Nederland
 België
 Deutschland
 United Kingdom
 Finland
 Ireland
 Luxembourg
 Portugal
 Poland
 Österreich
 France
 España
 Italia
 Sverige
 Danmark


Preventing Punctures - 8 Tips to Reduce Puncture Chance [Beginners]
We all know that friend who cannot for the life of them finish a bike ride without getting a puncture. Yet often, preventing a puncture is very doable. Not only your choice of material can make a difference, your calibration has a lot of impact as well. We’ve got 8 tips for you to reduce or even prevent punctures on road bikes or mountain bikes.
1. Replace your tyre regularly
This might seem obvious, but you need to replace your bike tyre when it’s worn out. Many road bike tyres have an indicator that shows when it’s due to be replaced.
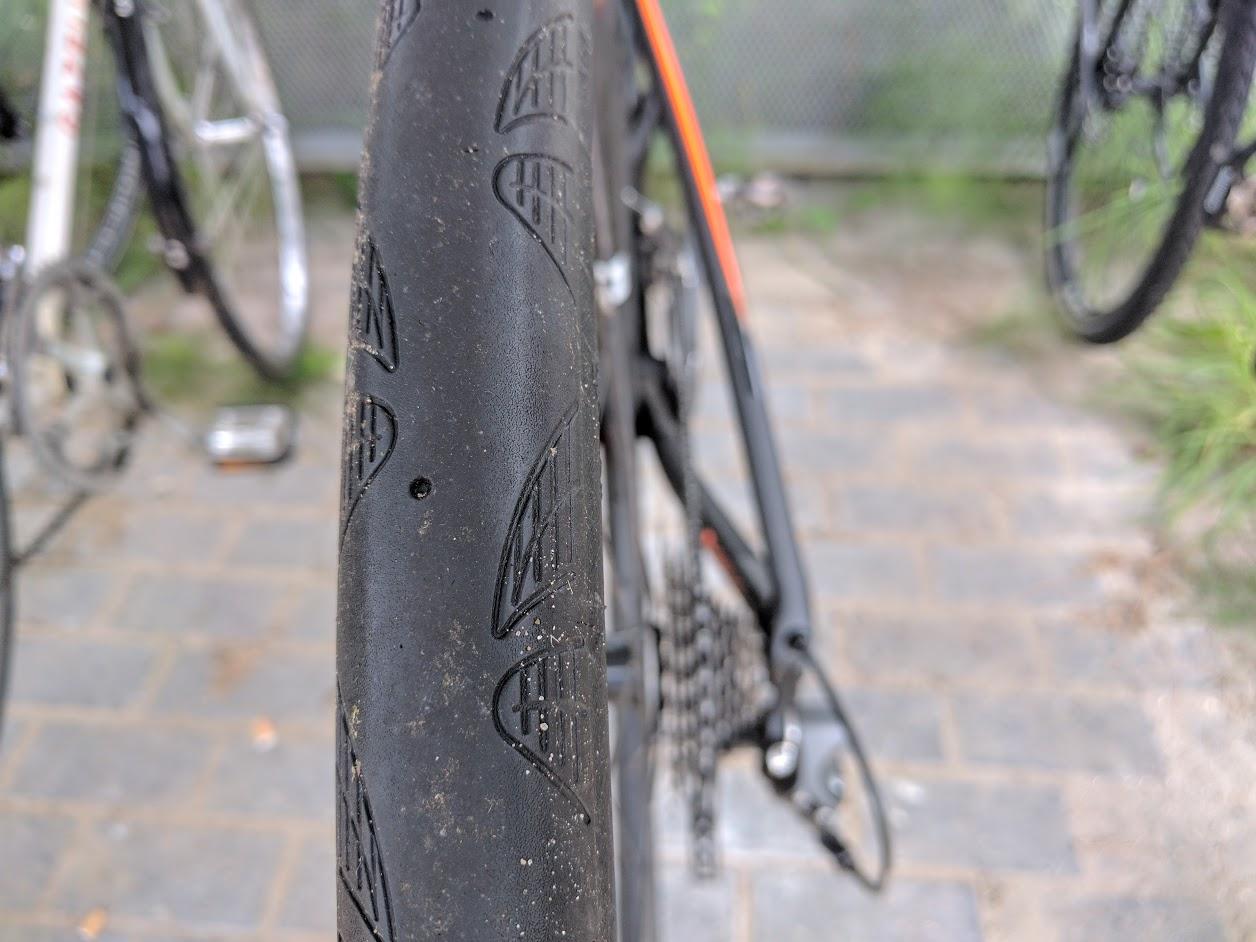
These markings consist of two small holes of a few millimeters wide in the tyre tread. These holes are a few inches apart. Are both holes worn out to the point that they’re barely visible anymore? Time for a new tyre!
Most mountain bike tyres don’t have this indicator. But with these tyres, the studs show wear and tear well enough. If these studs aren’t straight anymore and a bit irregular or frayed, then it’s likely time to mount a new pair of tyres.

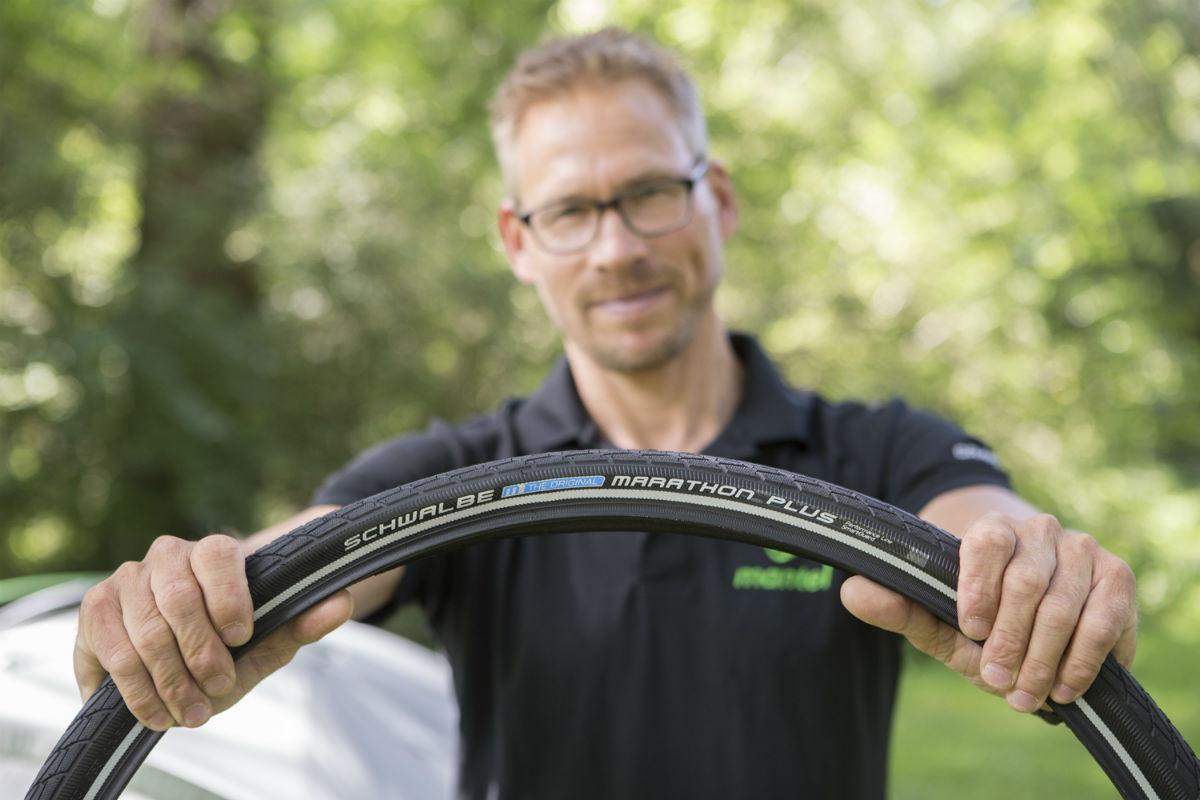
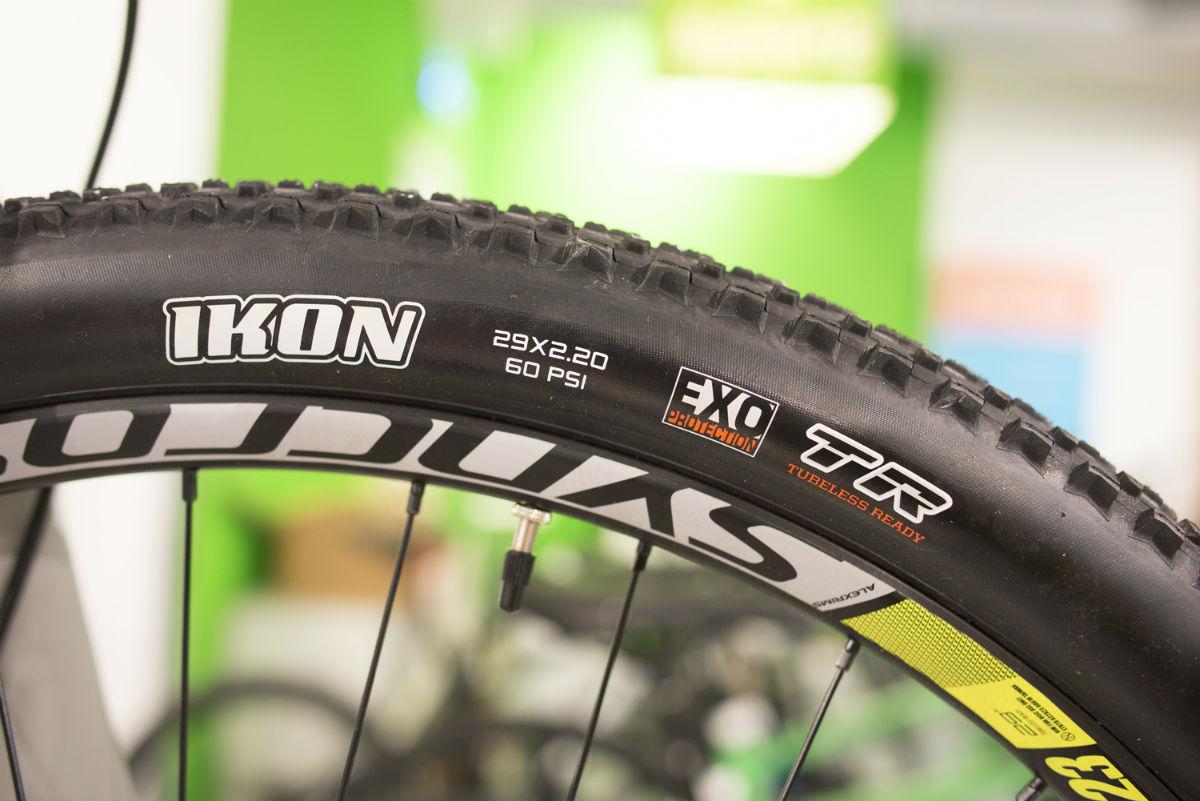
Do you need a new tyre? Then pay attention to the puncture resistance. Not all tyres are the same. Some tyres have high puncture resistance, while other provide more grip and are more prone to punctures.
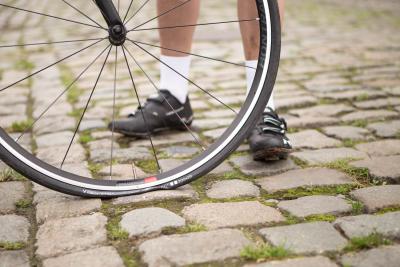
2. Check your tyre
Even if you don’t have a puncture, it’s advisable to regularly check your tyres, ideally after every ride. Any truly passionate cyclist will regularly wash their bike, it’s a small effort to inspect your tyres as well.

Pay extra attention to any sharp objects in your tyre. This is a good time to remove tiny rocks or other objects. Are they stuck? Then deflate your tyre or detach it completely. This will allow you to pick out the evildoer.
3. Check your rim
Did you get a lot of punctures in a short timespan and does your tyre not show any issues? Then inspect the inside of your rim. The rim tape could be damaged or shifted.
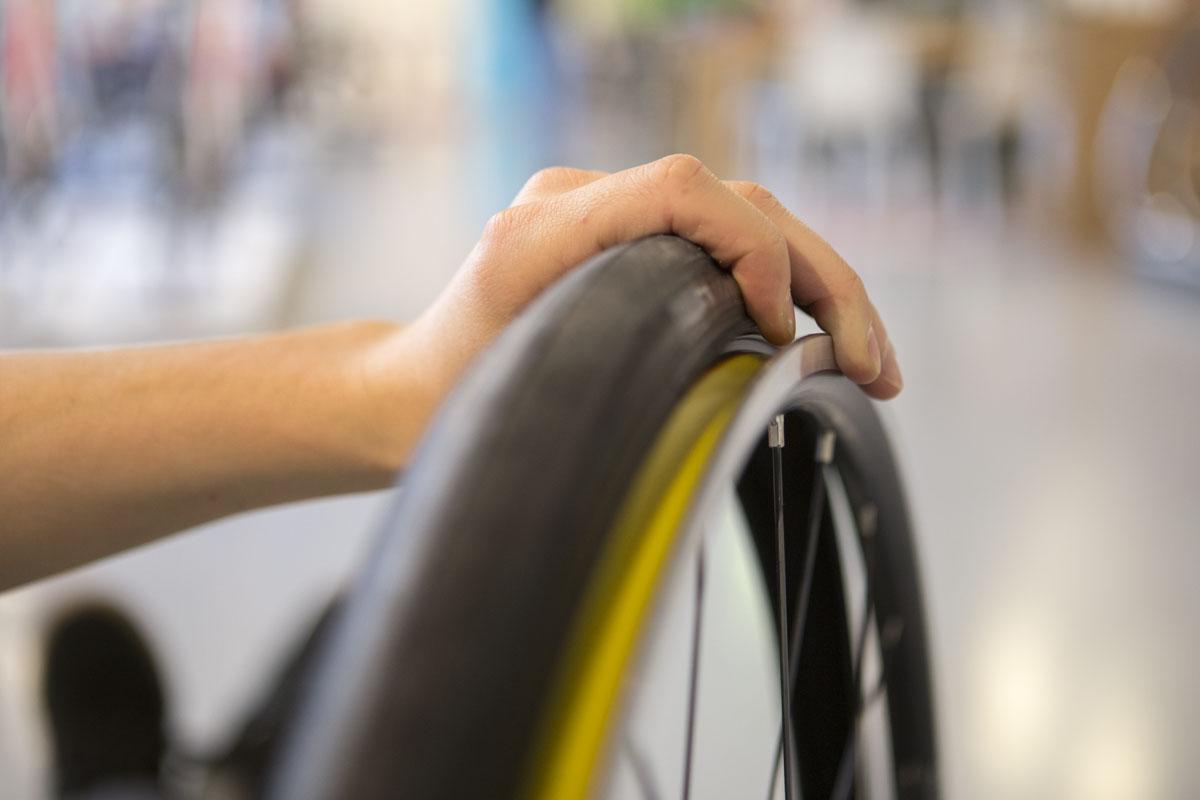
A damaged rim can cause a lot of trouble too. Gently feel around the rim edges. Do you feel any imperfections? See if you can correct them. When in doubt, pay a visit to your local bike repair shop.
4. Replace your inner tube
You might not expect it, but an inner tube wears out too. The rubber will become slightly more crumbly over time.
Are you replacing your tyre? Then it’s advised to replace the inner tube as well. Unless you just replaced it because of a puncture of course…
5. Never repair your punctured inner tube
It seems like a cheap solution to repair your punctured inner tube yourself. But the forces exerted during road biking or mountain biking are stronger than you think. Replacing the tyre is really the best choice.
Of course, during a ride you can choose to use pre-glued patches instead of bringing along spare inner tubes, but even then it’s advised to replace your inner tube after the ride.
You can create the niftiest and nicest things with old inner tubes. So don’t just throw them out, but keep them. They can also function as a chainstay protector for your road bike or mountain bike.
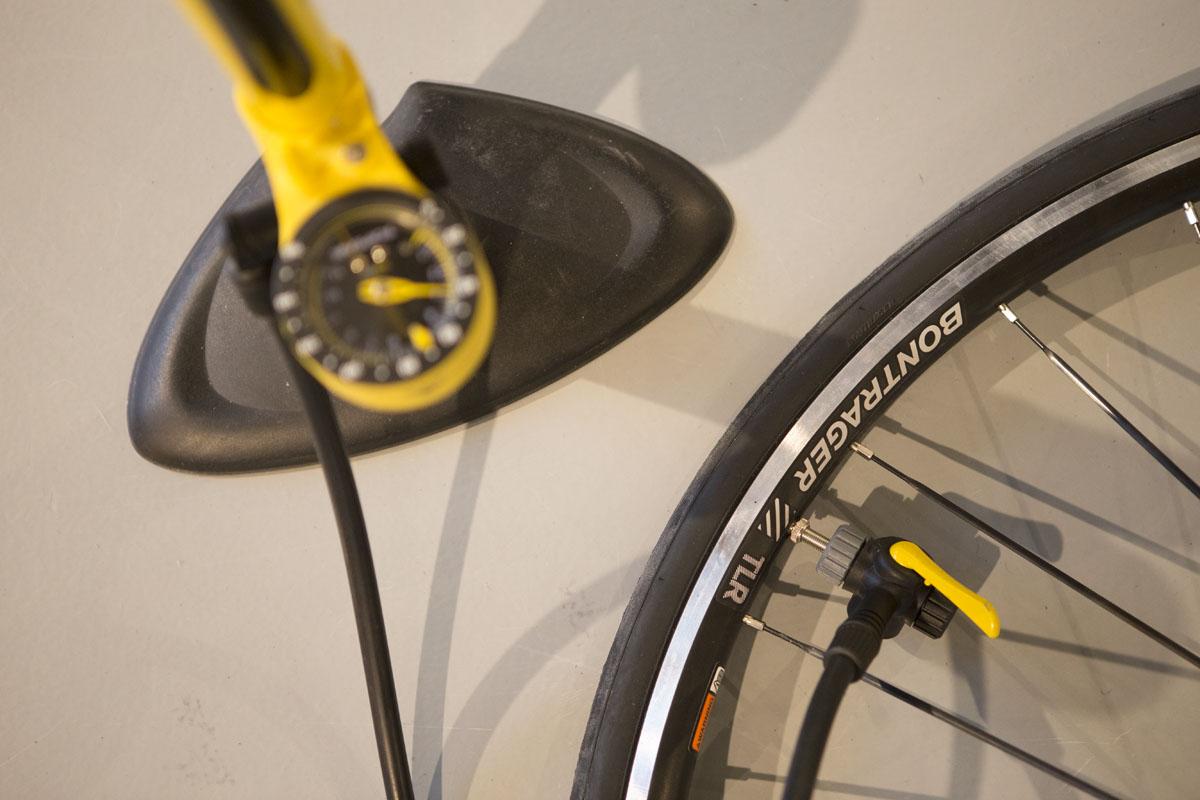
6. Check your tyre pressure regularly
Always make sure you’re cycling with the right tyre pressure. A too high or too low tyre pressure only increases the likelihood of punctures. With road bike tyres becoming wider and wider, it’s not unheard of to ride with 6 bar or even less.
With mountain bikes, tyre pressure above 3 bar is very high already. Most mountain bike tyres have no issue with a tyre pressure of 2 bar maximum.
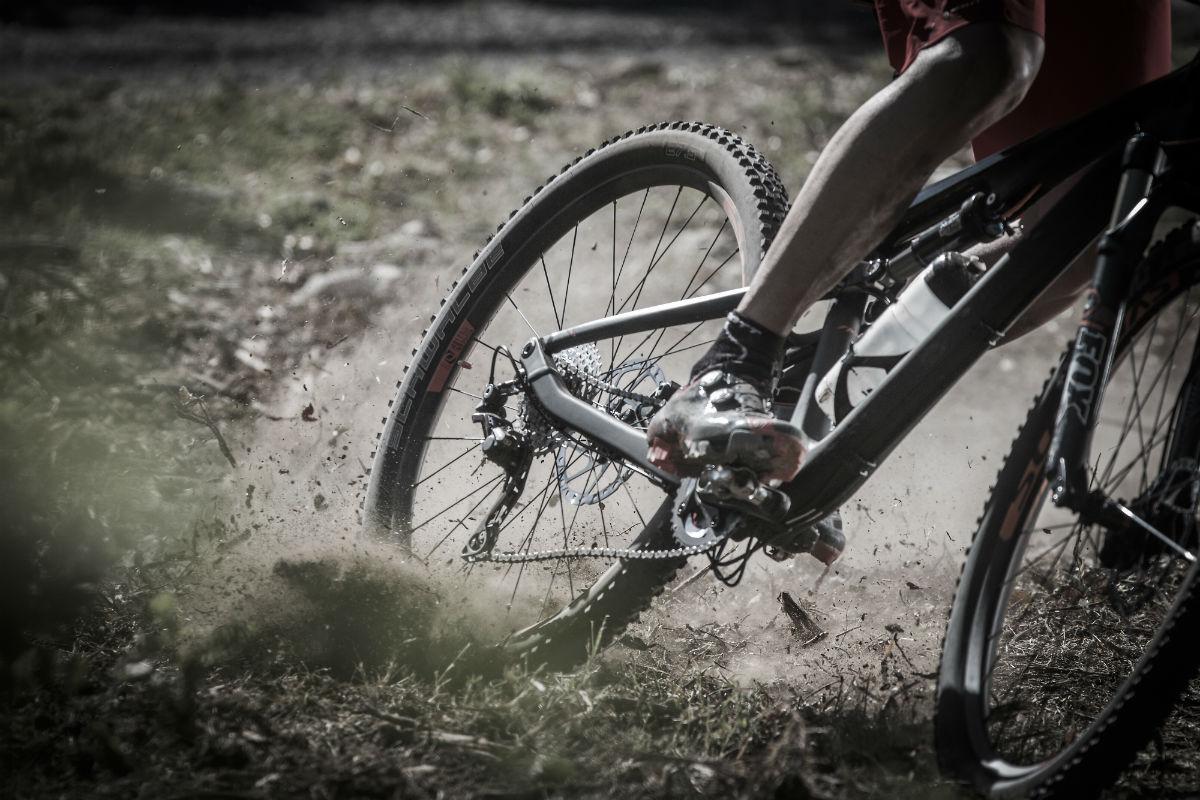
However, a tyre pressure that’s too low can also cause trouble. When encountering unexpected bumps, the rim could smash into the bump, squashing the tyre. Among mountain bikers, this phenomenon is known as a snakebite. The resulting damage looks like a snake bit into your tyre.
7. Go Tubeless
It’s getting more and more common, but tubeless riding on road bikes is still in its infancy. Tubeless means you cycle with a special tubeless tyre with liquid latex inside. This latex will seal off any punctures you might get during cycling.

But these holes aren’t just sealed automatically. Tubeless riding has the added benefit that the chances of getting a puncture are lower. On top of that, you can ride with a lower tyre pressure, which feels a lot more comfortable.
Looking to convert your road bike to tubeless yourself? It’s not hard at all. We wrote an extensive blog on how to turn your road bike tyres tubeless yourself quickly and easily.
8. Put some tubeless latex in your inner tube
One last tip is to put some tubeless latex in your inner tube. That way, you won’t need to convert your tyre to tubeless, but you will get the added benefits from tubeless puncture resistance.
Preventing punctures with tubeless latex
- Remove the valve core from your valve
- Pour just as much liquid latex in your inner tube as you would in a tubeless tyre.
- Screw the valve core back in.
- Re-inflate your inner tube
Olle Vastbinder
You can find me on a bicycle almost every day. I commute each day from my house to work and back. Often on my road bike, and during the winter on an old crosser. And if that isn't enough, you can find me on my bike during most weekends too. On my trusty road bike or my mountainbike. And if you can't find me outdoors riding my bike, odds are I might be riding on Zwift
Related posts

Gift ideas for Christmas: a perfect present for every cyclist!
8 December 2023Gift ideas for Christmas: a perfect present for every cyclist!The Christmas holidays are just around the corner! If you ...
What winter cycling gear do I need for which temperature? [Buyer's Guide]
18 October 2023The leaves on the trees are slowly turning shades of red and yellow ...
Shimano Launches New Mechanical 12-speed Gravel GRX 820 and 105 R7100 Road Bike Groupsets
31 August 2023The cycling world is constantly innovating to improve performance and the cycling experience ...