 Nederland
 België
 Deutschland
 United Kingdom
 Finland
 Ireland
 Luxembourg
 Portugal
 Poland
 Österreich
 France
 España
 Italia
 Sverige
 Danmark


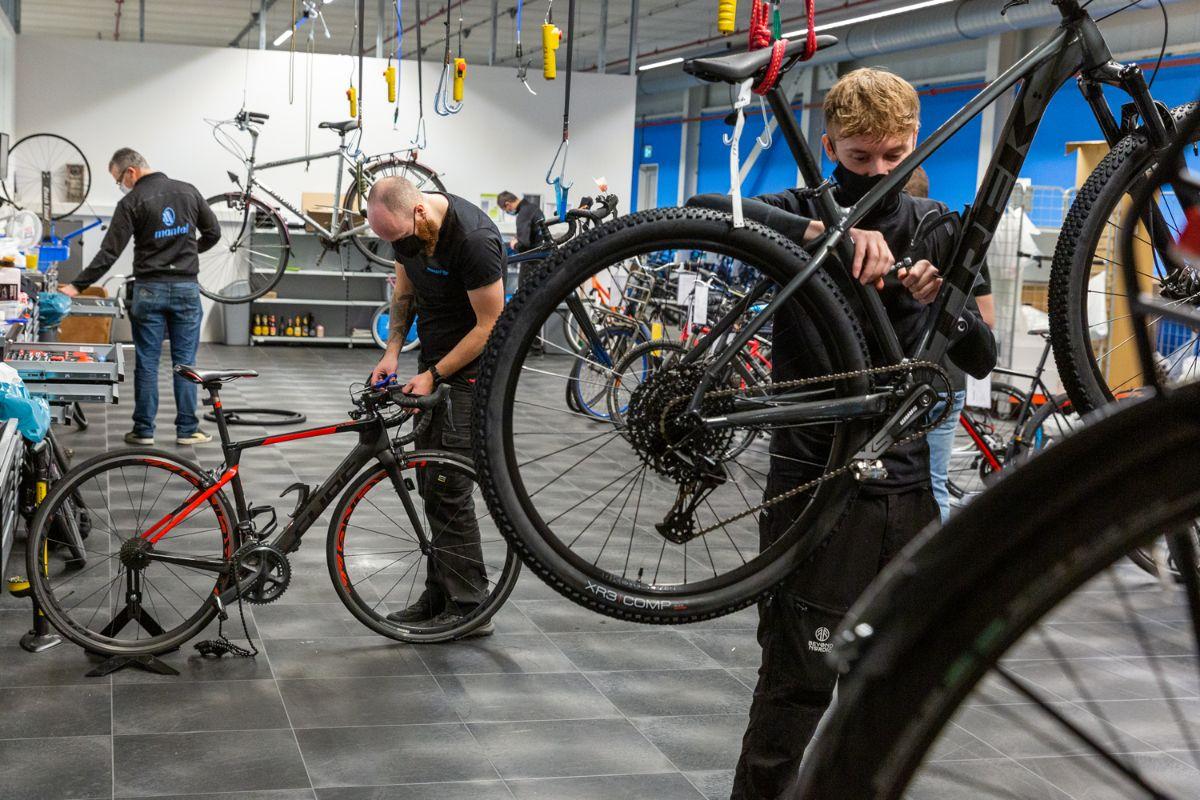
How to service the Shimano hydraulic disc brakes on your road or mountain bike [How-To]
A growing number of sports bikes are equipped with disc brakes nowadays. Whether you ride a mountain, road or gravel bike, disc brakes offer many advantages, including more braking power and better braking modulation. As the brakes are an important part of your bike, you need to carry out regular maintenance. This is true for any type of brakes, including disc brakes. In this blog we will explain how best to service your hydraulic disc brakes.
Disc brakes: the number one braking system currently on the market
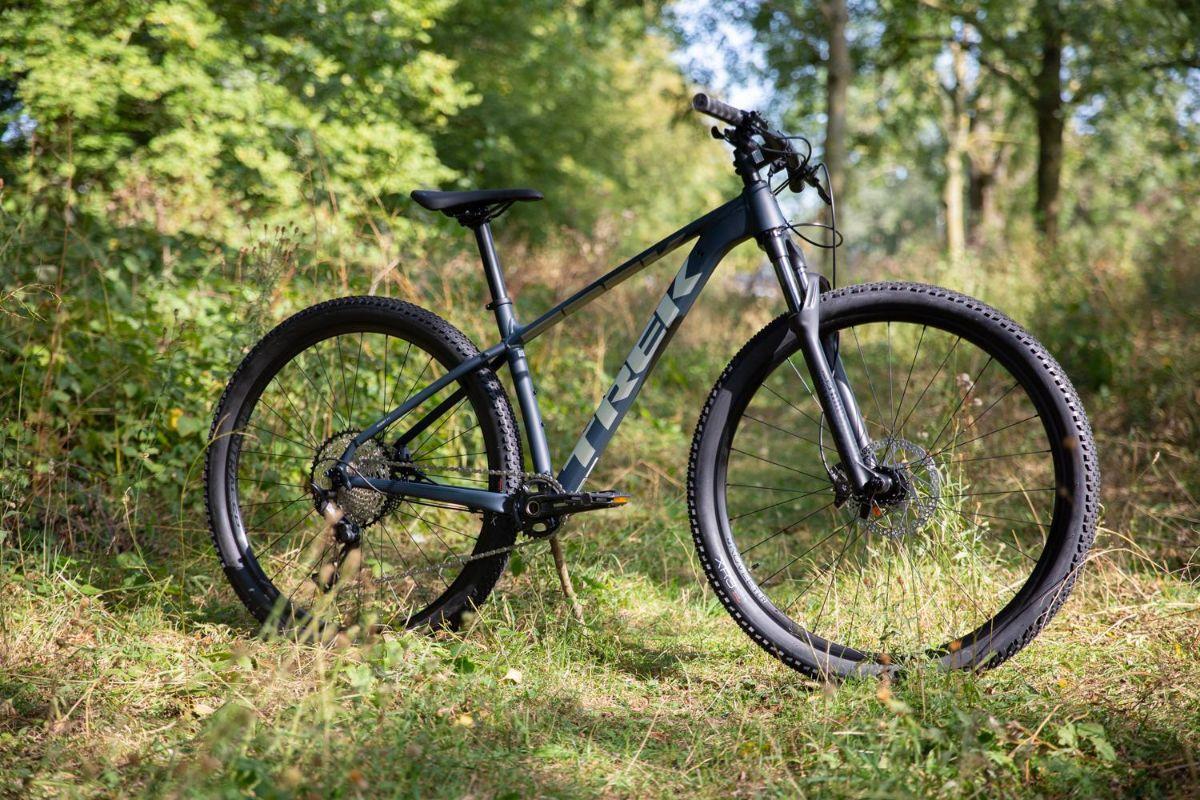
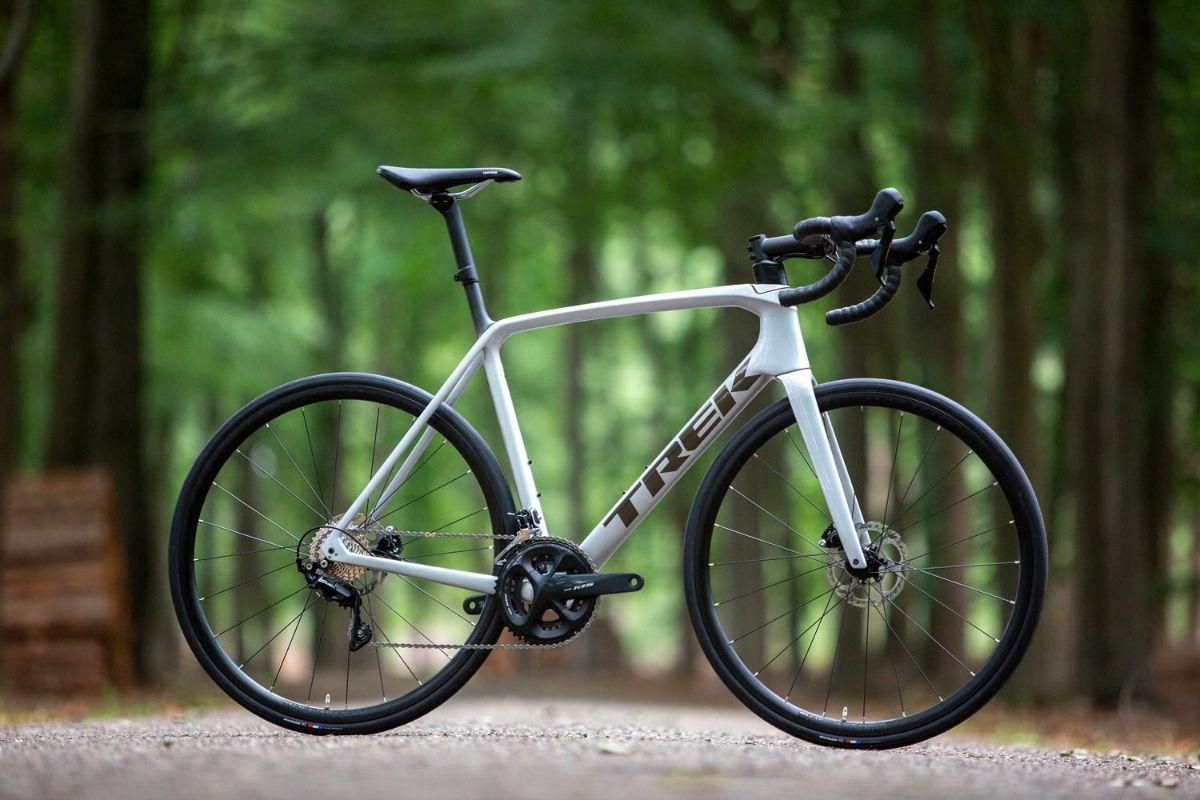
On mountain bikes, disc brakes have become a fixed feature because of their many advantages. In the past few years they have also shown an upward trend in road bikes. While road bikes with rim brakes remain available, most of these are in the entry-level segment. In the middle and top segments, disc brakes are the preferred braking system.
It is high time to offer conclusive and complete instructions on how to service your hydraulic disc brakes. In this blog we will focus on the brand that is most common in our range: Shimano.
Hydraulic brakes for mountain and road bikes
As mentioned earlier, disc brakes have been used on mountain bikes for some time and there have been many further technological developments. As for road bikes, despite the rapid development in recent years, disc brakes are a somewhat newer phenomenon. Also, it is important to realise that the braking system on a mountain bike is separate from the shifting system (and can therefore be changed separately), while on road bikes, only an integrated brake/shift system in the lever is used.
As a result of the fact that disc brakes have been a common feature on mountain bikes for much longer than on road bikes, and of the brake/shift integration in road bikes, the choice of brake systems for mountain bikes is much more extensive than for road bikes. To keep an overview of what goes with what, we will distinguish between mountain bikes and road bikes in this blog.
- How to service the disc brakes on your mountain bike
- How to service the disc brakes on your road bike
Bleeding and servicing disc brakes on a mountain bike
Servicing the hydraulic disc brakes on your mountain bike requires good preparation and technical understanding of what you’ll be doing. If you have any doubts about what to do next or are unable to proceed, we recommend consulting the manufacturer's website. Or contacting our Service & Support team.
Attention! Always use the correct brake fluid for your brand and type of brakes. In the case of Shimano brake systems, this is a mineral-based fluid. Preferably use Shimano’s own products.
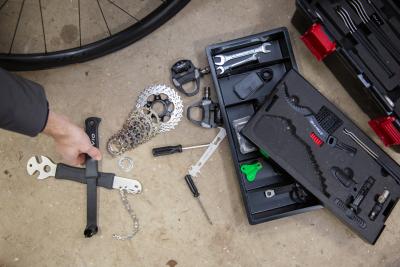
What do you need
- Shimano bleed kit
- Shimano mineral fluid
- Allen key set
- 7 mm open-end wrench
- Tool to separate the pistons
- Brake pad spreaders
- Cleaning cloths
- Waste container for used fluid packaging such as a bottle or resealable plastic bag
- Isopropanol alcohol for cleaning the brake levers after filling
- Gloves

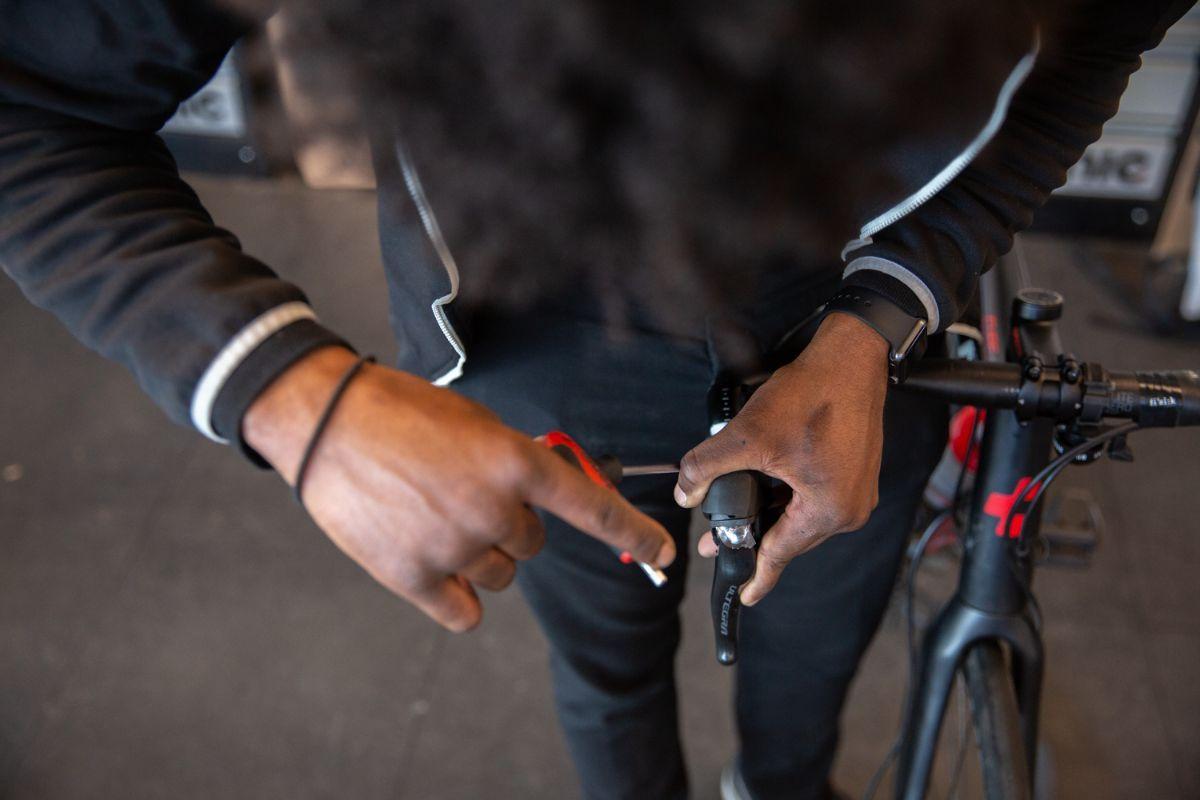
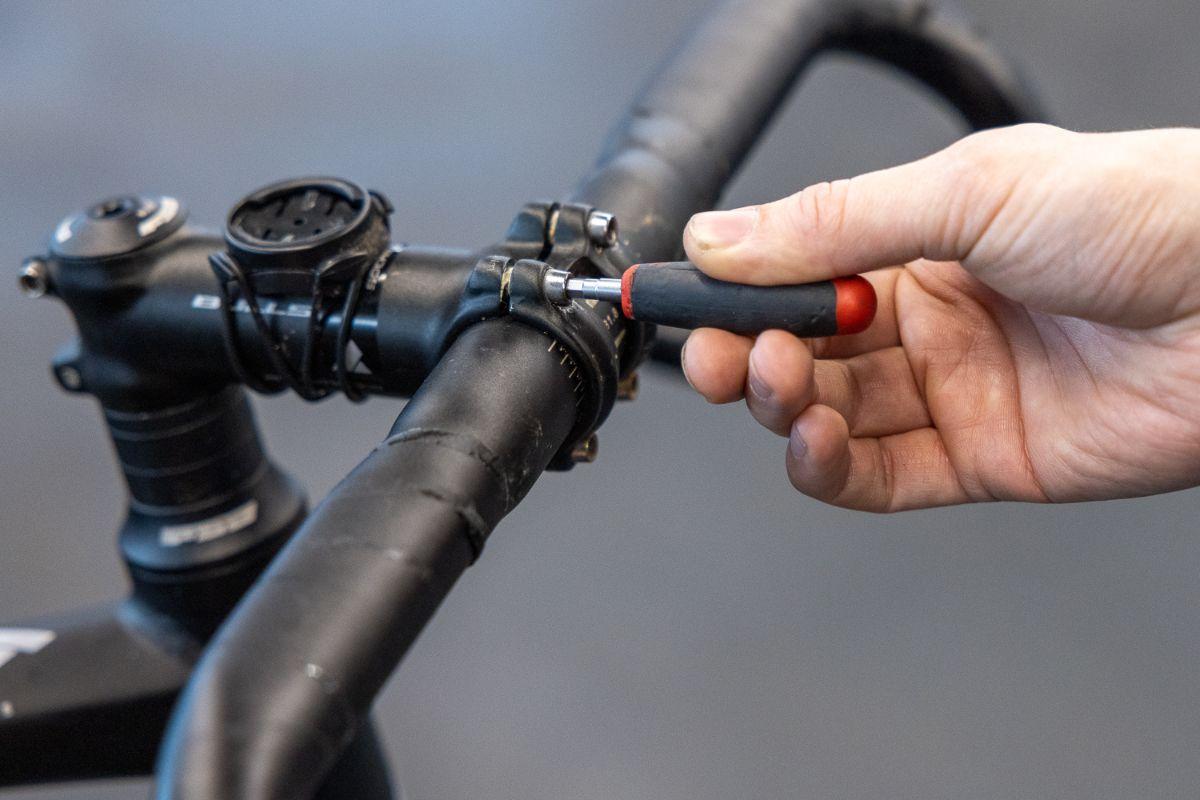
1. Adjust the brake levers
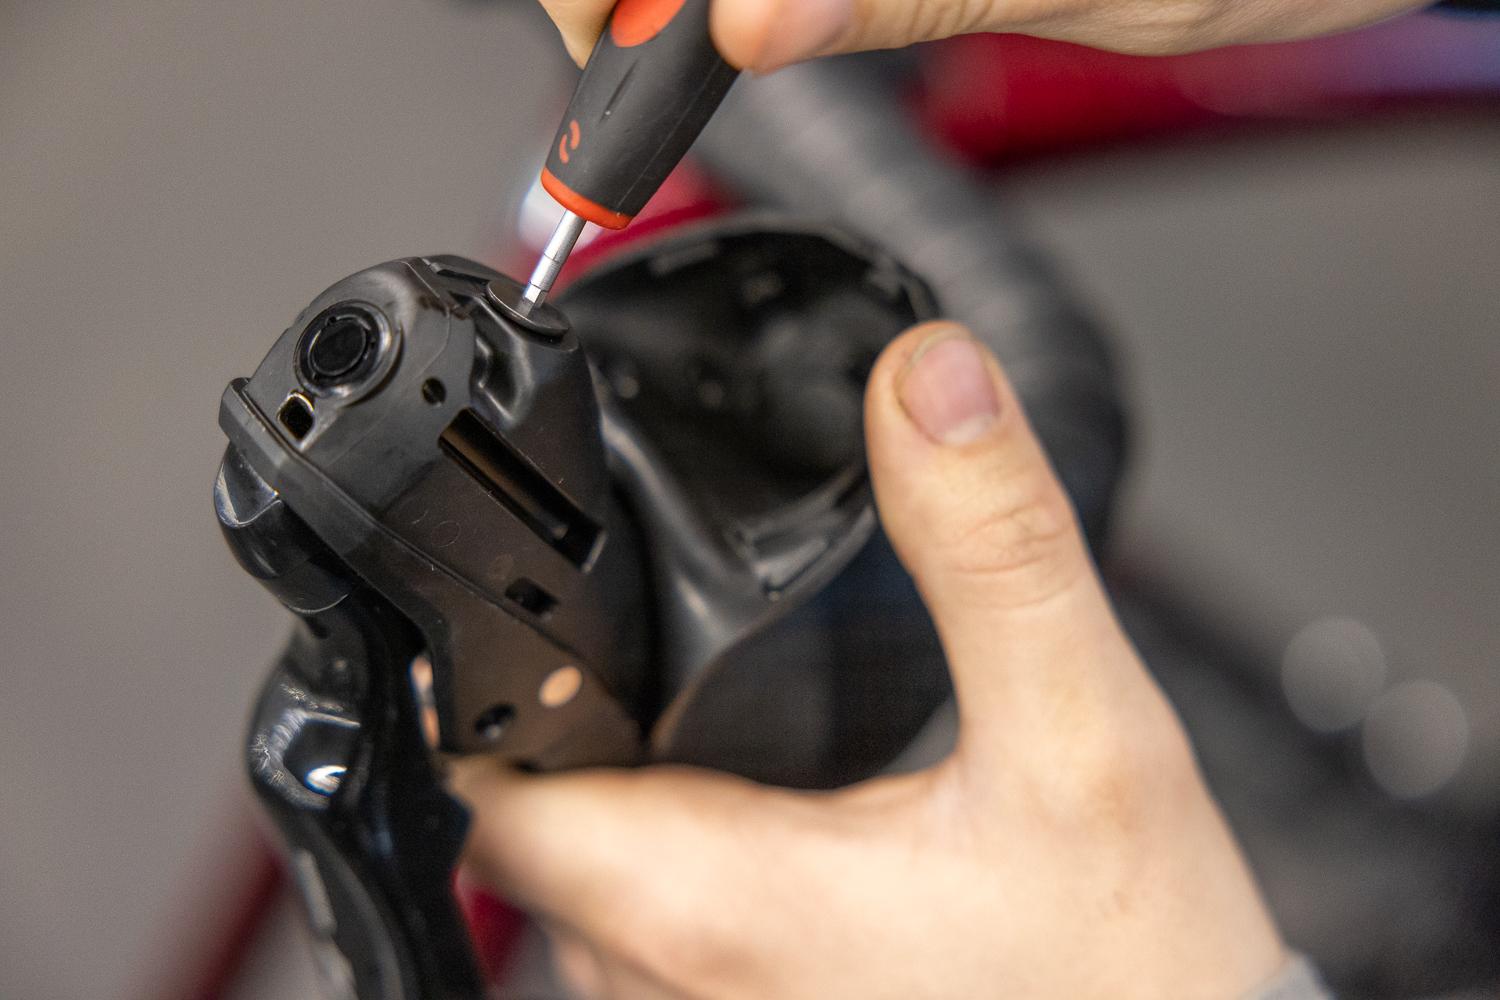
Using the adjusting screw in the brake body, move the brake lever as far away from the handlebars as possible. When you have finished bleeding the brakes, you can put it back into your preferred position.
Some models also have an adjusting screw on the body for the brake’s bite point. If there is one, turn it all the way in (clockwise) and then back a few turns (counter-clockwise).
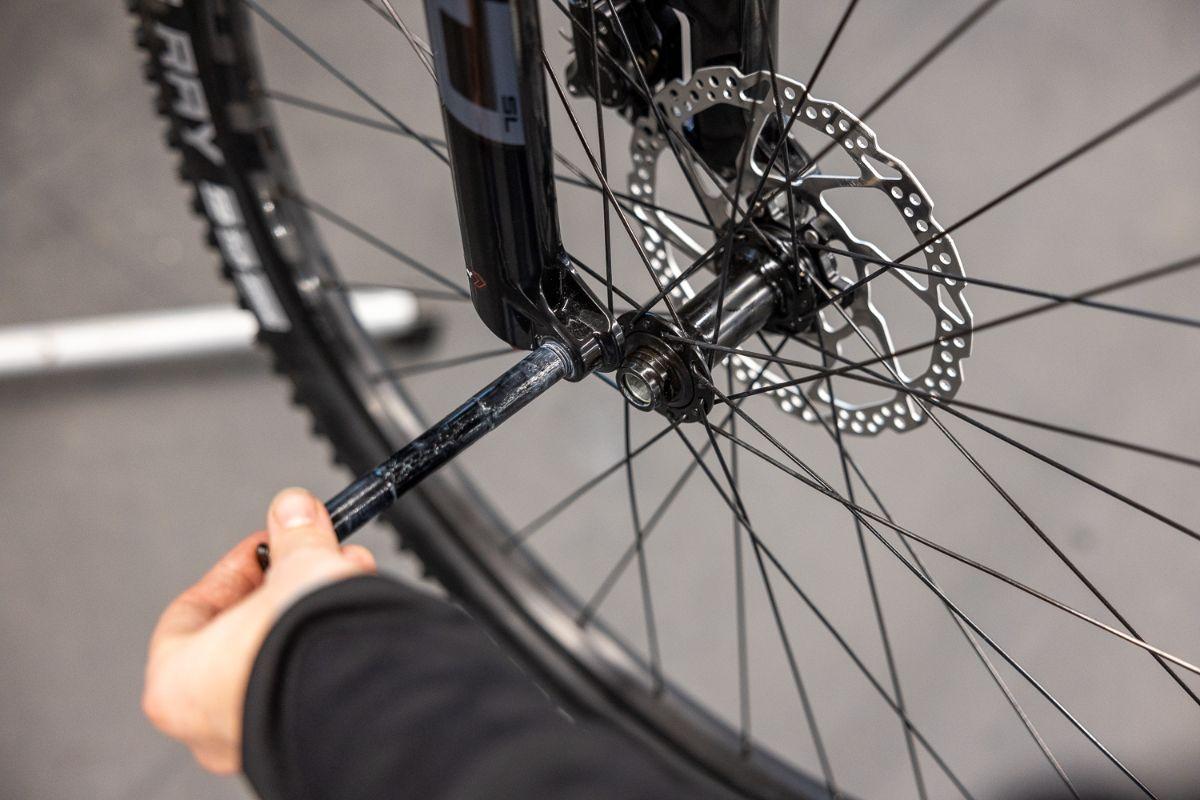
2. Remove the wheel Remove the wheel from your mountain bike.
3. Place your MTB on a bike repair stand or hook system Place the frame on a repair stand and make sure that there is a consistent upward sloping line between the caliper (bottom) and the brake lever (top). If you’re going to service the front brake, your bike can remain in its upright position.
Depending on the type of frame, when servicing the rear brake you may have to tilt the bike to create a clear upward slope between the caliper and the brake lever.
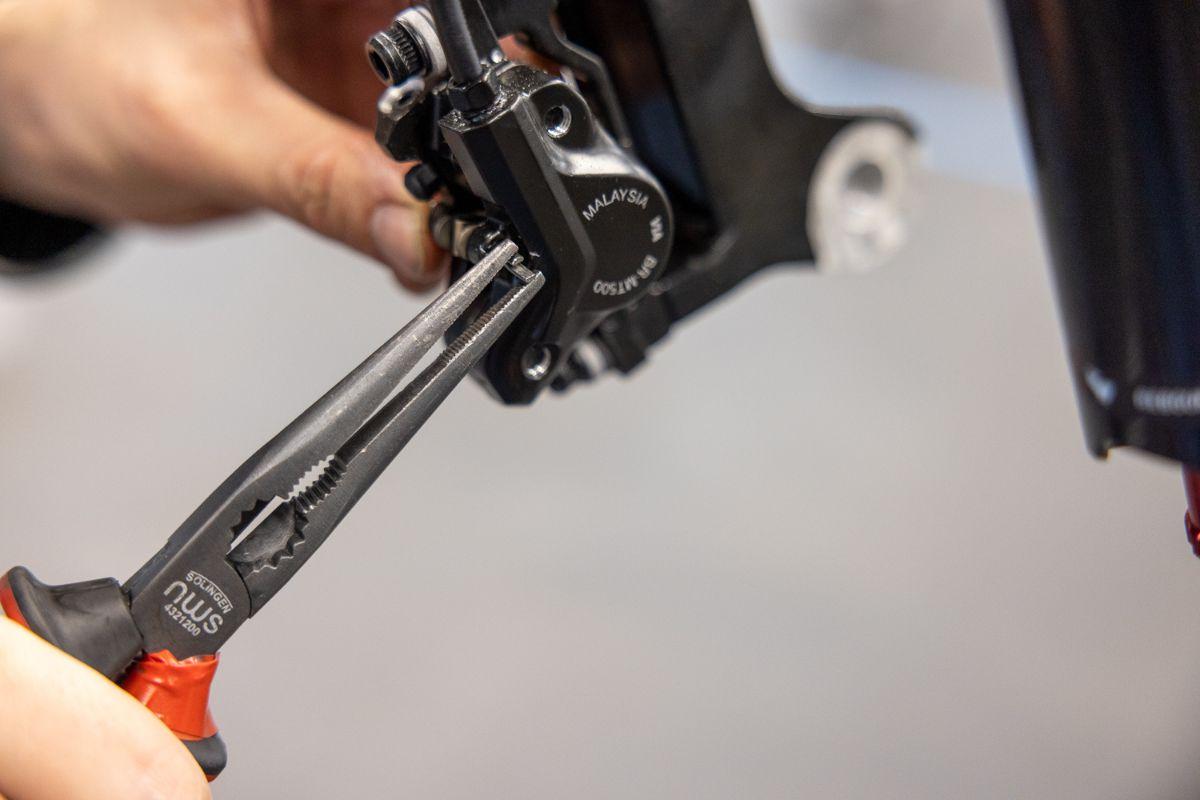
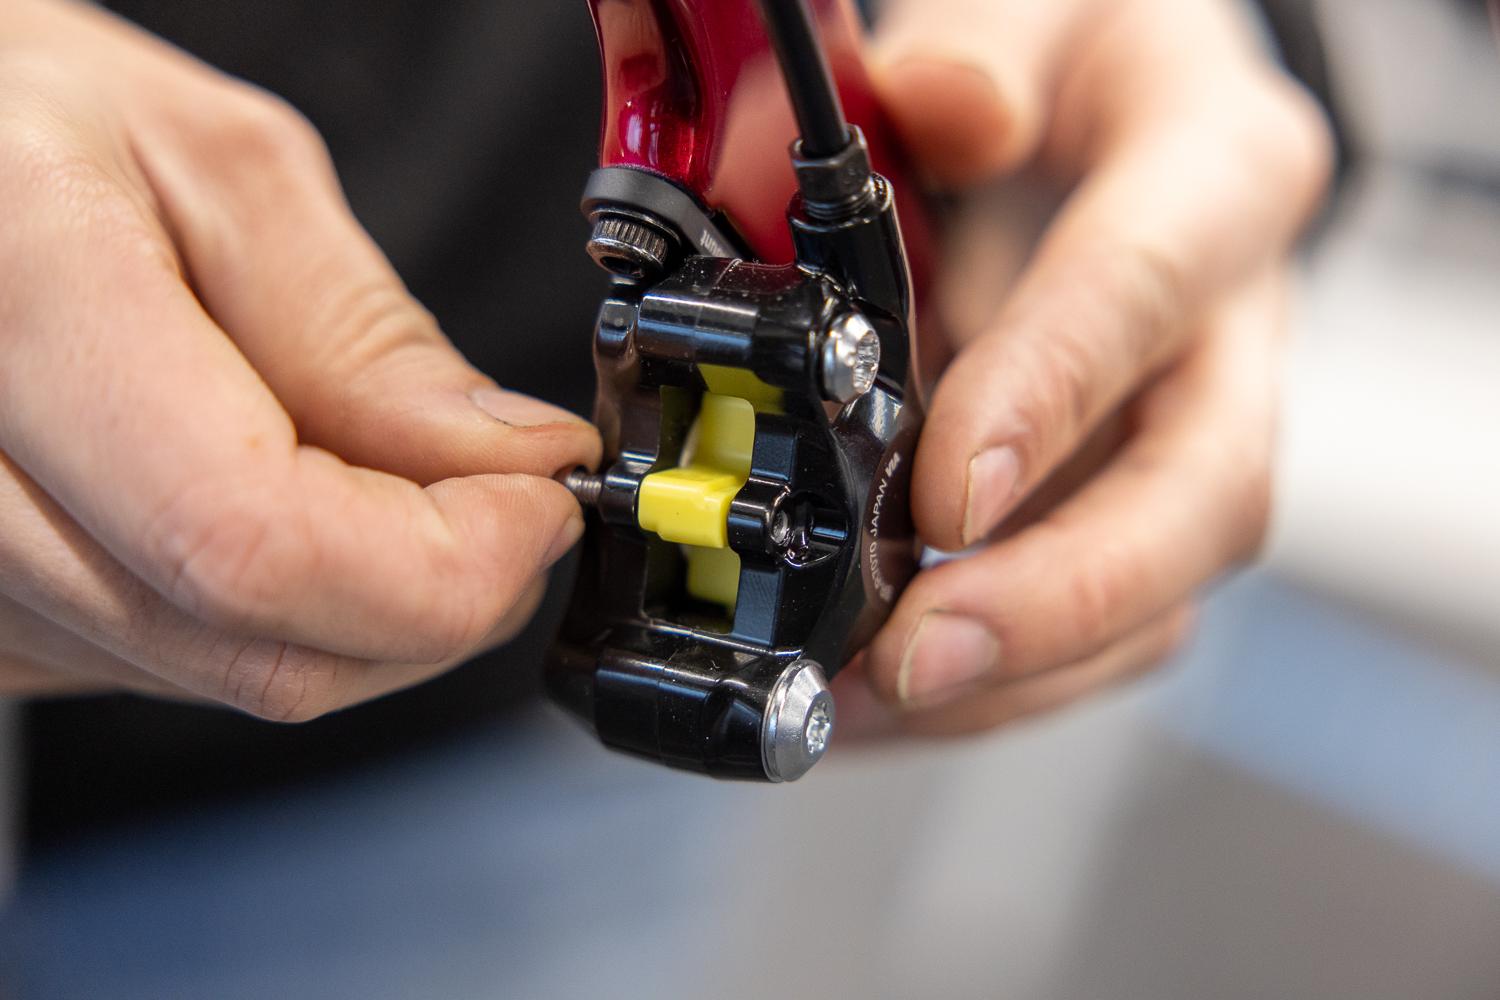
4. Remove the brake pads Remove the brake pads from the caliper.
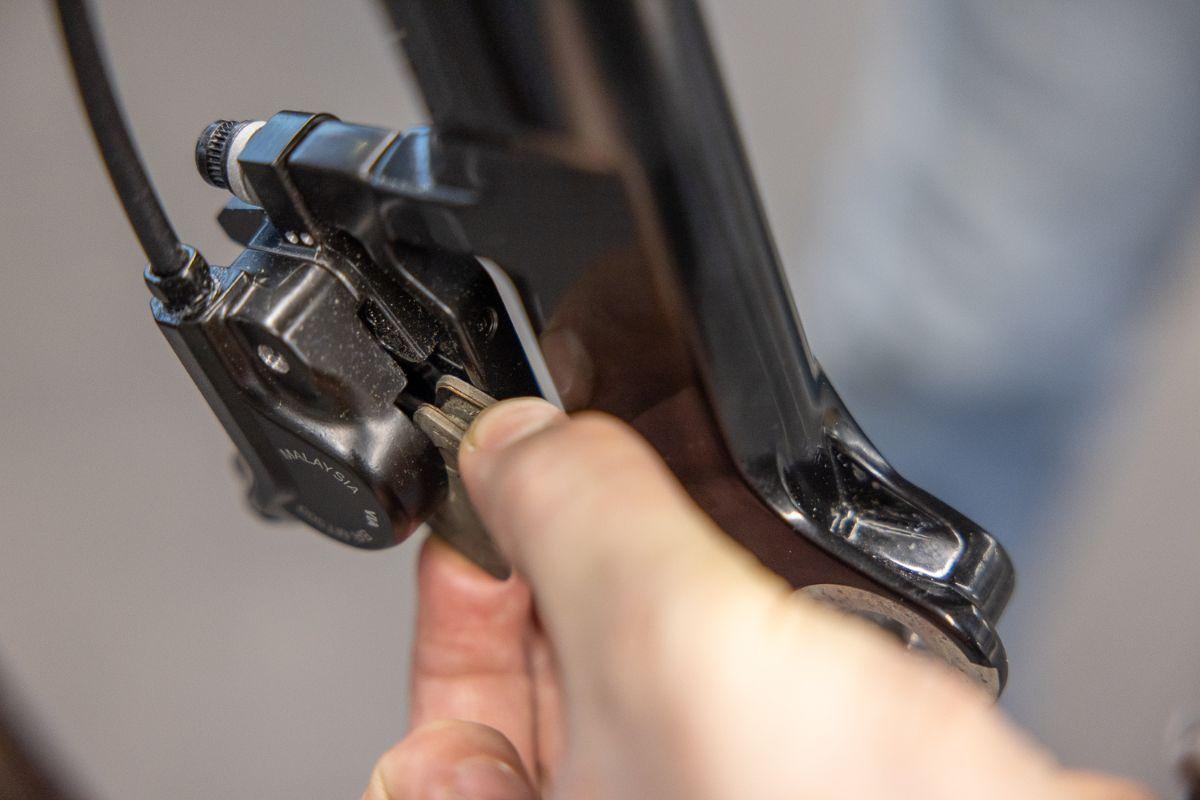
5. Push the pistons back Use the piston tool to push the pistons back into the caliper. Place the brake pad spreaders in the caliper to prevent the pistons moving.
6. Remove the cap from the bleed head Remove the cap from the bleed head. Please note that the location of the bleed head varies from model to model. In some cases, the easiest way to gain good access to the bleed head is by removing the brake caliper from the frame.
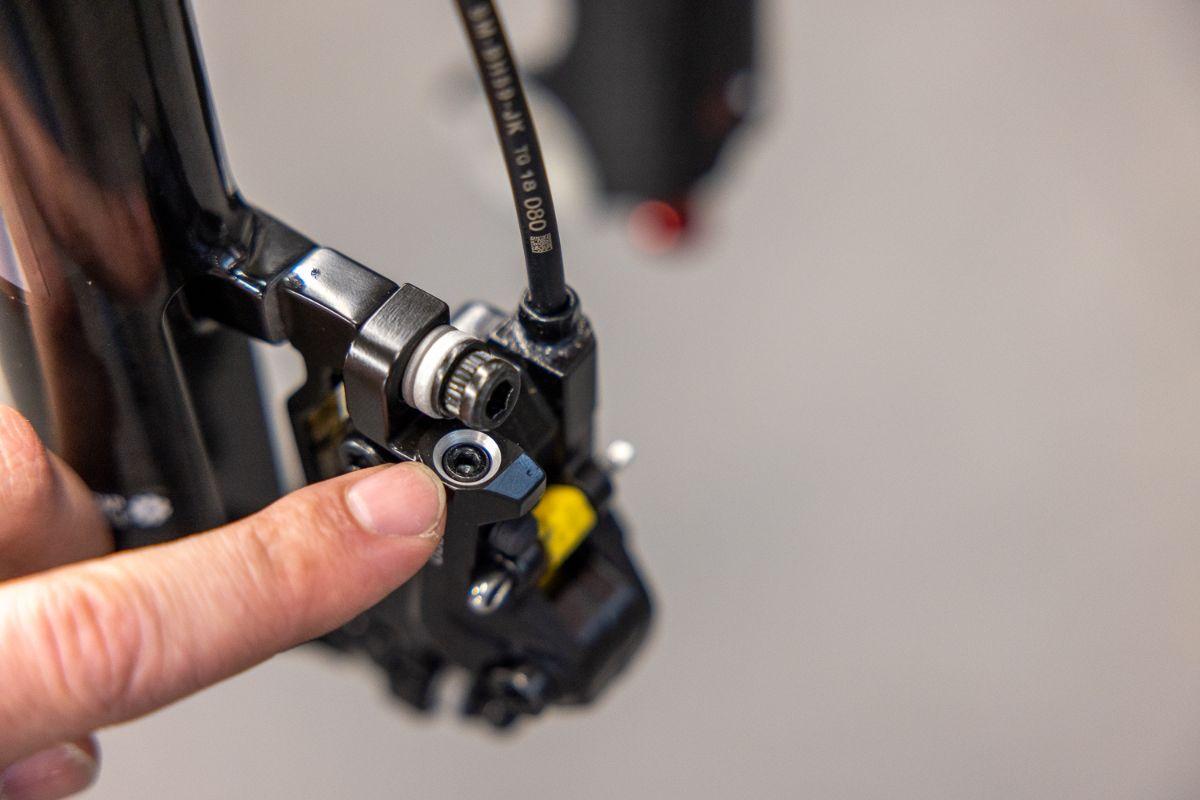
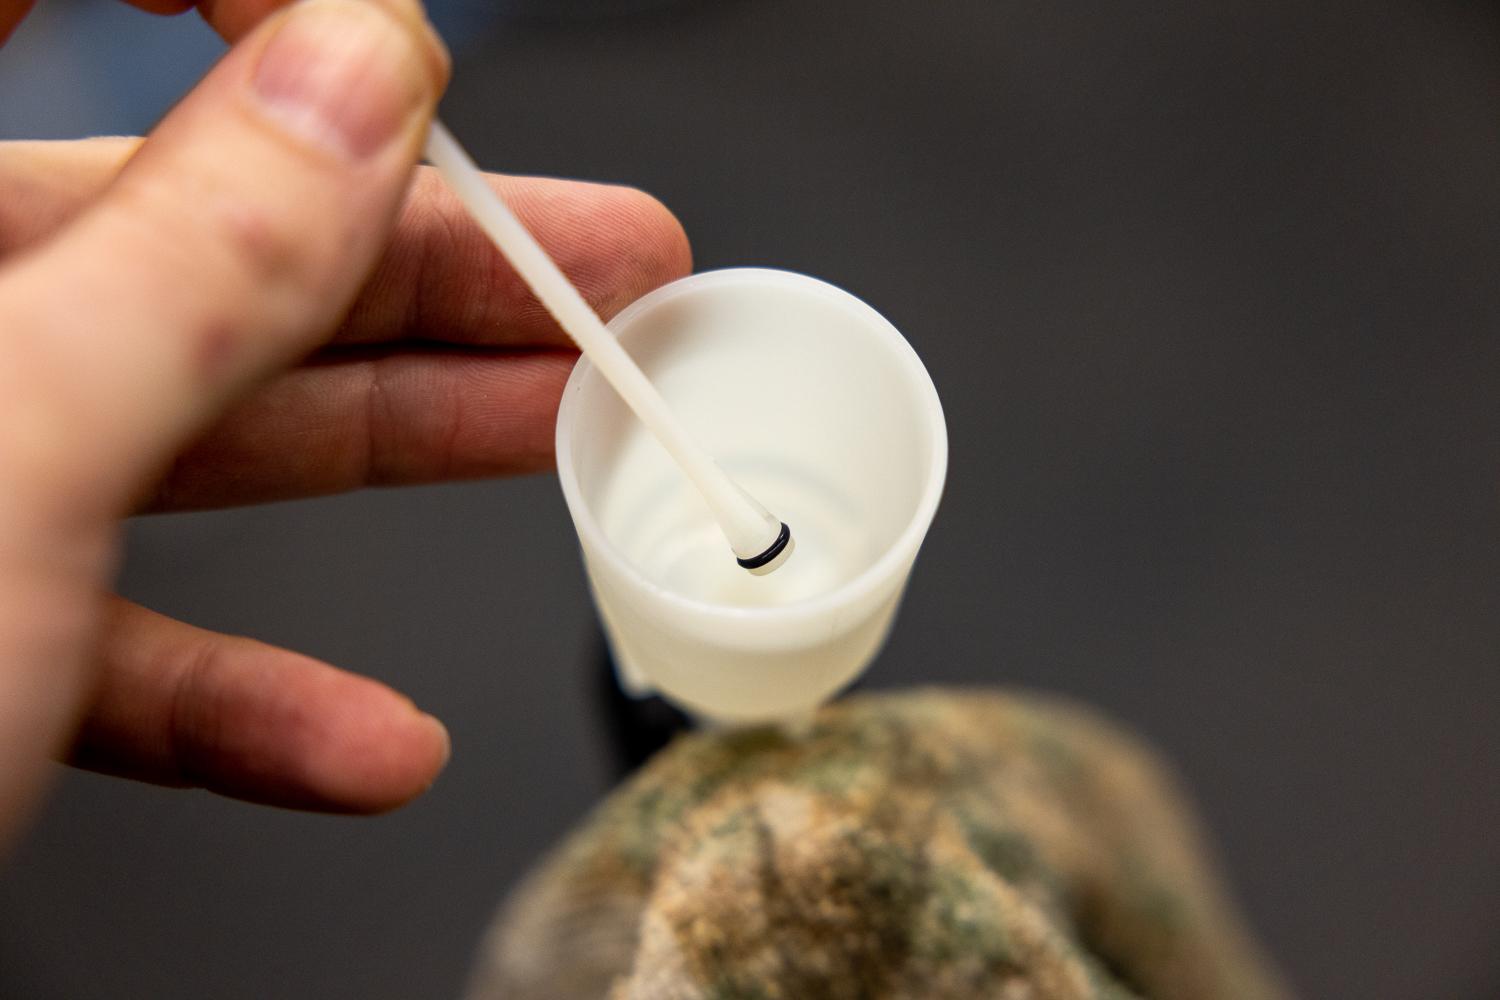
7. Open the bleed port on the brake lever On the brake lever, look for the bleed port screw. Unscrew it all the way and remove the screw as well as the rubber washer.
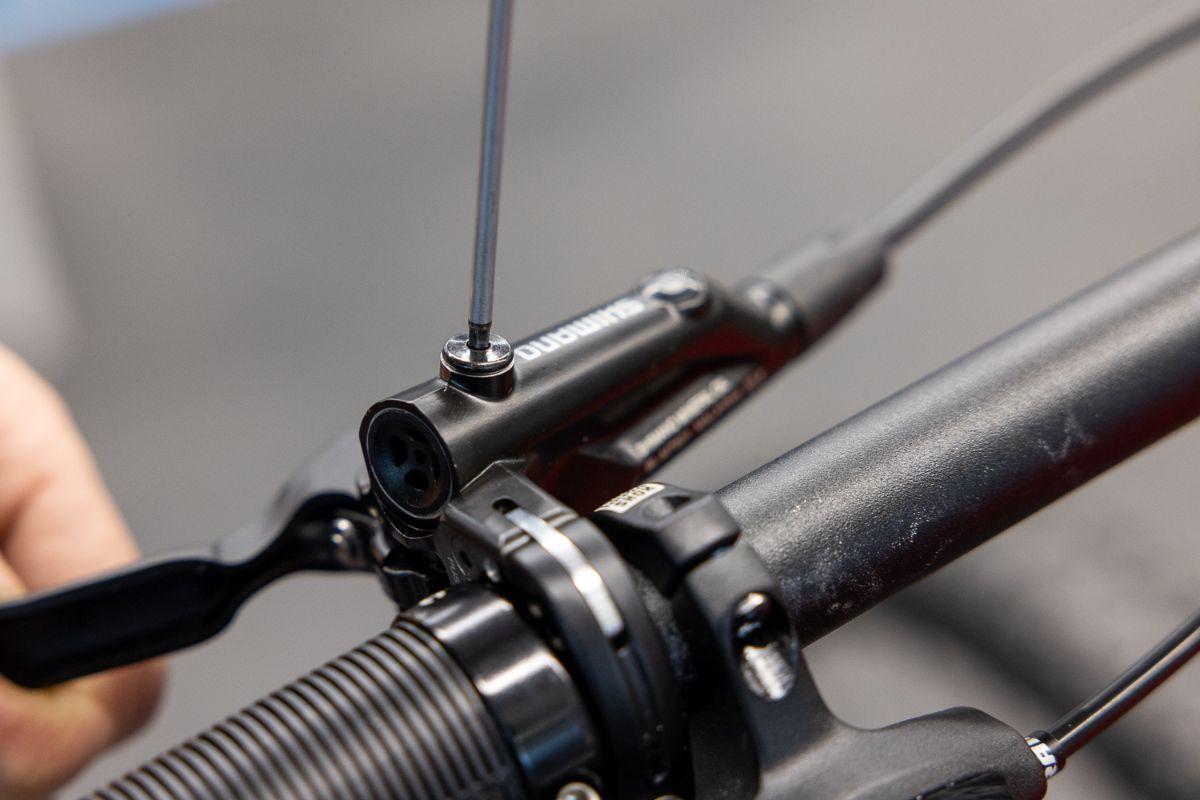
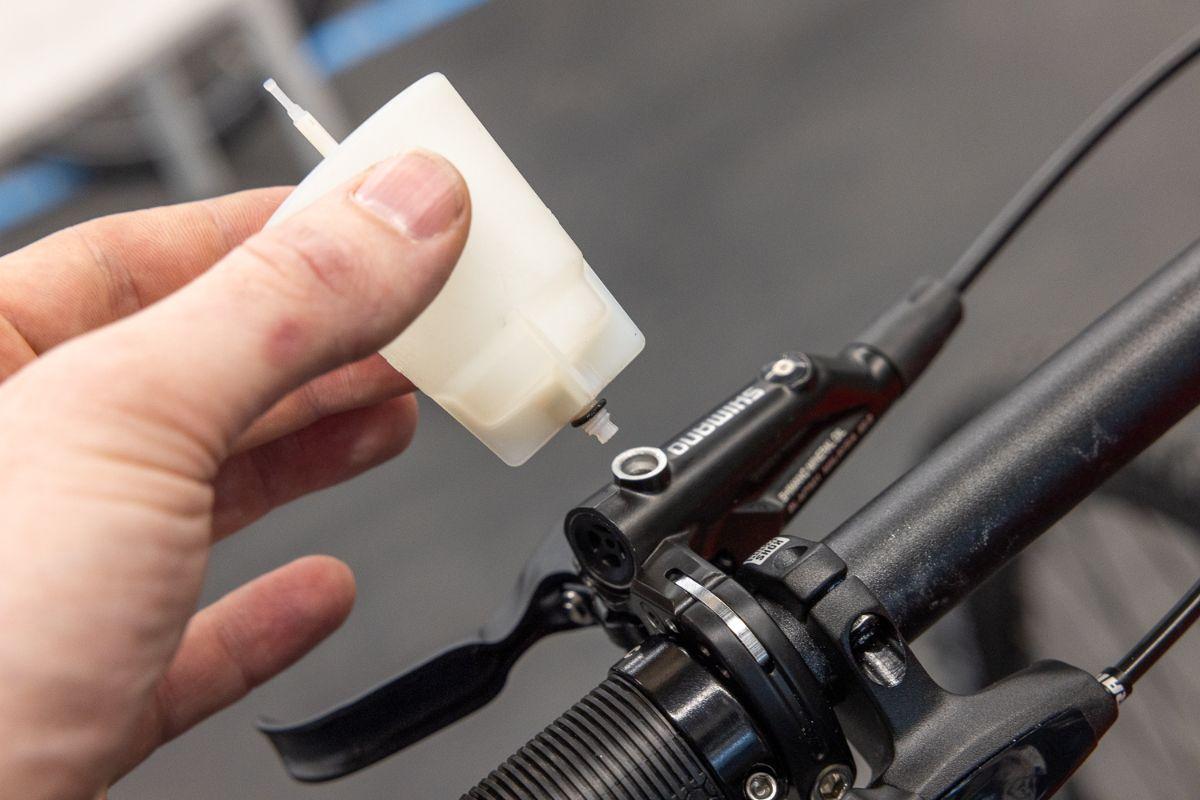
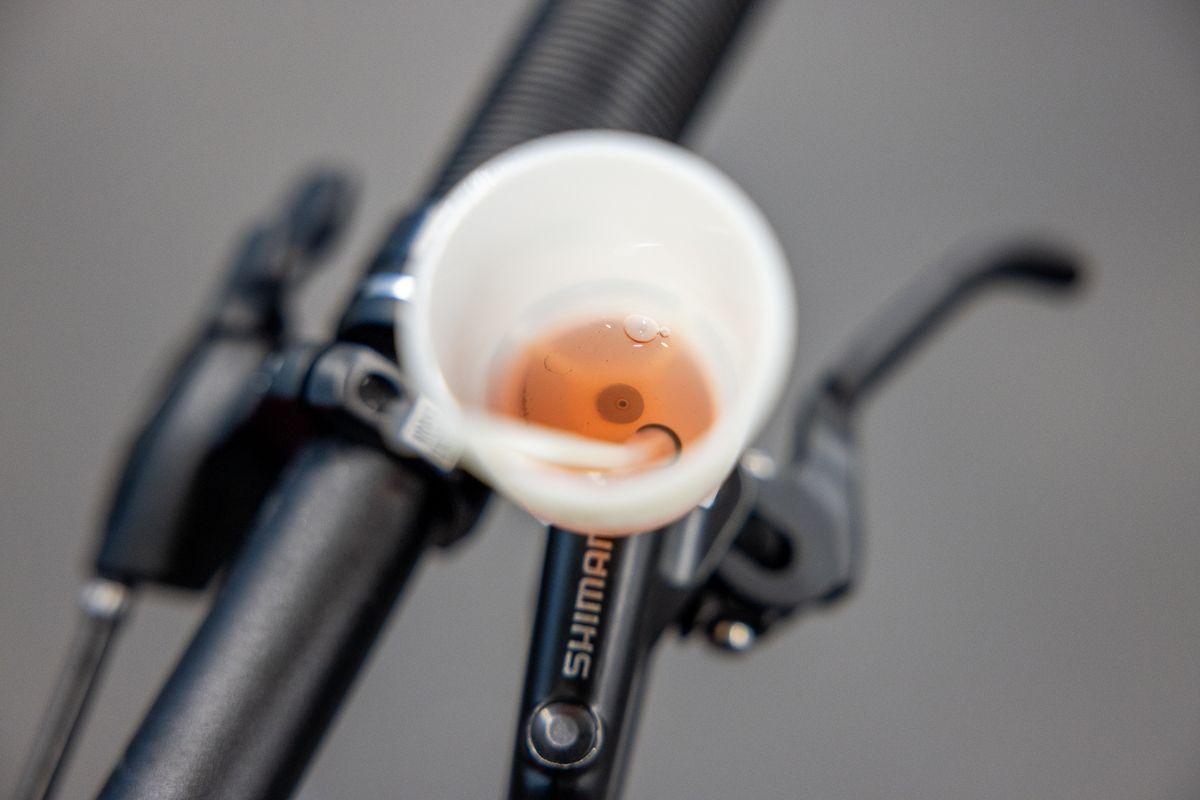
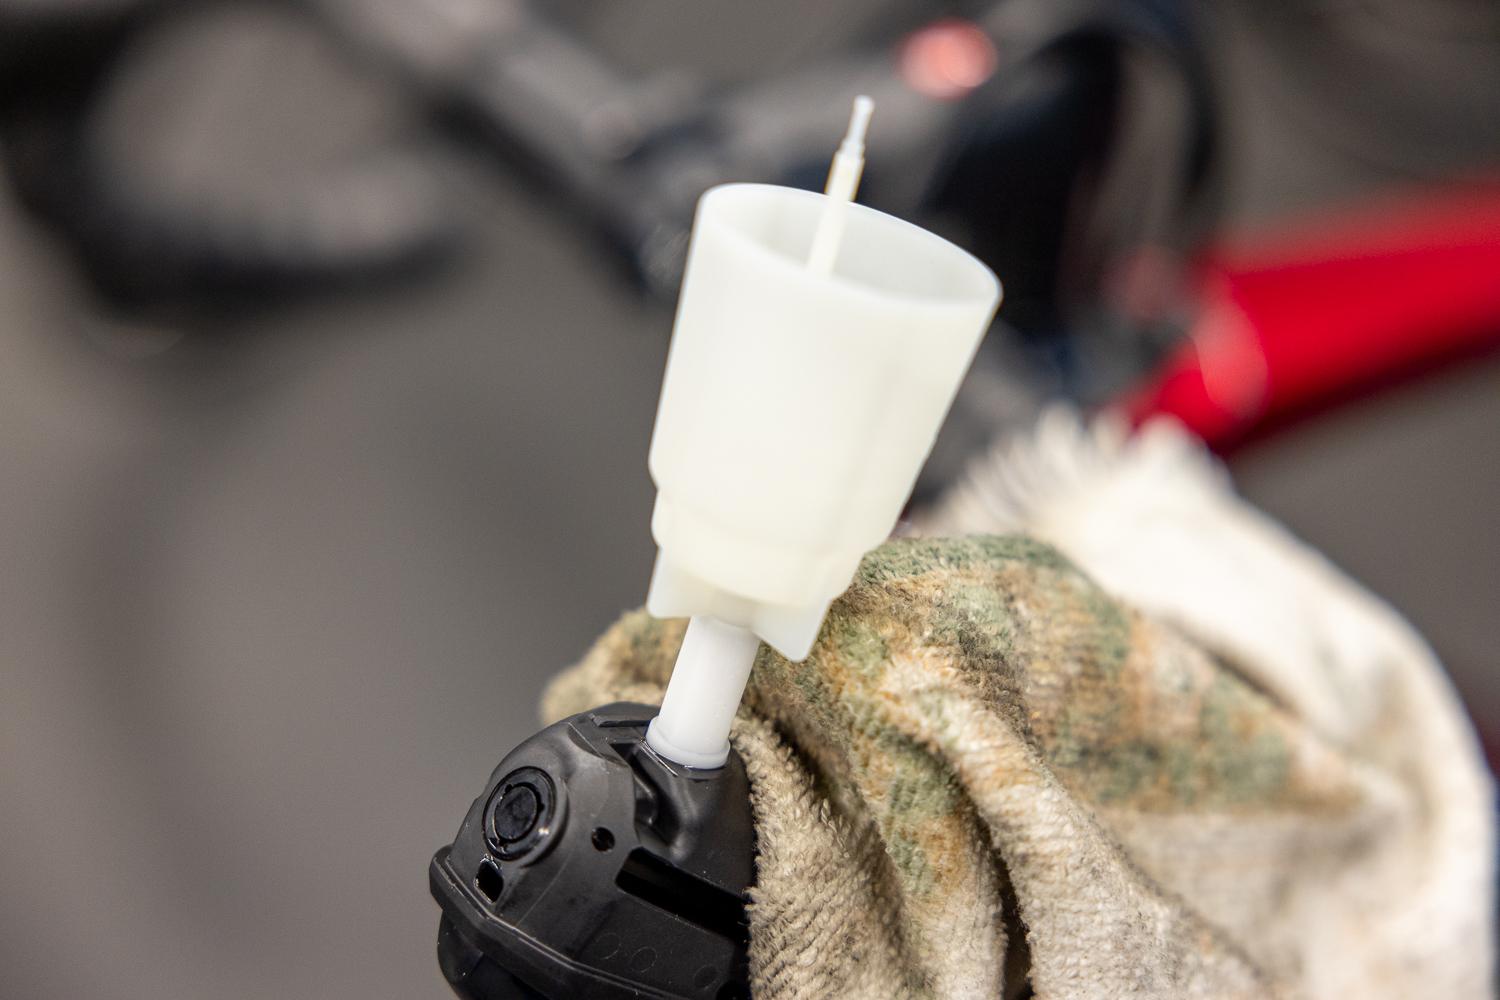
8. Install the funnel Fit the bleed adapter to the funnel and screw onto the bleed port of the brake lever. Use care when doing so because the thread is fine!
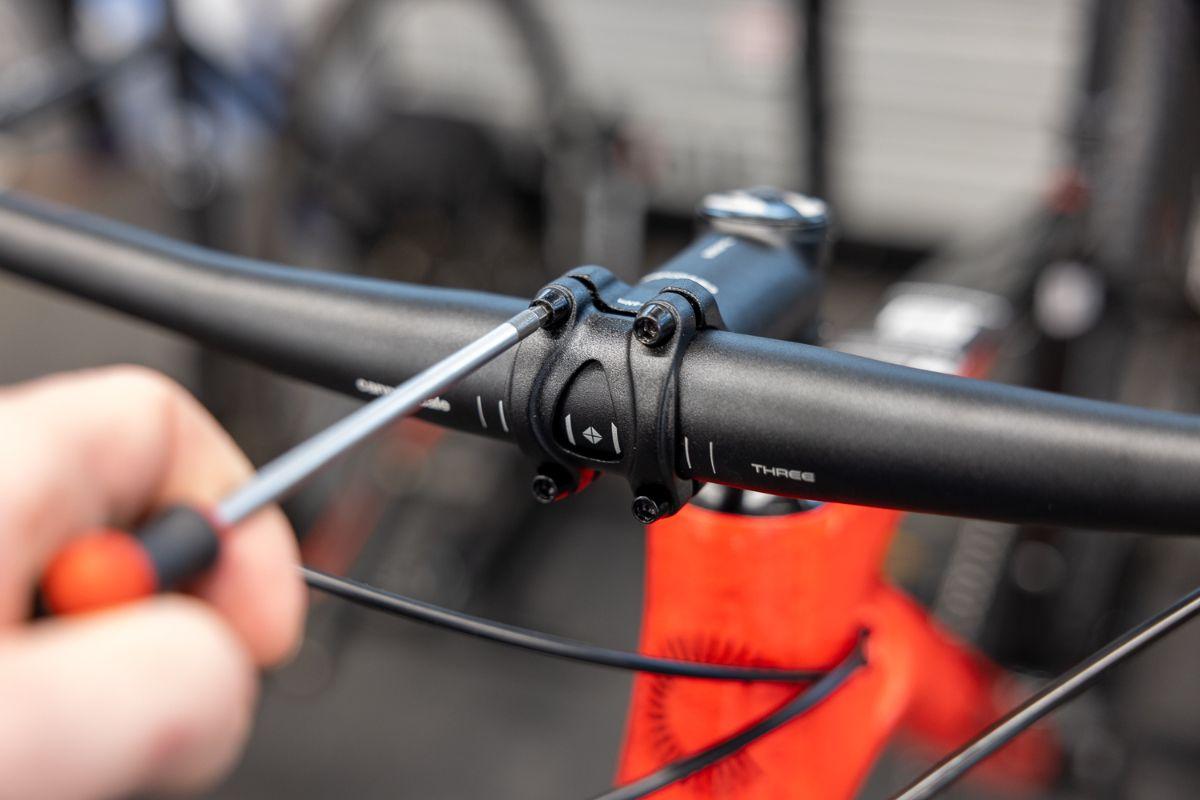
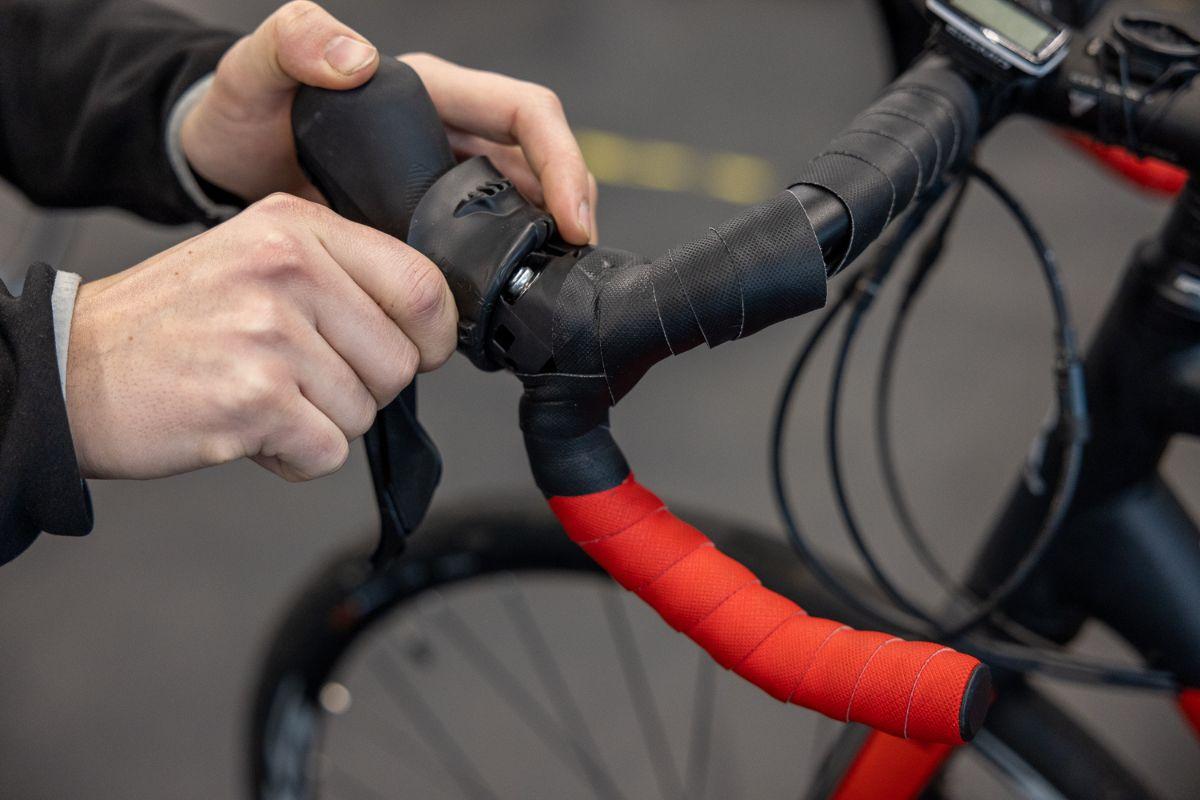
9. Put the handlebars in the right position Look at the handlebars and the funnel from the side. If necessary, loosen the stem screws and tilt the handlebars so that the funnel is at a 45 degree angle.
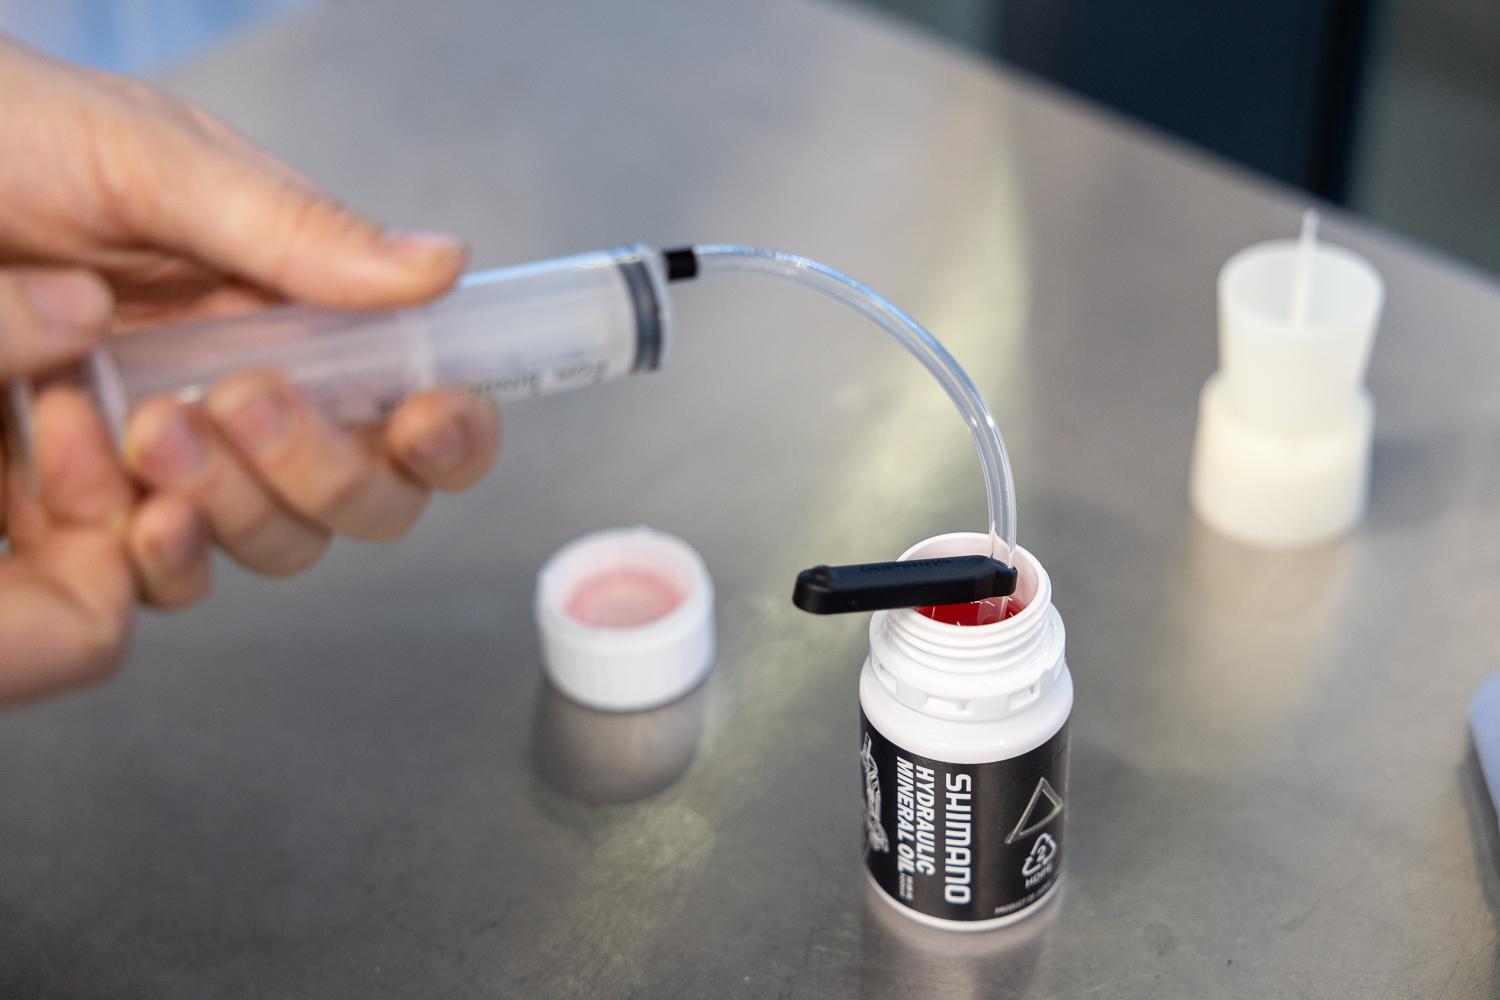
10. Prepare the syringe for use Prepare the syringe and hose for use. Fill the syringe to some two-thirds with Shimano mineral brake fluid. Hold the hose with the open end up and push the plunger (or piston) slightly inwards. Continue until no air remains in the syringe and filling hose.

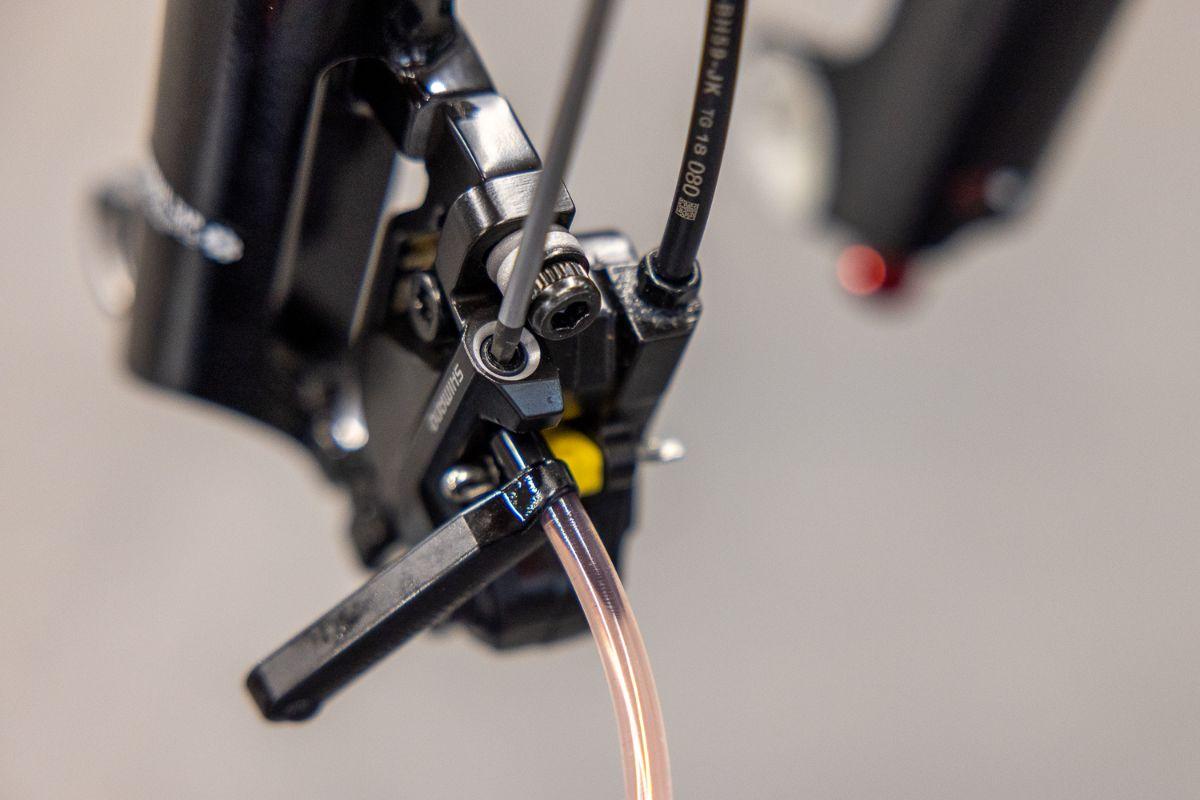
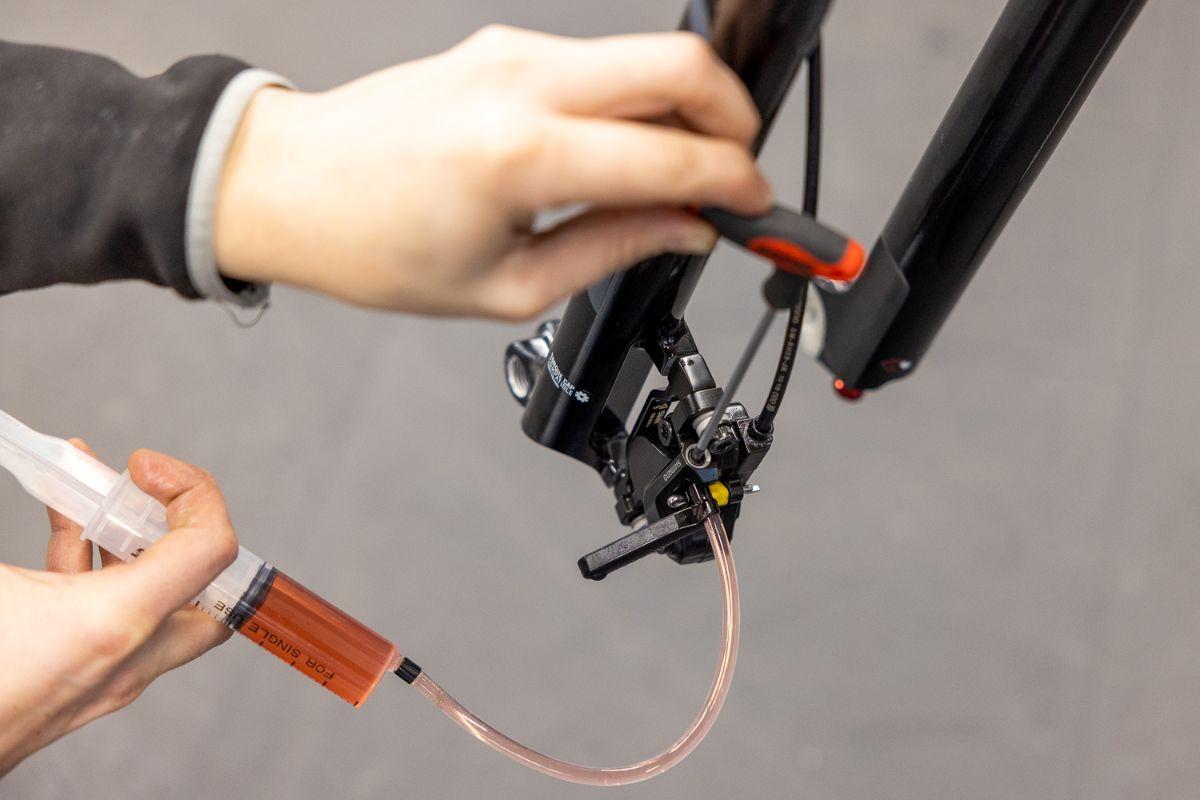
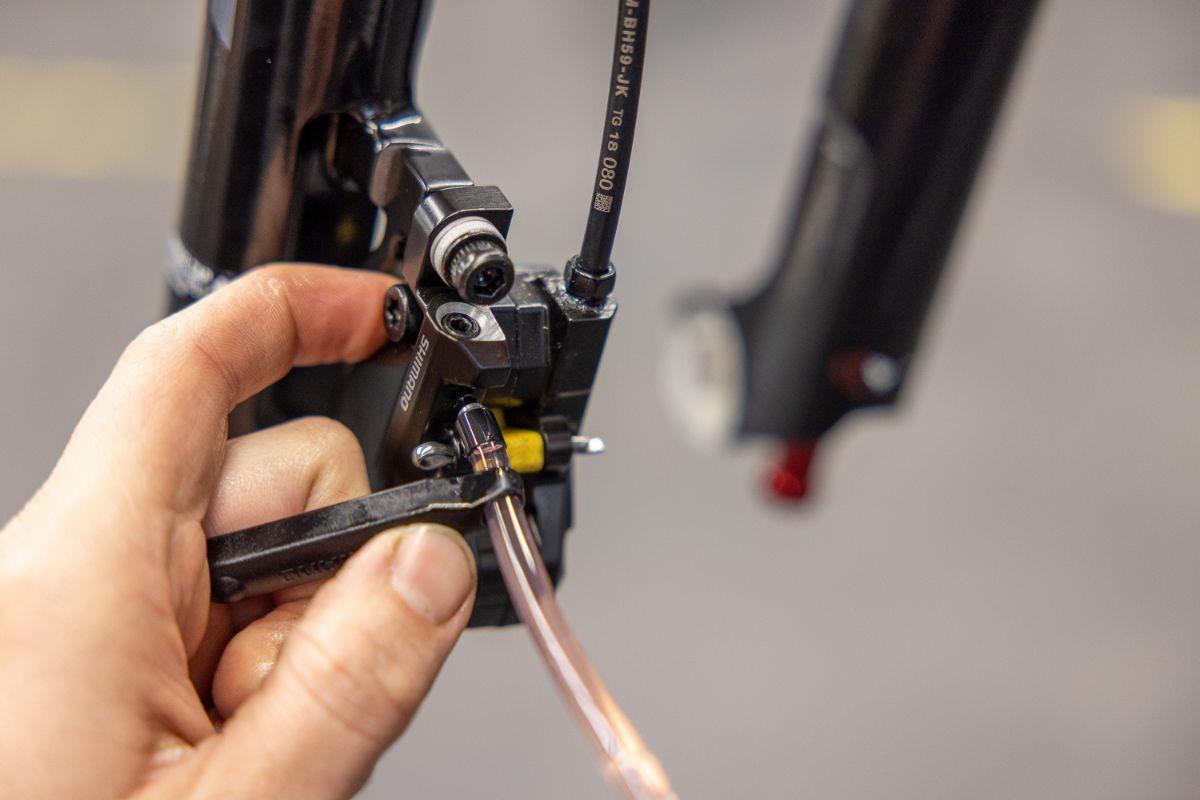
11. Inject the fluid into the caliper Connect the syringe and hose containing the new brake fluid to the caliper via the bleed port mentioned above. Now open the bleed port by a half turn. Push almost all the fluid up through the caliper towards the funnel on the brake lever. Close the bleed port again with a half turn and remove the hose and syringe.
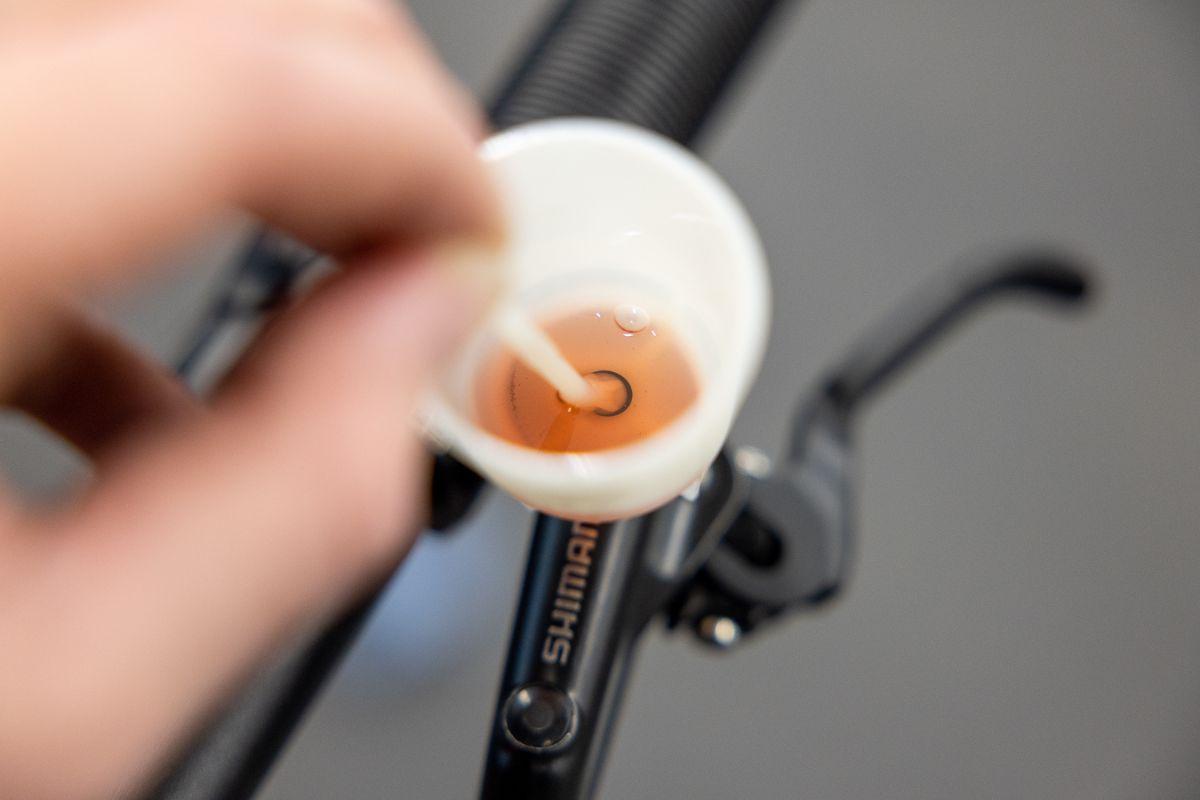
12. Replace the fluid that comes up If the fluid coming up is dirty, it must be replaced. Close the funnel and remove the old fluid. Do not throw the fluid in the sink but take it to your local chemical waste depot. Place the clean funnel back onto the brake handle and fill it to three-quarters with new fluid. Turn the handlebars upwards so that the brake lever is at a 45 degree angle. This will cause the fresh fluid to flow back into the reservoir and down the hose to the caliper.
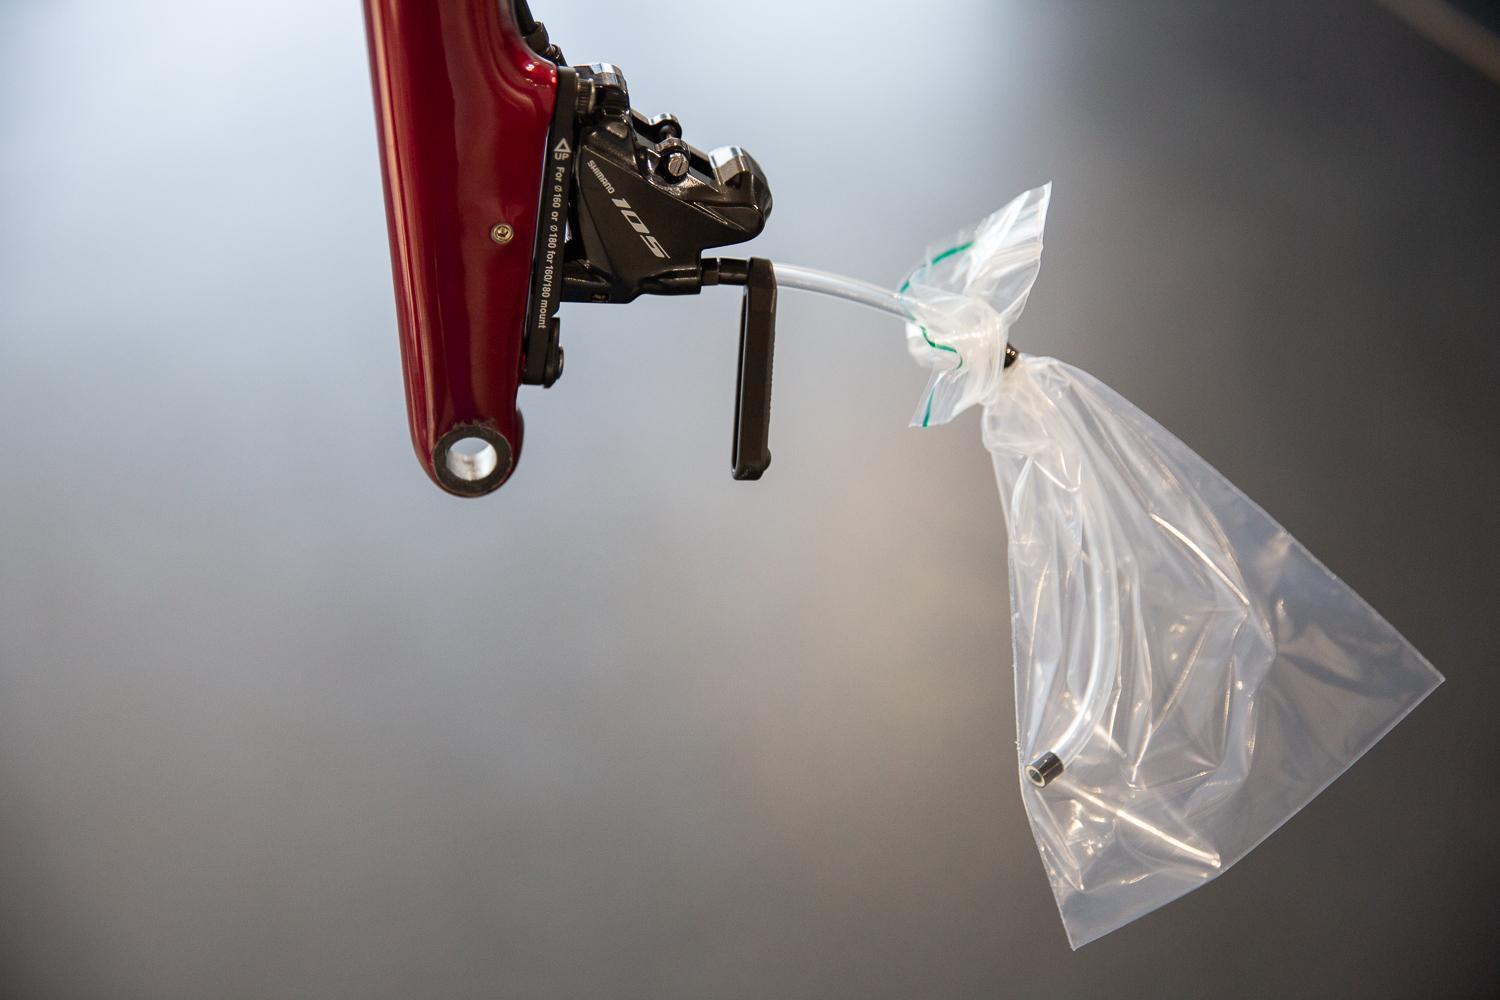
13. Collect excess fluid Reattach the hose of the syringe, with a ziplock bag or something similar attached to the other end (to catch excess fluid), to the bleed port of the caliper. Reopen the bleed port by a half turn.
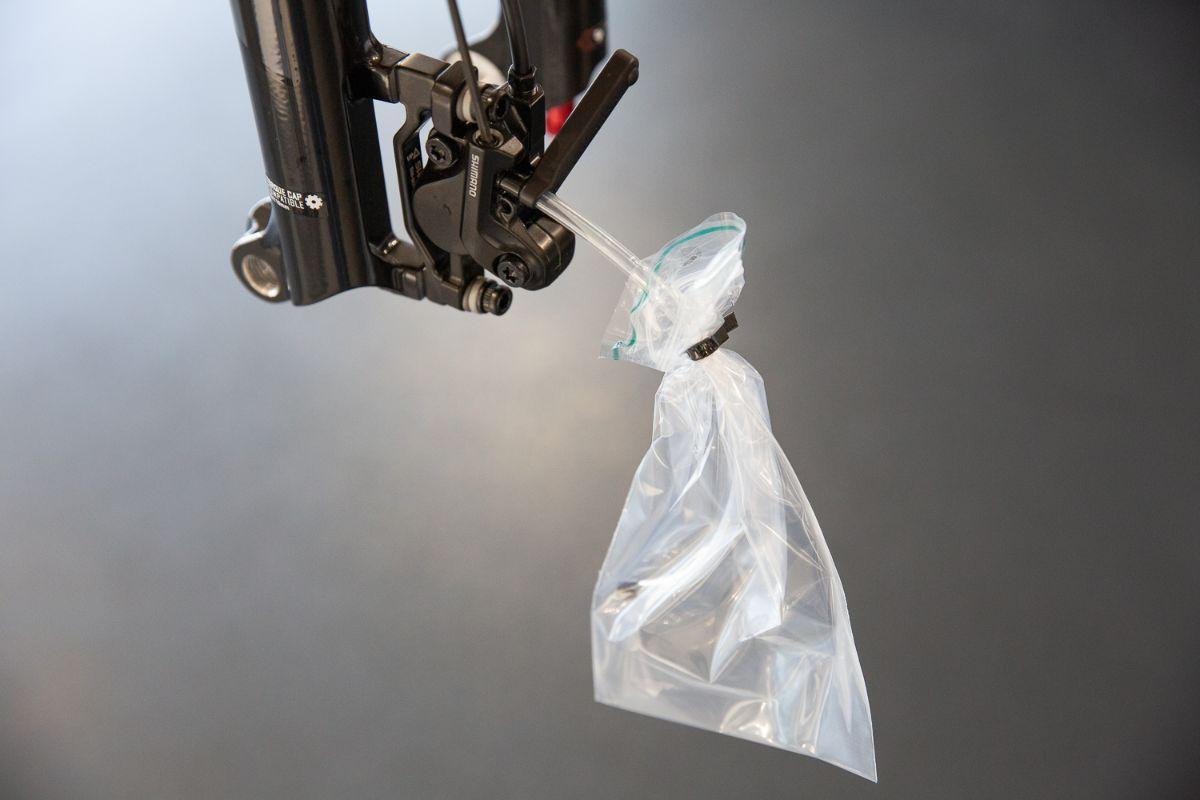
14. Squeeze the brake lever to get the fluid moving Now squeeze the brake lever several times to start the flow of brake fluid to the caliper. Collect the excess fluid in the bag at the other end of the hose. Using the rubber handle of a screwdriver, for example, tap gently along the brake hose and the caliper to release any air bubbles that may be stuck there.
Make sure that the funnel does not empty and add new brake fluid if necessary to prevent air getting into the hose. When no more air bubbles appear in the hose at the caliper, close the bleed port again with a half turn.

15. Refill the funnel with fluid Add fresh fluid to the funnel. Squeeze the brake lever all the way and keep it that way to retain pressure on the pistons. To do so, secure the brake lever against the handlebars with a strap or elastic band.
16. Open the bleed port and squeeze the brake lever Open and close the bleed port in a single smooth movement. Do this quite quickly. The pressure now disappears from the brake lever. Remove the strap and squeeze the brake lever several times until the pressure has built up again to its original level. Repeat these steps once more. Now remove the hose and put the cap of the bleed port back on the caliper.
17. Adjust the handlebar position if necessary Check the brake lever; is the modulation as you like it? If so, it is useful to let the very last bit of air out of the brake system by turning the handlebars up so that the funnel is 30 degrees beyond vertical.
Squeeze the brake lever a few more times to remove any small air bubbles. Now turn the handlebars back until the funnel is 30 degrees in front of vertical. Again, squeeze the brake lever a couple of times. Now turn the handlebars so that the funnel is upright. Close the funnel with the remaining fluid and remove from the brake lever.
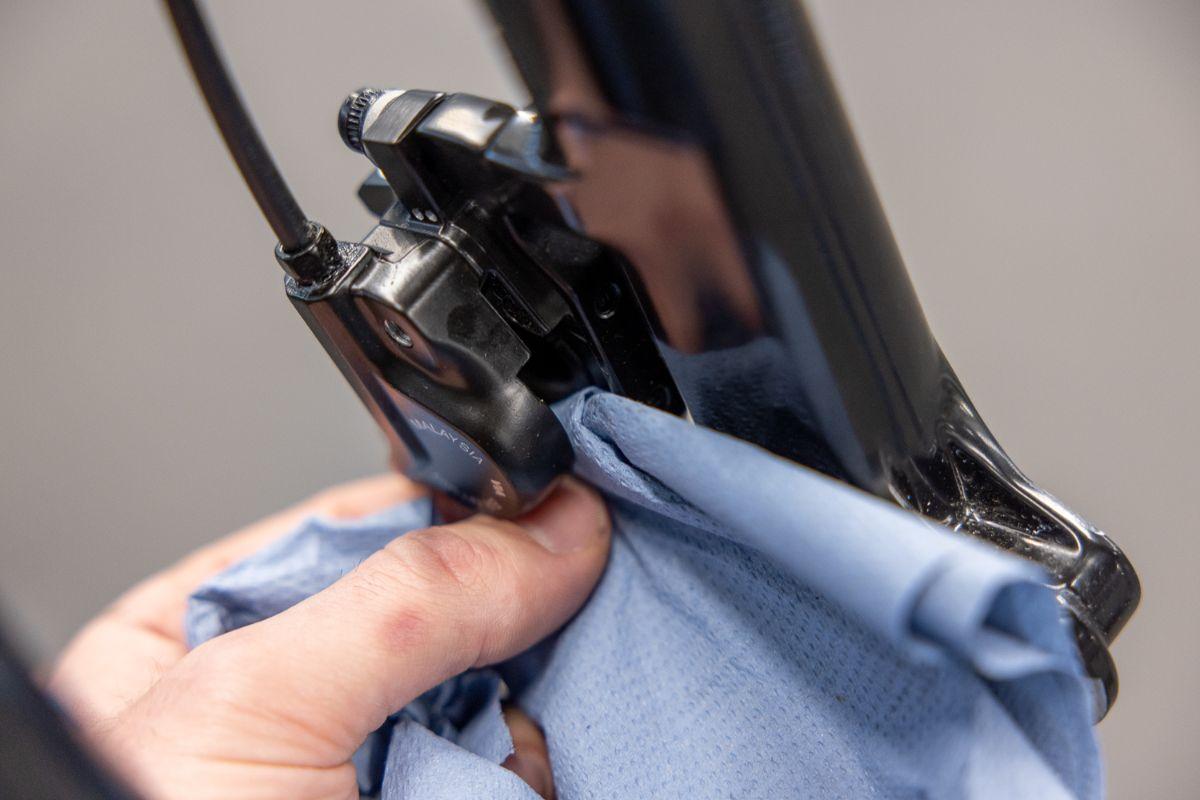
18. Put the screw back on the bleed port of the brake lever Put the screw with the rubber washer back to close the bleed port of the brake lever. Now clean the brake lever with Isopropanol alcohol.

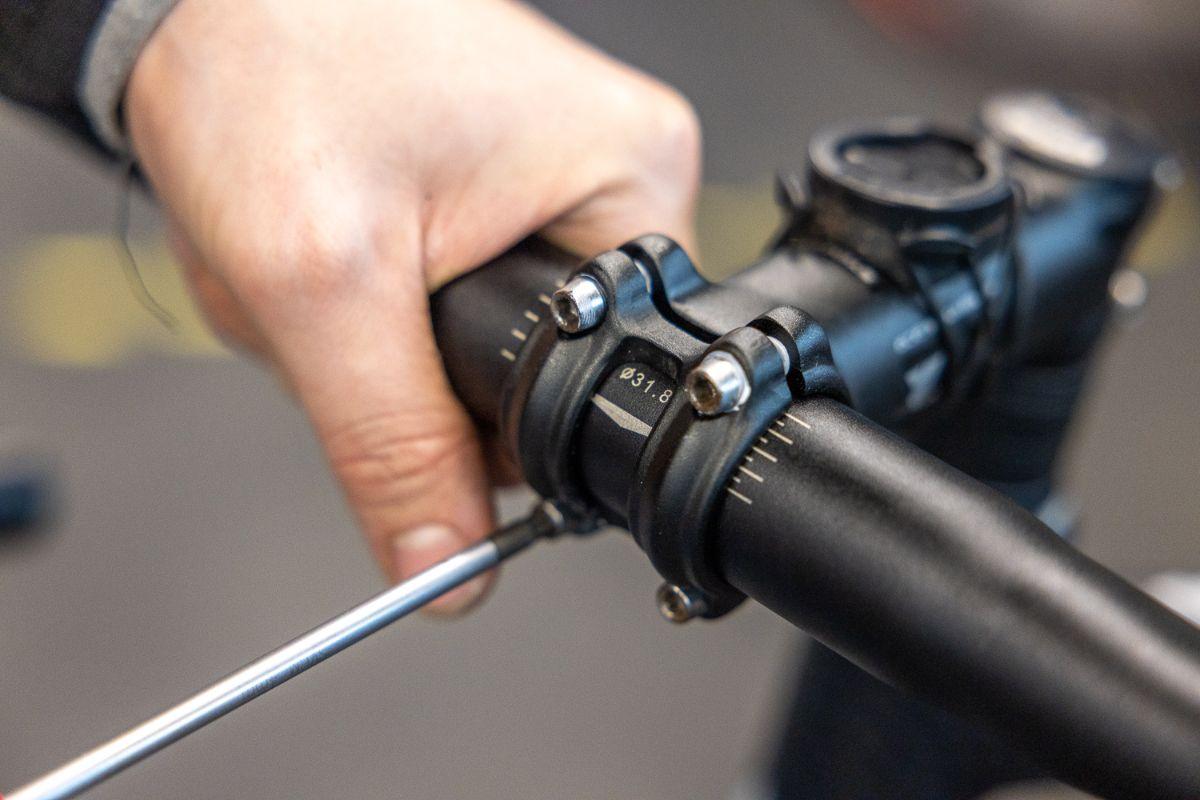
19. Put the handlebars back in the original position Put the handlebars back in the original position and tighten the 4 stem bolts until the handlebars are properly secured.
20. Remove the brake pad spreader and clean the caliper Remove the brake pad spreader from the caliper and clean the caliper with Isopropanol alcohol before putting the brake pads back in place. Now put the brake pads in the caliper and the wheel back in the frame. Squeeze the caliper several times until the pads make contact with the disc brake rotor again.

Bleeding and servicing disc brakes on a road bike
Servicing the hydraulic disc brakes on your road bike requires good preparation and technical understanding of what you’ll be doing. If you have any doubts about what to do next or are unable to proceed, we recommend consulting the manufacturer's website. Or contacting our Service & Support team.
Attention! Always use the correct brake fluid for your brand and type of brakes. In the case of Shimano brake systems, this is a mineral-based fluid. Preferably use Shimano’s own products.
What do you need
- Shimano bleed kit
- Shimano mineral fluid
- Allen key set
- 7 mm open-end wrench
- Tool to separate the pistons
- Brake pad spreaders
- Cleaning cloths
- Waste container for used fluid packaging such as a bottle or resealable plastic bag
- Isopropanol alcohol for cleaning the brake levers after filling
- Gloves
1. Remove the wheel Remove the wheel from your bike and tilt the bike so that there is a consistent upward sloping line between the caliper and the brake lever.
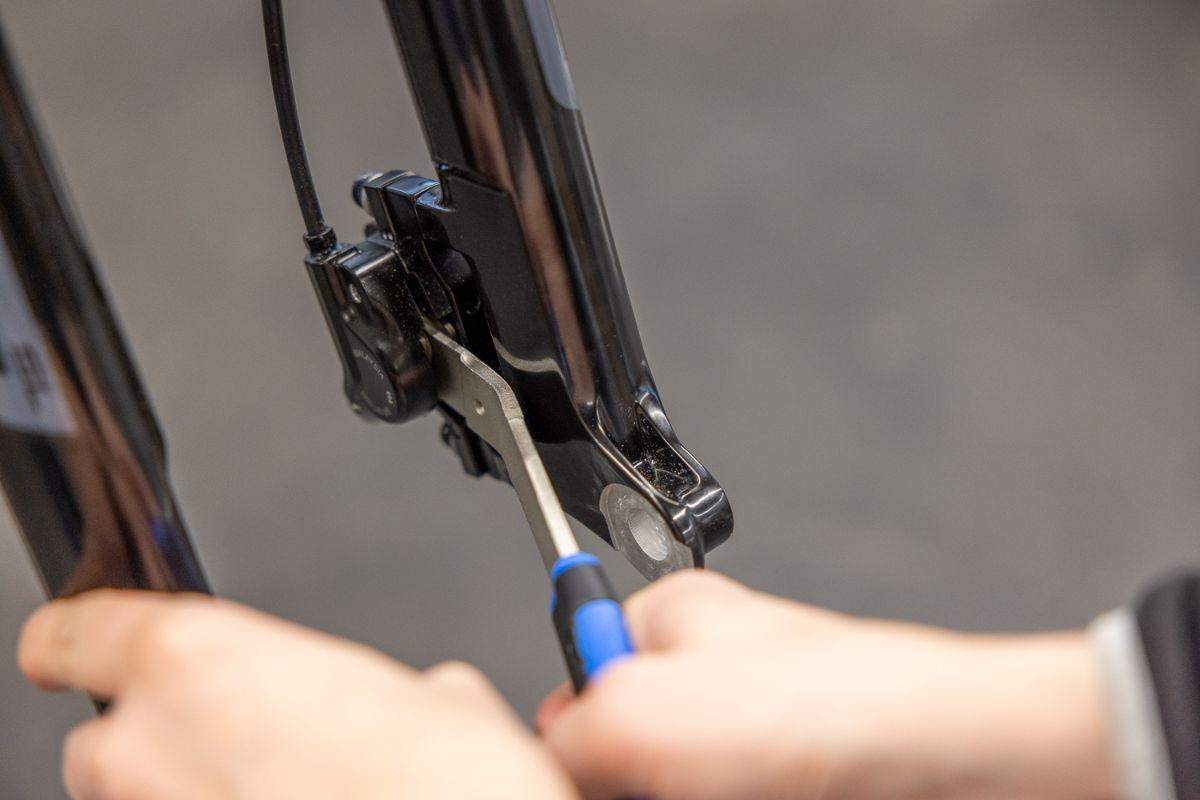
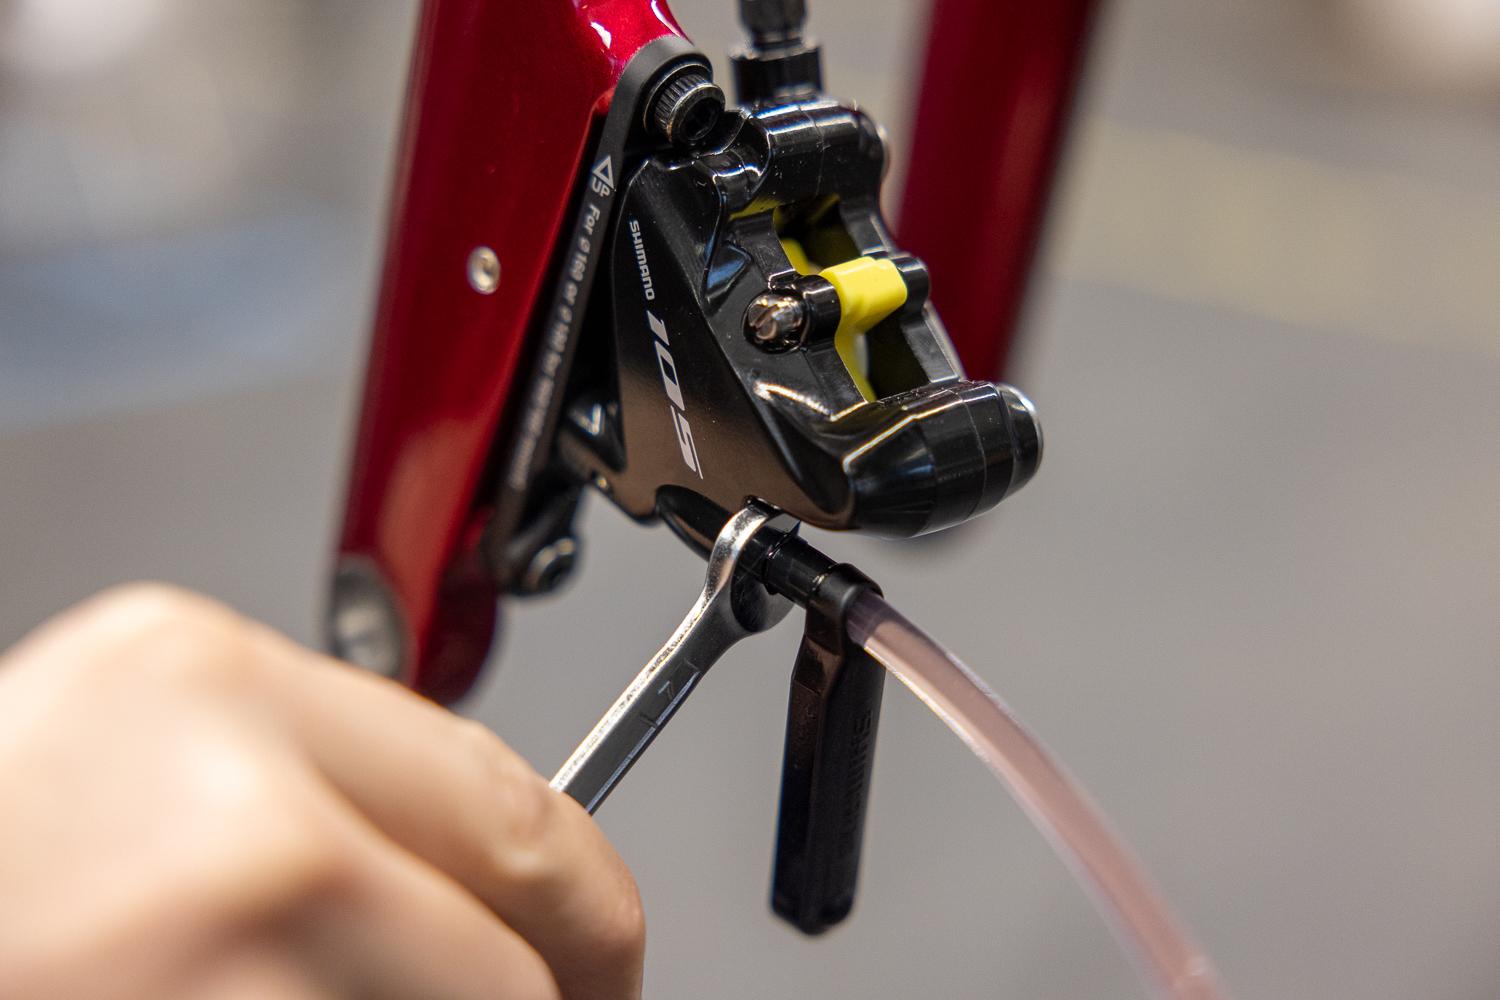
2. Remove the brake pads Push the pistons back into the caliper and remove the brake pads from the caliper. Do so using a flat object such as the plastic handle of a pedal wrench.
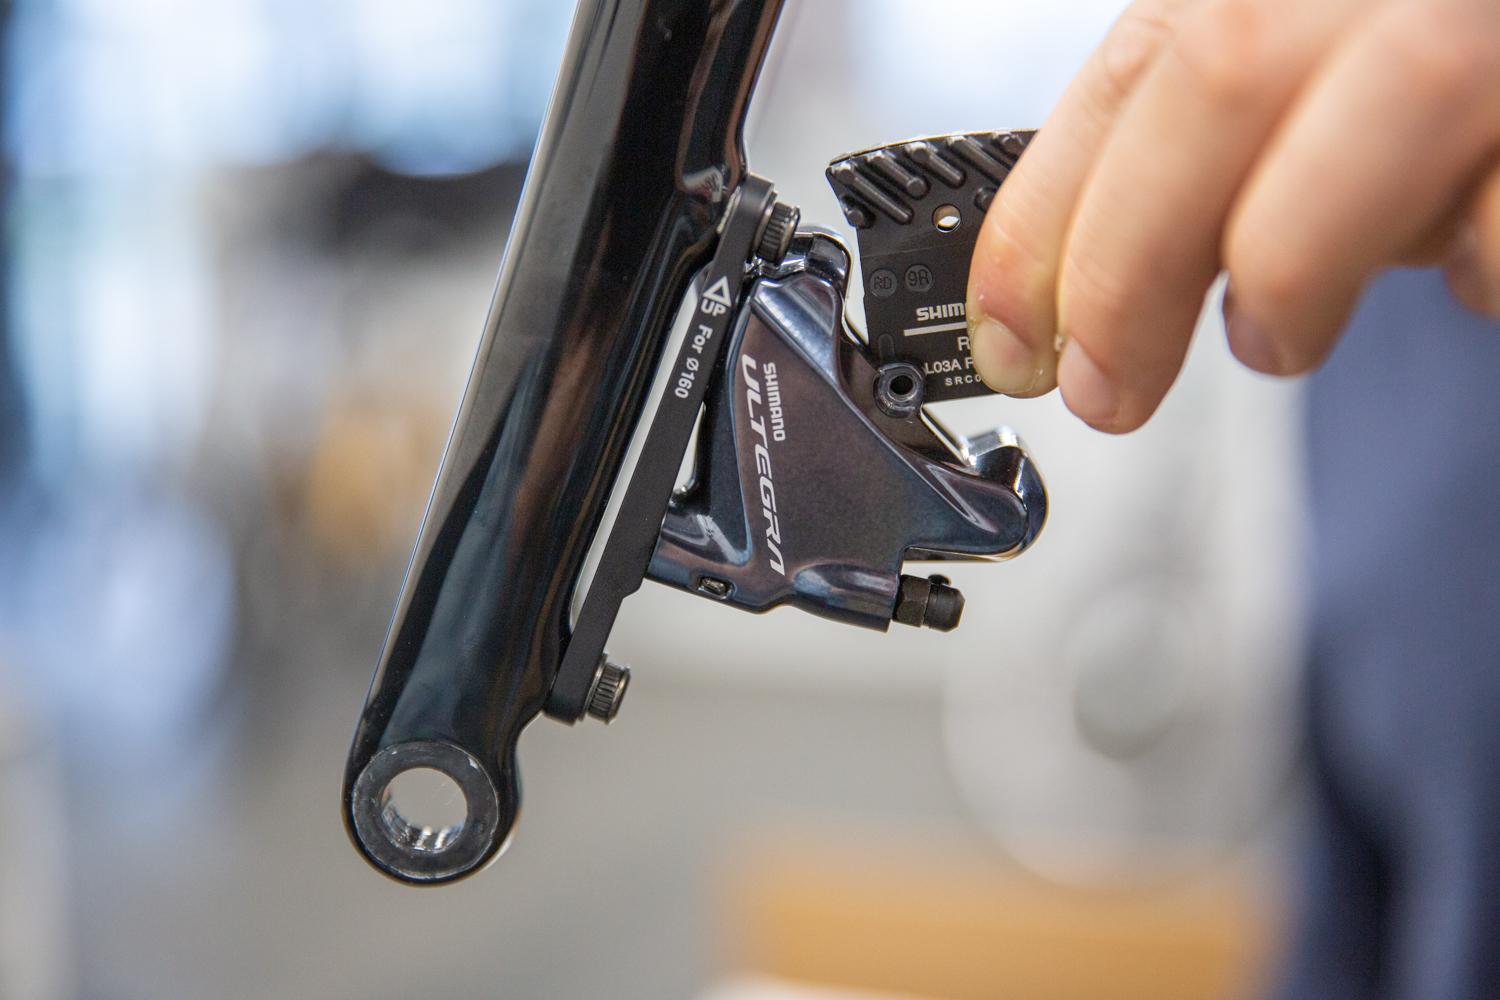
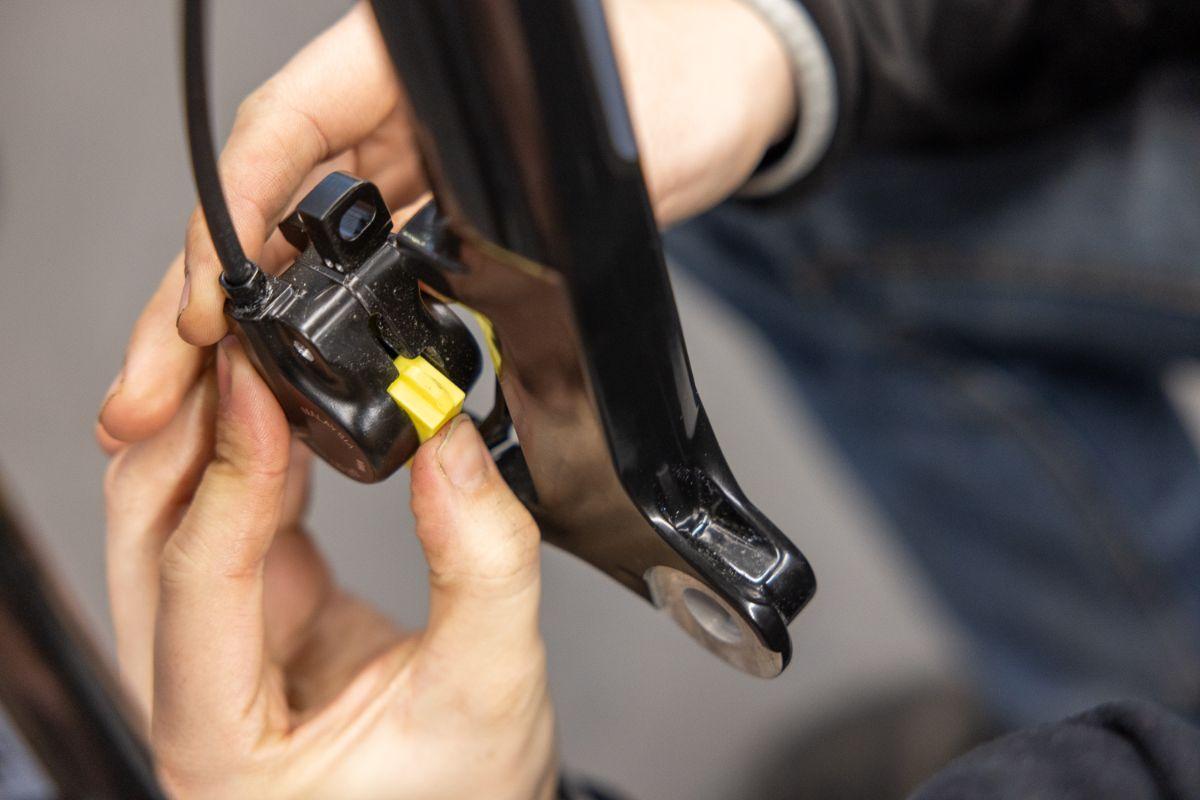
3. Insert a brake pad spacer Insert a brake pad spacer between the pistons. Remove the rubber cap from the caliper’s bleed port.

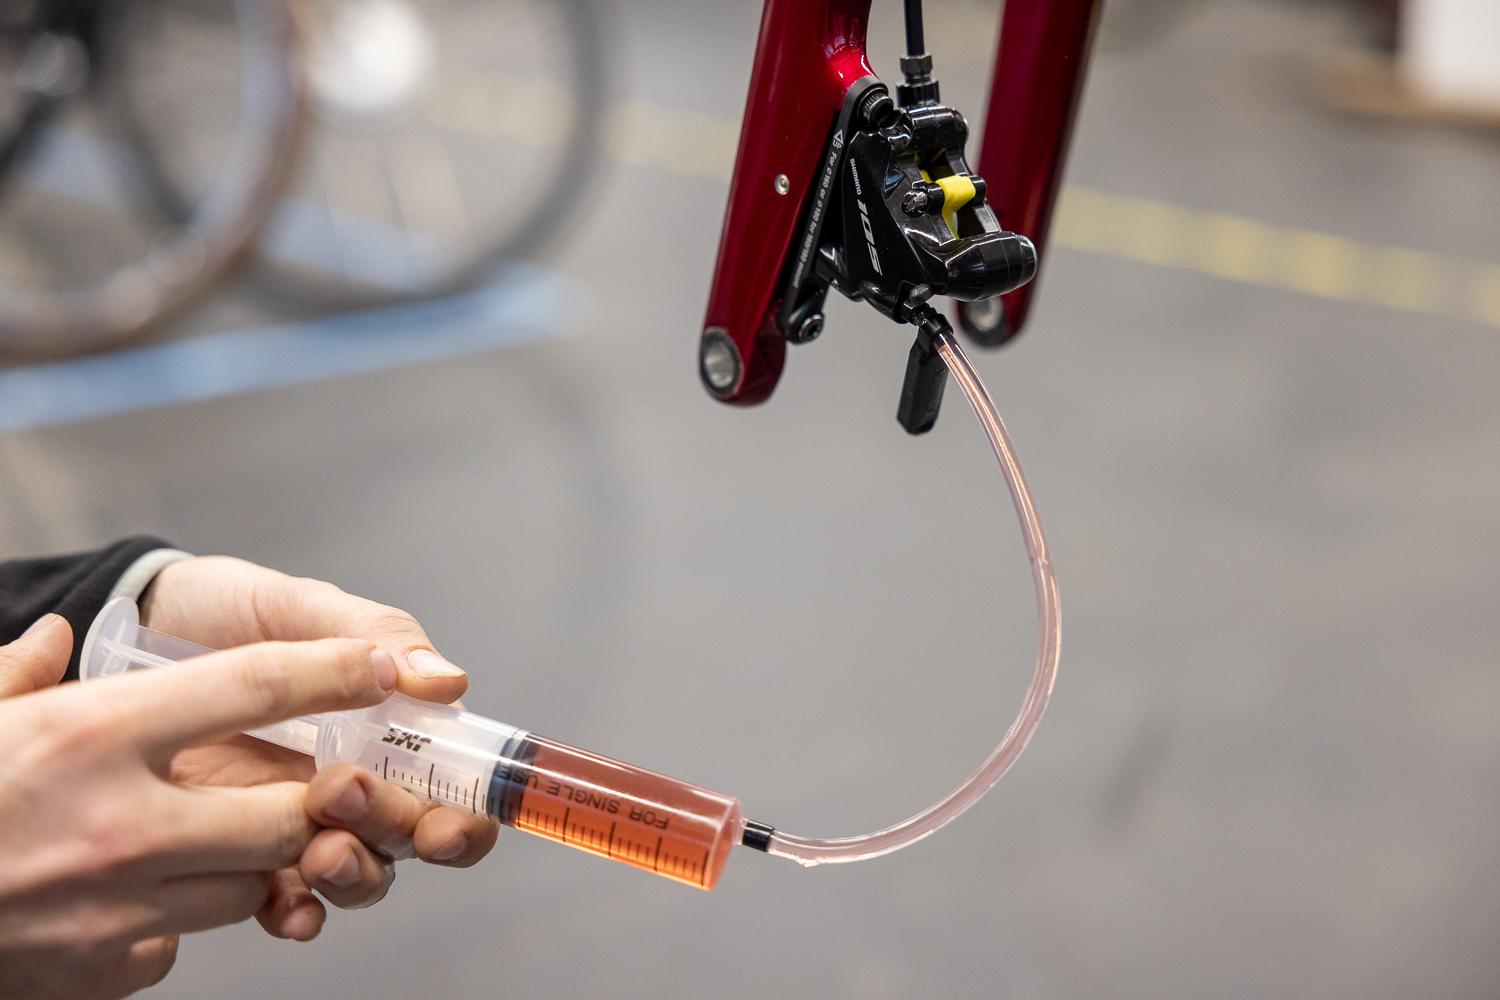
4. Prepare the syringe Place the filling hose onto the syringe and fill the syringe to about two-thirds with Shimano mineral brake fluid. Hold the hose with the open end up and push the plunger (or piston) just slightly in. Continue until all air has been removed from the syringe and filling hose.
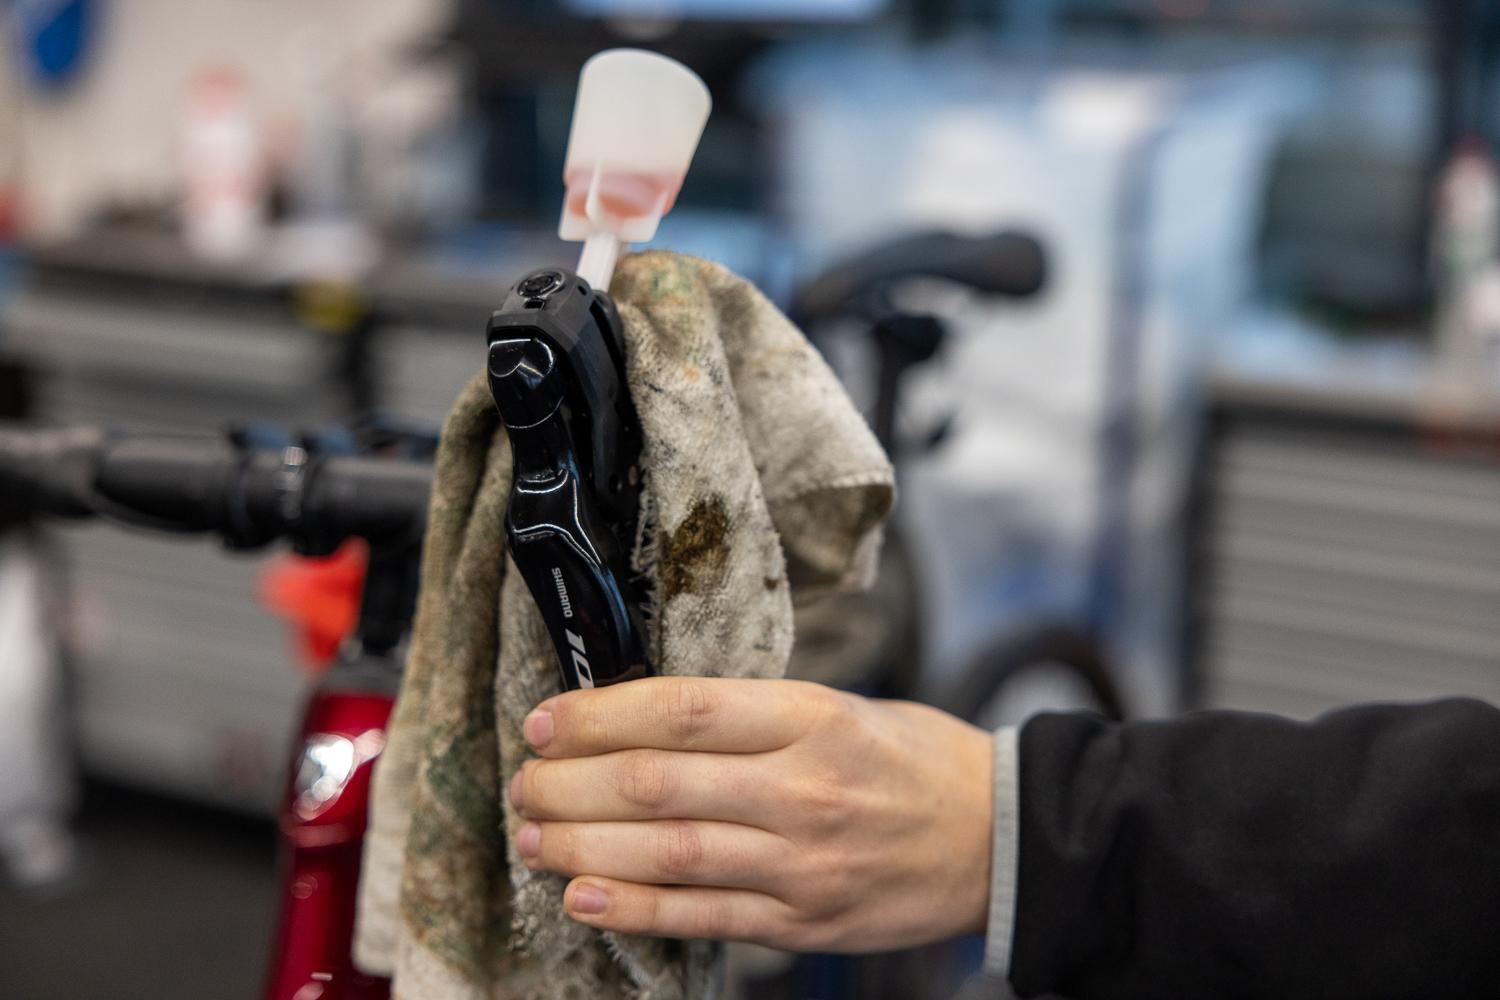
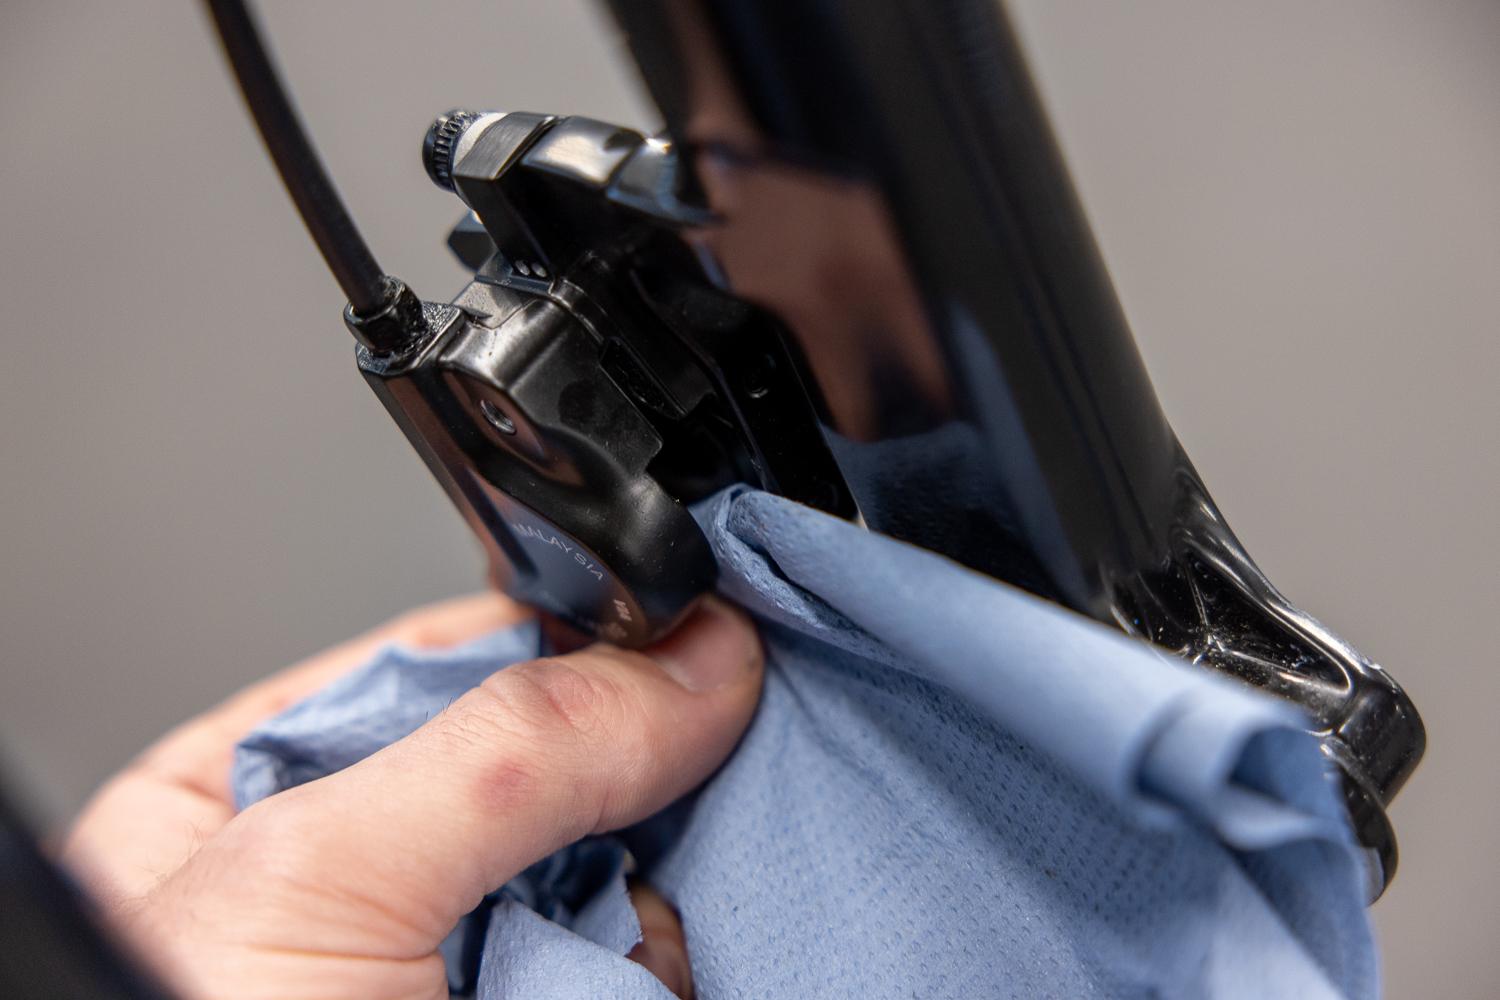
5. Attach the funnel Attach the funnel for the oil to the bleed port on top of the brake lever. To do so, fold back the rubber of the brake lever to expose the bleed port. With Shimano brakes, the bleed port can be in different locations, depending on the model of the brake lever. Usually it is located on the top of the brake lever, but in some models it is at the back or at the centre of the brake lever.
6. Remove the screw that seals the bleed port We recommend wrapping an old rag around the back of the brake lever to protect its rubbers as well as the handlebar tape from contamination by exposure to brake fluid. Now remove the screw that seals the bleed port. Make sure to also remove the rubber washer that is attached to the screw.

7. Mount the funnel to the handlebars Fit the bleed adapter to the funnel and screw onto the bleed port of the brake lever. Use care when doing so because the thread is fine!
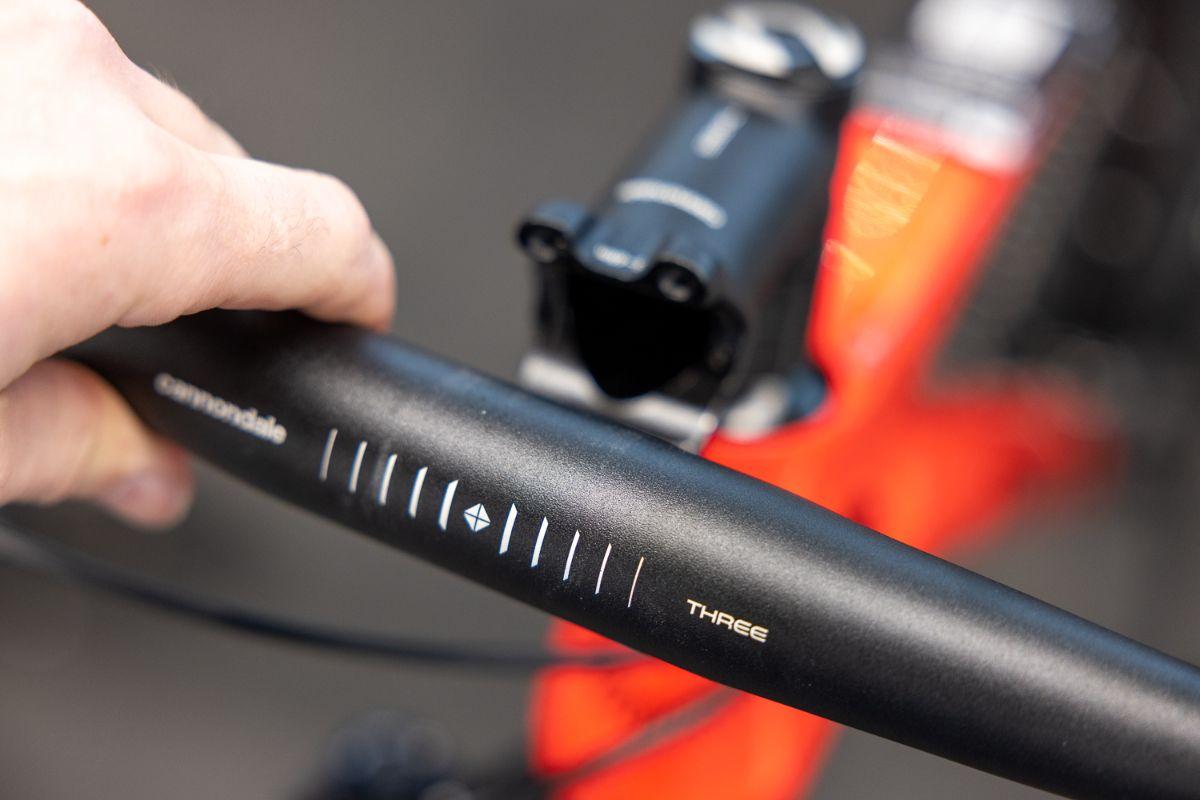
8. Put your handlebars in the right position Shimano hydraulic brake levers are designed with internal hoses to the brake fluid reservoir in the brake lever. To ensure that no air whatsoever remains in the brake lever, you need to turn the brake lever at an incline (one or more). The degree of inclination depends on the model. Some brake levers have a mark (the mark must be parallel to the ground) to help you see how far to turn the handlebars.
9. Connect the hose Connect the syringe and the hose containing the new brake fluid to the caliper via the previously mentioned bleed port. Now open the bleed port by a half turn. Push almost all the fluid up through the caliper towards the funnel on the brake lever. Close the bleed port again with a half turn and remove the hose and syringe.
10. If necessary, replace the fluid that comes up If the fluid coming up is dirty, it must be replaced. Close the funnel and remove the old fluid. Do not throw it in the sink but take it to your local chemical waste depot. Place the clean funnel back onto the brake lever and fill it to three-quarters with new fluid. Turn the handlebars upwards so that the brake lever is at a 45 degree angle. This will cause the fresh fluid to flow back into the reservoir and down the hose to the caliper.

11. Attach a ziplock bag Reattach the hose of the syringe, with a ziplock bag or something similar attached to the other end (to catch excess fluid), to the bleed port of the caliper. Reopen the bleed port by a half turn.
12. Squeeze the brake lever Squeeze the brake lever several times to start the flow of brake fluid to the caliper. Collect the excess fluid in the bag at the other end of the hose. Using the rubber handle of a screwdriver, for example, tap gently along the brake hose and the caliper to release any small air bubbles that may be stuck there.
Make sure that the funnel does not empty and add new brake fluid if necessary to prevent air getting into the hose. When no more air bubbles appear in the hose at the caliper, close the bleed port again with a half turn.
13. Refill the funnel with fluid Add fresh fluid to the funnel. Squeeze the brake lever all the way and keep it that way to retain pressure on the pistons. To do so, secure the brake lever against the handlebar drops with a strap or elastic band.

14. Open and close the bleed port Open and close the bleed port in a single smooth movement. Do this quite quickly. The pressure now disappears from the brake lever. Remove the strap and squeeze the brake lever several times until the pressure has built up again and is back to its original level. Repeat these steps once more. Now remove the hose and put the cap of the bleed port back on the caliper.

15. Check that everything is properly adjusted Check the brake lever; is the modulation as you like it when braking? If so, it is useful to let the very last bit of air out of the brake system by turning the handlebars so that the top of the brake lever (and the funnel) is parallel to the ground.
Squeeze a few more times to remove any remaining air bubbles. Now turn the handlebars up until the top of the brake lever is perpendicular to the ground. Again, squeeze the brake lever a couple of times. Now turn the handlebars so that the funnel is upright. Close the funnel with the remaining fluid and remove from the brake handle.
16. Put the screw back on the brake lever Put the screw with the rubber ring back to close the bleed port of the brake lever. Now clean the brake lever with Isopropanol alcohol.
17. Put the handlebars back in the original position Put the handlebars back in the original position and tighten the 4 stem bolts until the handlebars are properly secured.
18. Remove the brake pad spacer Remove the brake pad spacer from the caliper and clean the caliper with Isopropanol alcohol before putting the brake pads back in place. Now put the brake pads in the caliper and the wheel back into the frame. Finally, squeeze the caliper a few times until the brake pads make contact with the disc brake rotor.

SRAM and Campagnolo brake systems
The steps as described above for Shimano brakes usually also apply to SRAM or Campagnolo brake systems. Make sure that you use the correct brake fluid. For SRAM, for example, this is DOT fluid, which has a substantially different composition than the mineral fluid used in Shimano and Campagnolo systems.
Make sure to check your rotor as well!
When you have serviced your hydraulic disc brakes, it is also important to check that your disc brake rotor is still in good condition. Otherwise your braking performance will be less than optimal. Learn more about when and how to replace your disc brake rotor by reading this blog!
Bram de Wit
Als verkoopmedewerker Parts ben ik het aanspreekpunt binnen Mantel Utrecht voor advies op gebied van specifieke fietsonderdelen. Van Mountainbike tot racefiets adviseer ik op de aankoop van de juiste onderdelen, passend bij budget en wensen. Wat ik niet direct weet, zoek ik graag ter plekke voor de klant uit! In mijn vrije tijd fiets ik graag en veel. Zo ook vanuit mijn woonplaats Amsterdam naar de winkel in Utrecht. Heb ik gelijk wat km’s in de pocket. En dan op werk lekker douchen. Ideaal! Ik fiets met name op de weg en op de racer, maar een MTB tochtje met vrienden hier en daar sla ik zeker nooit af.
Related posts
How do I know when I need to replace my bike parts?
31 January 2022As a cyclist, you often read about the importance of maintaining your bike well ...
How to Determine the Correct Saddle Height
5 January 2018The correct saddle height and saddle position are essential for enjoyable and injury free rides on your road bike ...

How-To: Set Up your Tubeless Tyres
21 October 2016Tubeless tyres are a regular sight with mountain bikers, and the classic tyre-inner tube combination is beginning to ...