 Nederland
 België
 Deutschland
 United Kingdom
 Finland
 Ireland
 Luxembourg
 Portugal
 Poland
 Österreich
 France
 España
 Italia
 Sverige
 Danmark


How to Bed In your Brake Pads
You’ve received your newly bought brake pads, but now your cycling buddies are telling you about how important it is to properly bed them in! So what actually happens to your brakes during that process? And why is it important to do so, and how should it be done anyway?! All questions we intend to answer in this blog!
What happens to your brake pads when you’re bedding them in?
Your brake pads are made using a compound of resin and minute pieces of metal or softer material such as polyester. Bedding in your brakes isn’t as much about your pads, but actually has to do with the rotors. The pads and rotors optimally work together if the pads leave a thin microfilm on the surface of the pads. This film comes from the resin and metal/polyester, which melts under the high temperatures caused by braking. The shape of the pads will also adapt to the surface of the rotor. It’s very common for instance to have a groove or scratch on the rotor caused by previous pads.
Why is it important to bed in your brakes?
Properly bedding in the brakes increases the lifespan of the pads. This is because the pads become harder, and the stopping power increases. It also allows the pads and rotors to be perfectly matched to one another.
So how do you properly bed in your brakes?
So many people, so many thoughts. We’ve done some digging to find out what the major manufacturers of brakes and brake pads have to say on the matter:
Sram & Avid
Bedding in the brakes needs to be done before your first ride. This ensures your brake performance is consistent, quiet and powerful
In order to safely get the most from your brakes during the bedding in period, please remain seated on the saddle during the entire procedure.
- Accelerate to a medium speed (circa 20 kph or 12 mph), then firmly apply the brakes and reduce your speed to a walking pace. Repeat approximately 20 times.
- Accelerate to a high speed (circa 32 kph or 20 mph), then firmly and quickly apply the brakes, reducing your speed to walking pace. Repeat approximately 10 times.
- Let the brakes cool before setting off on your first ride.
Shimano
The rotors need to get some heat in them, and the pads need to be bedded in. When either component has been replaced, or you’re getting on a new bike, please follow the following steps to ensure optimal performance from your brakes:
- If you’re replacing the rotors, also replace the pads.
- You need to make around 20 stops to complete the bedding in procedure. It’s important you do so in dry and clean conditions.
- The best way of bedding in the brakes is to accelerate to a high speed and firmly and evenly apply the brakes until you’re almost at a standstill. Repeat 10 to 20 times.
- If you ride the bike vigorously before the pads and rotors have been bedded in, then this can seriously influence brake performance. It can lead to either squealing brakes and/or a lack of stopping power.
Hope
Check whether the brakes work properly by squeezing the lever. In order to get the most from your brakes, it’s important they’re properly bedded in. Doing so requires you to go for a ride while dragging the brakes. This procedure will ensure proper brake performance, but maximum stopping power will only become available after a few rides.
Tips
- Always degrease the rotors. So both when you’re installing new pads and when installing new rotors!
- Never use old pads with new rotors. The old pads won’t leave a microfilm on the new rotor, which is detrimental to the performance of your brakes.
- Always have a set of bedded in brakes on stand-by. This way, you can always swap pads, for instance when it’s raining or before a race or marathon.
- Use alcohol-based brake cleaner, rather than benzene-based products. We recommend Wurth brake cleaner.
Kees Neijenhuis
Enthusiastic trail runner and mountain biker. I love being outdoors! I also have a weak spot for beautiful products and true craftsmanship. Rides a Trek Top Fuel 9.7 SL 2018.
Related posts

How To Plan a Route Using Komoot? [How-To]
27 March 2023Planning and finding your own cycle routes sounds more complicated than it actually is ...
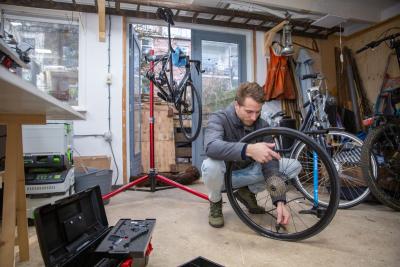
Do your own bike maintenance work! [Do It Yourself Tips]
7 February 2023Buying a new road, mountain or gravel bike is one thing. Maintaining your bike properly is another ...
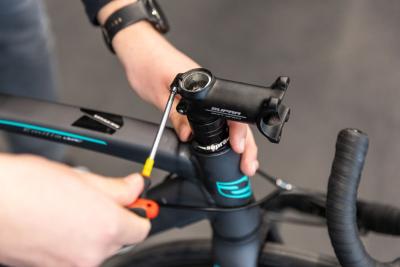
Replace the stem of your road bike in 11 steps [Bike Techcenter]
26 April 2022For road cyclists, being comfortable on your bike is of the utmost importance ...