 Nederland
 België
 Deutschland
 United Kingdom
 Finland
 Ireland
 Luxembourg
 Portugal
 Poland
 Österreich
 France
 España
 Italia
 Sverige
 Danmark


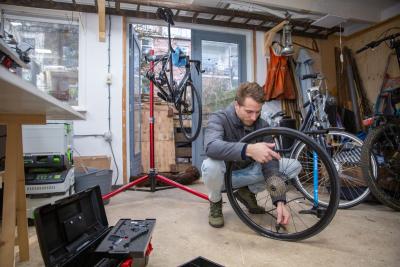
How do I mount a tubeless tyre on my road bike? [How-to]
Just like riding tubeless on a mountain bike, riding tubeless on your road bike has a lot of advantages. This way you can cycle with lower tyre pressure. That’s a lot more comfortable and you’re less likely to get punctures. If you do happen to get a puncture, thanks to the latex in your tubeless tyres you don’t even have to stop and repair your tyre. The liquid latex in your tubeless tyre seals the punctures automatically.
Riding tubeless has almost become standard among mountain bikers. And yet, road cyclists are not really fond of tubeless tyres yet. This is despite the fact that the experiences with riding tubeless are all positive.
One of the reasons why road cyclists don’t want to switch to tubeless tyres is that the assembly is expected to be difficult. But turns out it’s actually pretty easy! We will show you how you can easily assemble a tubeless tyre on your road bike.
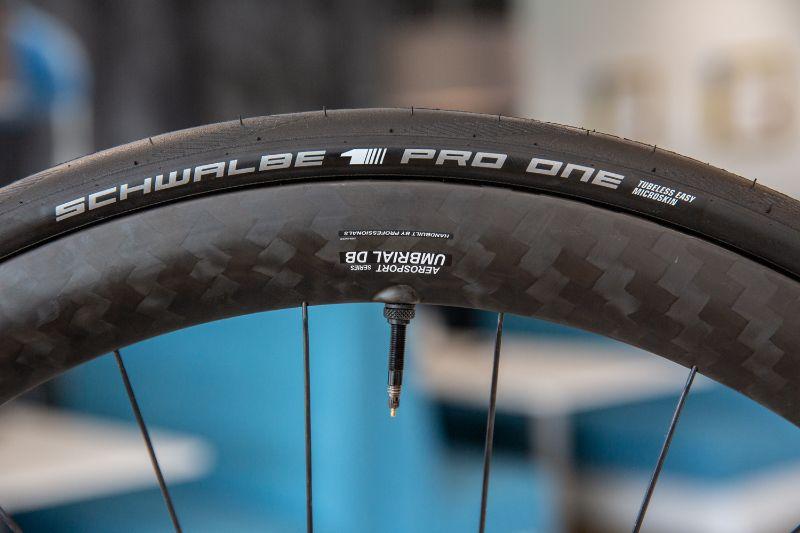
Tubeless tyres with tubeless road bike wheels
It all starts with the right wheels, of course. After all, not all road bike wheels are suitable for a tubeless conversion: the rim must be airtight or be able to be made airtight.

Furthermore, the rim flange also needs to be compatible with tubeless tyres. A tubeless rim flange is a bit wider and has a deeper groove to give good grip to the bead of the tubeless tyre. That fitting must be as tight and airtight as possible.
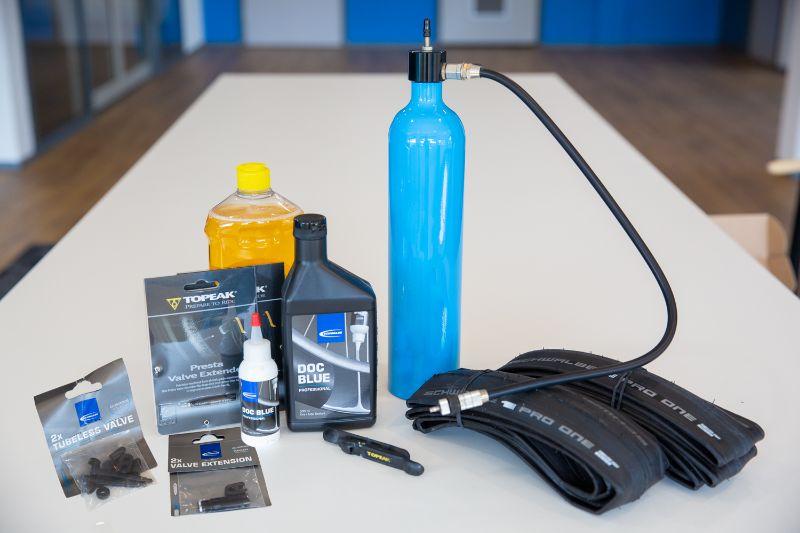
What do you need to make your road bike tubeless?
Depending on your experience and skills, it takes about 15 - 25 minutes per wheel to make your road bike wheels tubeless. Besides, the material you use can also play a big part. But what is it you need exactly?
The equipment needed to assemble tubeless tyre on a road bike
- Tubeless road bike wheels
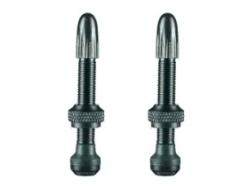
- Tubeless valves
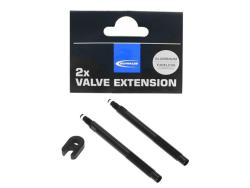
- Valve extenders for higher rims (more than 3 cm)
- Tubeless ready or tubeless road bike tyres
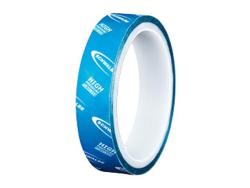
- Tubeless rim tape
- Water, soap, little bucket and a cloth
- Tyre levers
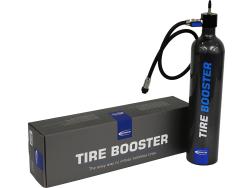
- Bicycle pump with pressure chamber or Air Booster
Make your road bike tyres tubeless in 9 steps
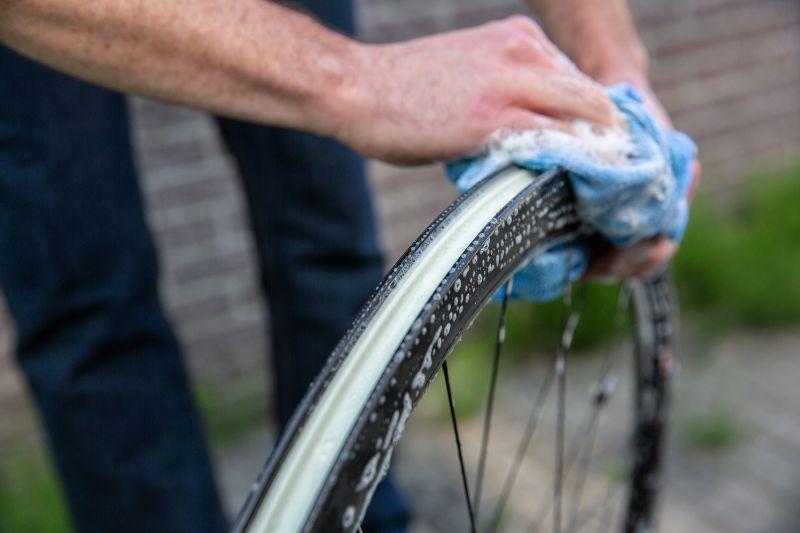
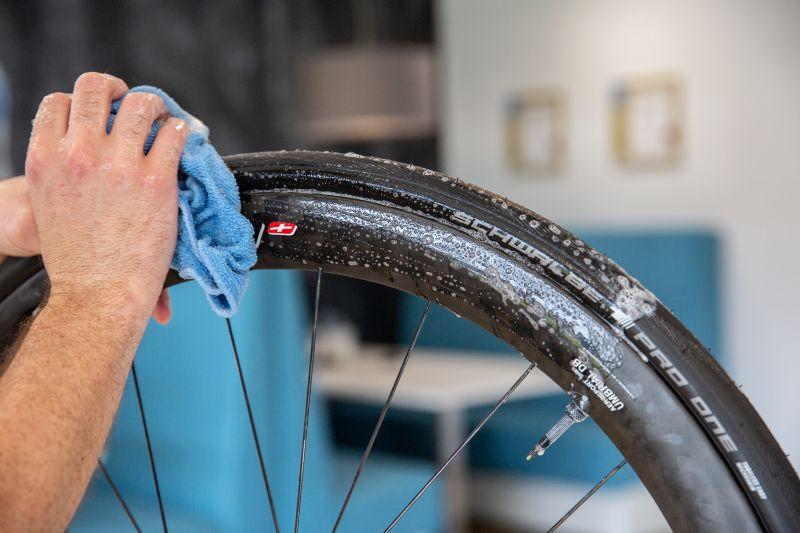
1. Clean the wheels
It starts with a good clean-up of your road bike wheels. Even if you just got a new set fresh out of the box, it is still important to clean it properly and make it grease-free. This is because the liquid latex adheres worse on a greasy surface.

Soapy water with detergent is enough. Clean the rim bed and rim flange with lots of soap and water. Rinse and dry the wheels and you’re good to go.
2. Apply tubeless rim tape if necessary
Not all road bike wheels are compatible with tubeless tyres out-of-the-box. Sometimes you have to make the rim bed airtight yourself.
It’s very easy to make the rim bed airtight. All you need to do is cover the spoke holes with tubeless rim tape. It is recommended you start with the tape just past the valve and then go all around for at least 2 times.
After you applied the tape, you carefully have to make a little cut right where the valve hole is.
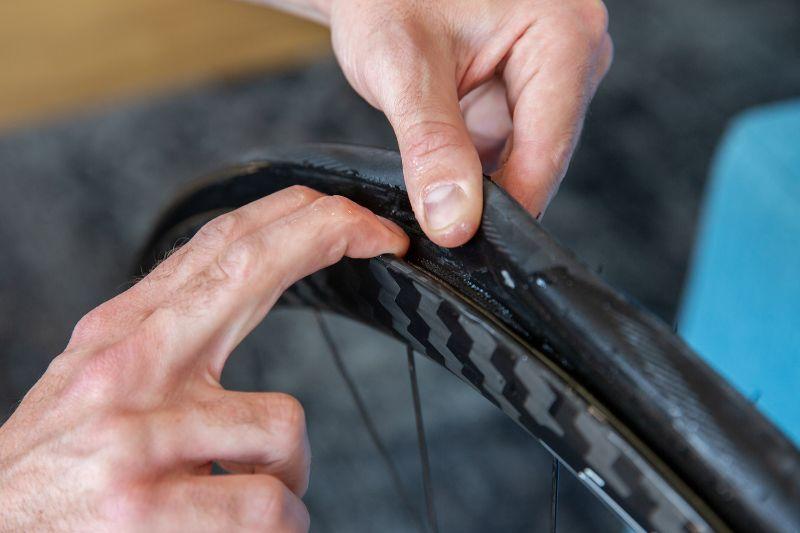
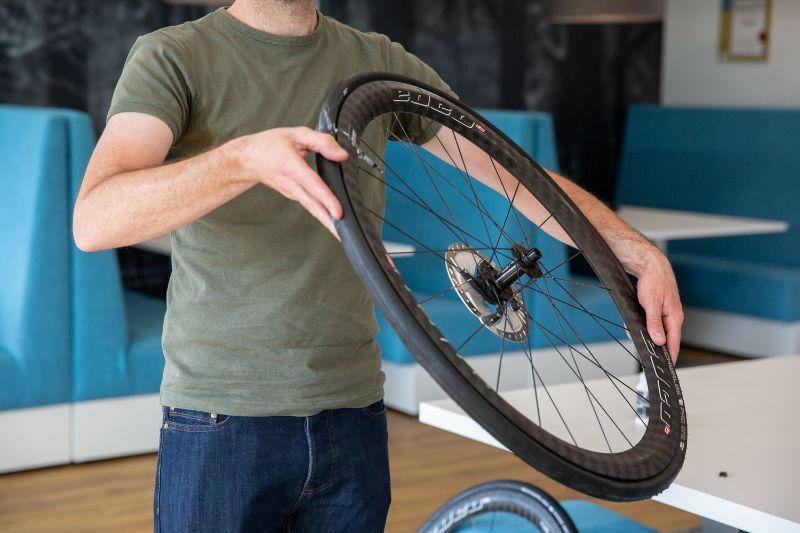
3. Place the tubeless tyre on the rim
At this point you can place one side of the tubeless tyre on the rim. If this is the first time you make a wheelset tubeless, this may be a bit tighter than you are used to.
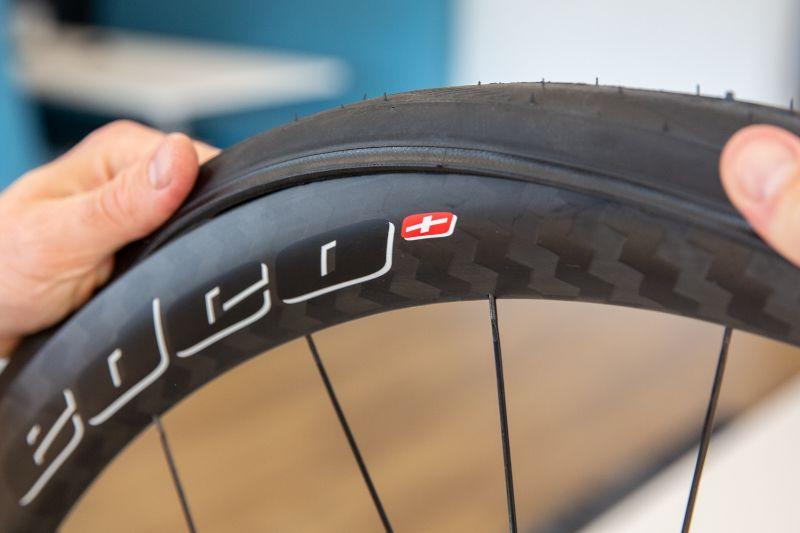
The reason for this is that tubeless tyres have to fit a lot tighter to be airtight. You should be able to put on the first side of the tyre quite easily. We will explain later on how you can get the other side of the tyre on the wheel.
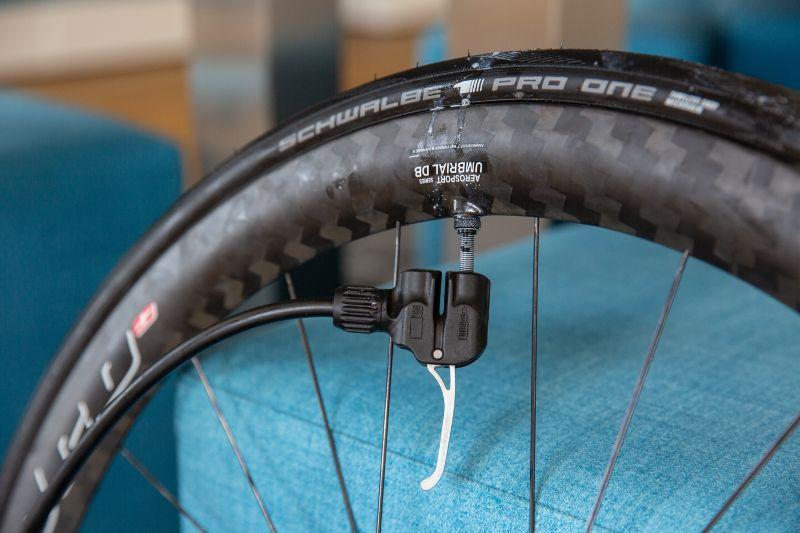
4. Mount the tubeless valves
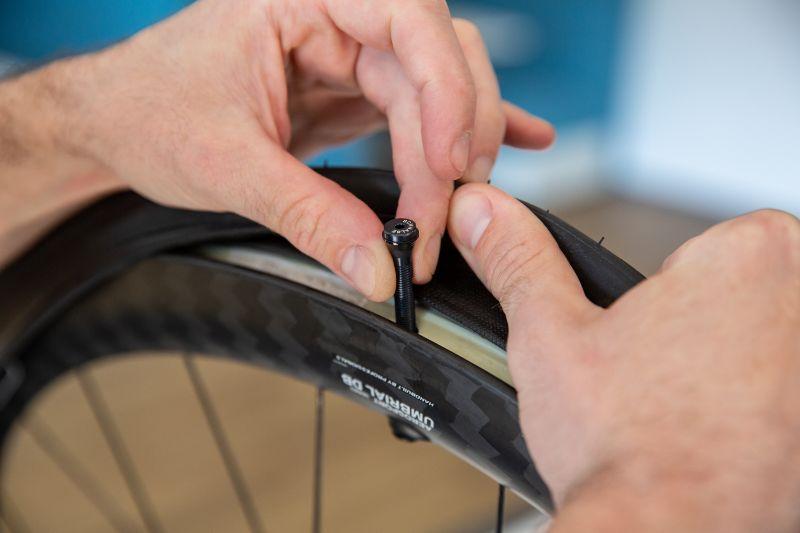
If the first side of the tyre is placed on the rim, you can mount the tubeless valve. With a higher wheel set you probably need to use valve extenders. Do you have a tubeless valve with a removable core? Then it is best to use valve extenders that are suitable for this purpose.
Make sure the valve is secured properly with the washer, because the valve must be airtight to keep your tyres on the right pressure. So tighten it up!
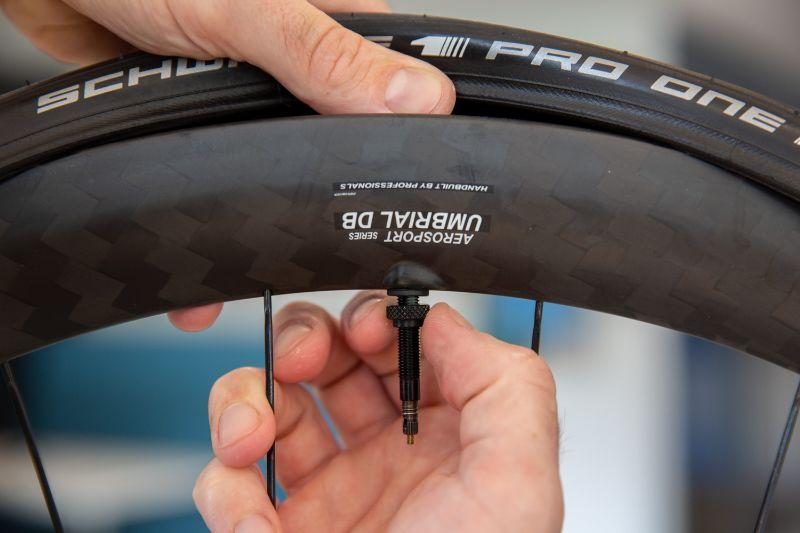
5. Fully place the tyre on the rim
If the valve is placed correctly, you can place the tyre on the rim. A lot of tubeless road bike wheels have a lowered groove in the rim bed centre, made specifically for the assembly.
Place the side of the tyre that’s already on the rim in the groove, this way you make it a lot easier for yourself by creating some extra space. Is it still a bit difficult? Put some detergent on the rim flange and the inside of the tyre.
You can also use tyre levers. Moreover, there’s no inner tube you can damage. Do take into account that the rim tape can rip, so don’t be too enthusiastic!
6. Pop the tyre onto the rim
To properly pop the tyre back onto the rim, you first have to make sure it lies well in the rim. Check if the tyre runs neatly and tightly at the valve on both sides.
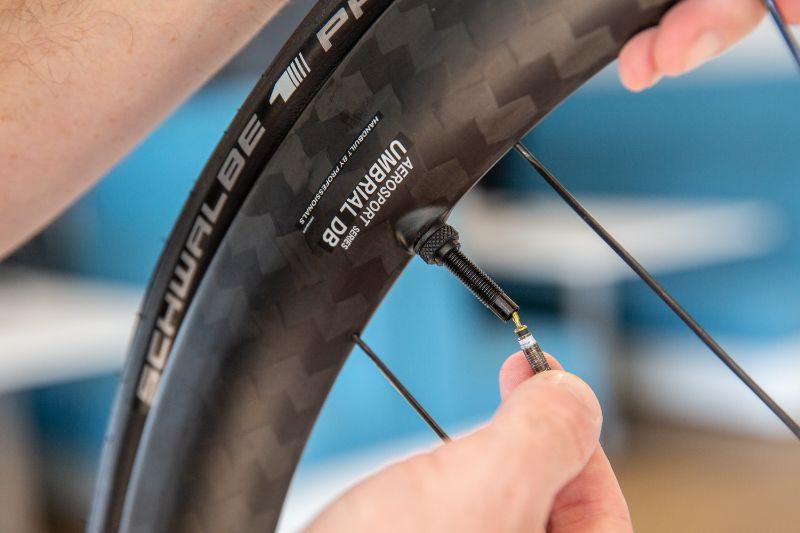
If you have a removable valve core you can now remove the valve core from your tyre. This way you create more space for the air to get into your tyre faster and more powerful. By doing this, you make it easier for yourself to get the tyre onto the rim.
Lubricate the rim flanges and the tyre with detergent to let everything slide smoothly. Use a bicycle pump with pressure chamber or a useful pressure vessel to let the tyre pop onto the rim.
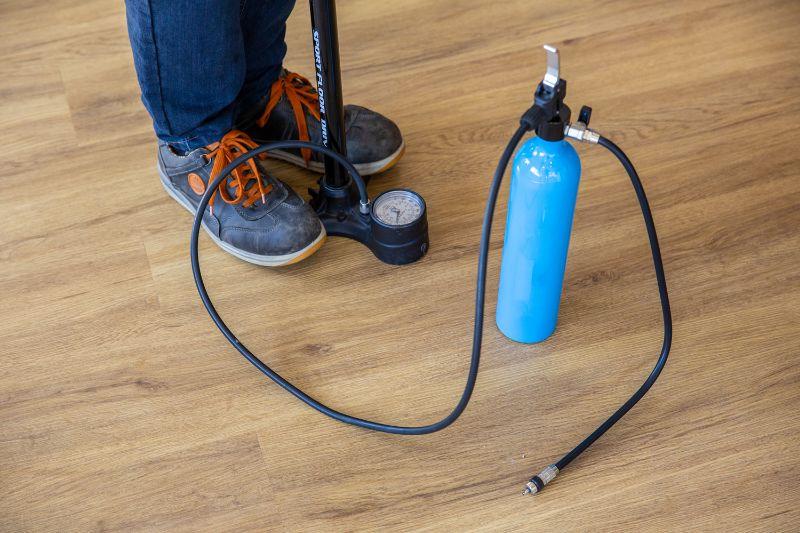
Pump up your pump or vessel to the maximum pressure allowed. Usually that is somewhere between 11 and 15 bar. Now, click your pump head on the valve and release the lock.
If all goes well, the air will flow out very quickly and you will hear a few big pops. No worries, that’s supposed to happen. In case you had removed the valve core you can now put it back in and pump up the tyre to its maximum pressure. Chances are you will hear one or two more pops.
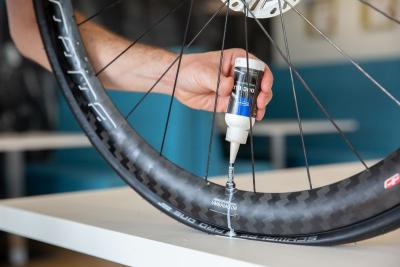
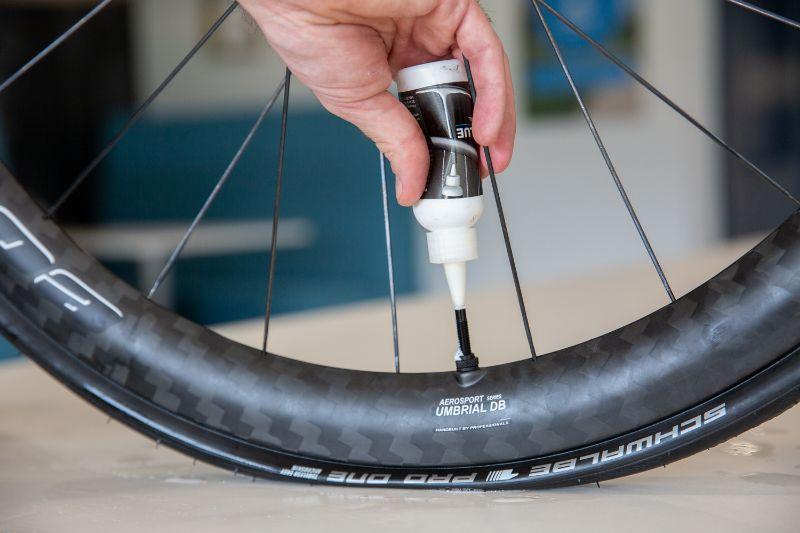
7. Pour liquid latex into your tubeless road bike tyres
Let the air flow out of the tyre and remove the valve core again. You can now pour the liquid latex into your tyre through the valve hole.
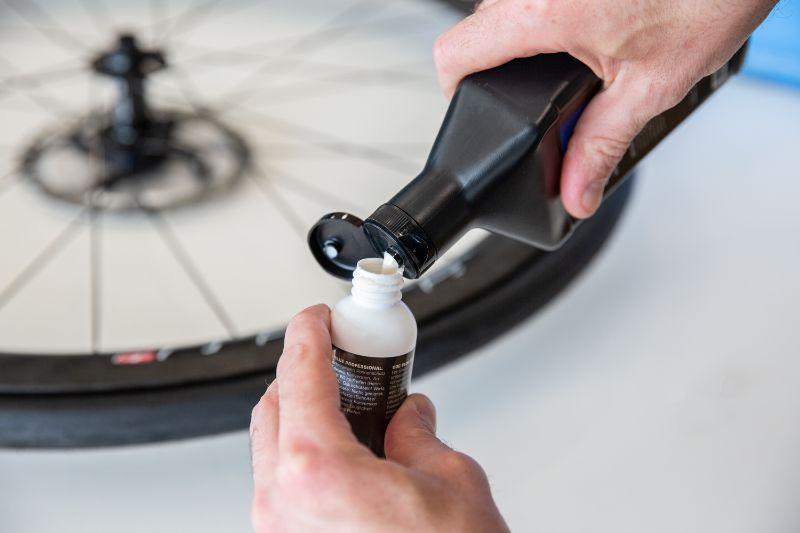
For a road bike tyre you need about 30 ml of liquid latex. Pour this into a smaller bottle with a pointed cap. This bottle is supplied as standard with your liquid latex.
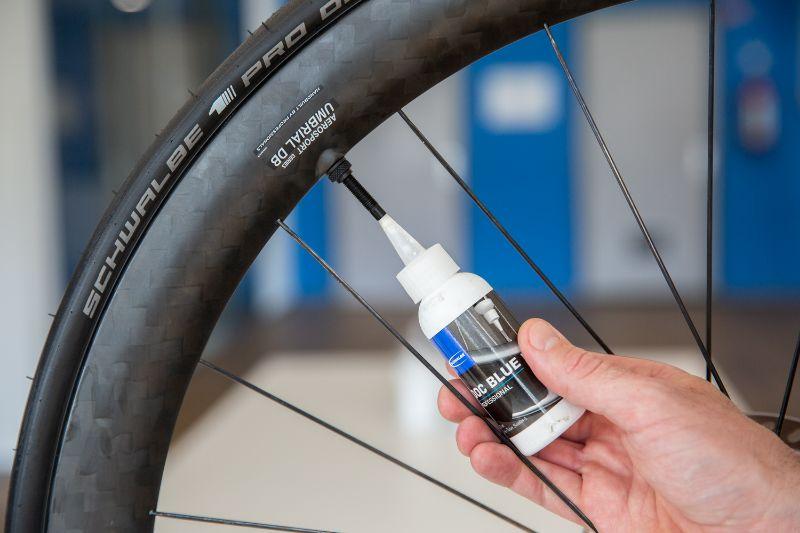
Turn your wheel so the valve is in horizontal position. Insert the cap of the bottle in the valve hole, spin your wheel downwards and empty the bottle completely. It is best not to do this on your ornate rug, it could leak a bit...
Don’t have a removable valve core? In that case you need to loosen the tyre a bit from the rim. Don’t do this close to your valve, but about 10 centimetres next to it. Make sure you leave just about enough space to pour in the liquid latex.
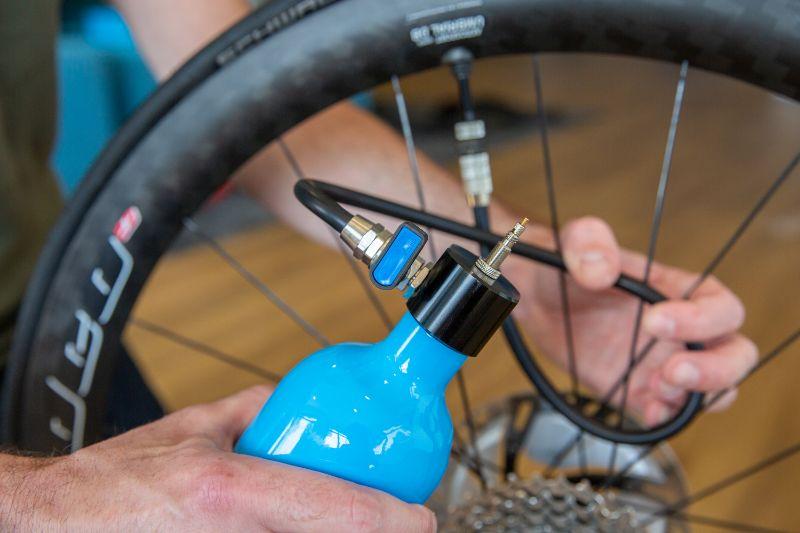
8. Pump up the tubeless road bike tyres
Put the valve core back into the valve in case you removed it. Pump up the tyre to its maximum pressure. Did you need to take the tyre off the rim? Then it could be useful to pump the tyre with a pressure chamber or booster.
It could be that whilst pumping the tyre you hear some air escape, which is normal. Pump the tyre to the maximum recommended pressure. Then rotate your tyre and flip it over sideways as well. Make sure the latex spreads out completely.
If there is a bit of air escaping from the tyre, you can squeeze or bounce the tyre a bit to seal the leak. This shouldn’t take too much time. The liquid latex will fill up the tiny unevenness that still caused some air to pass through.
9. Wait a few hours…
Theoretically, you could mount your tubeless road bike wheels back on your bicycle right now to go for a ride. However, experience shows it is better to rest your wheels on both sides for a few hours.
That way, the latex can also fill the little cracks where you don’t hear a hiss. Another good idea is to rock the wheel a bit.
It could very well be that you have to add some more air in the first week. That is not a problem, in fact it’s normal.
Which tyre pressure do I need to use for riding tubeless?
For your first proper ride you only need to do one more thing: letting air out of your tyres! This is because the advantages of riding tubeless come into their own with a nice low tyre pressure.
So which tyre pressure do you need to choose? That is actually something you have to find out for yourself. For comparison: I weigh 68 kg and in this blog I made my own wheels tubeless. I started with about 6.5 bar on my first ride, but now I ride them at just a fraction more than 5 bar.
So it’s best to experiment with what you like for yourself. It is just a bit difficult to let go of the idea that you could ride faster with a higher tyre pressure…
All the necessities to make your road bike wheel tubeless
Olle Vastbinder
You can find me on a bicycle almost every day. I commute each day from my house to work and back. Often on my road bike, and during the winter on an old crosser. And if that isn't enough, you can find me on my bike during most weekends too. On my trusty road bike or my mountainbike. And if you can't find me outdoors riding my bike, odds are I might be riding on Zwift
Related posts

How To Plan a Route Using Komoot? [How-To]
27 March 2023Planning and finding your own cycle routes sounds more complicated than it actually is ...
Do your own bike maintenance work! [Do It Yourself Tips]
7 February 2023Buying a new road, mountain or gravel bike is one thing. Maintaining your bike properly is another ...
Replace the stem of your road bike in 11 steps [Bike Techcenter]
26 April 2022For road cyclists, being comfortable on your bike is of the utmost importance ...