 Nederland
 België
 Deutschland
 United Kingdom
 Finland
 Ireland
 Luxembourg
 Portugal
 Poland
 Österreich
 France
 España
 Italia
 Sverige
 Danmark


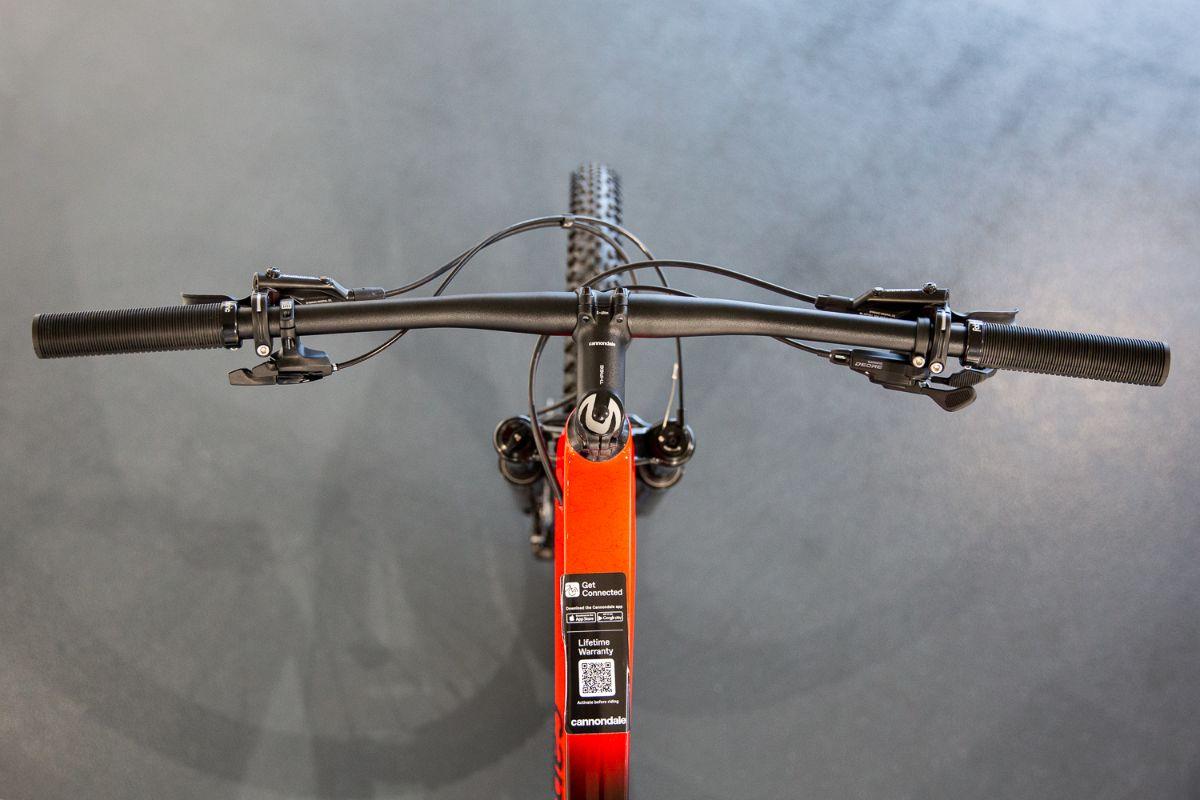
How to replace your MTB or road bike handlebars [How-to]
Handlebars are an important part of your road or mountain bike. Firstly, you use them for steering. Secondly, your hands lean on them, which is why your handlebars should be comfortable to hold. If your reach or drop is not right, you may experience physical discomfort, such as numbness in your hands or pain in your neck. This is often revealed during a bike measurement. If that is the case, you can replace the handlebars on your MTB or road bike. Or you may need to replace them when they have been damaged in a crash. This blog explains how to replace your handlebars.
As there are substantial differences between road and MTB handlebars, in this How-To blog you can read how to replace both.
What you need to replace your handlebars
- Hex keys 4 and 5
- Assembly paste for aluminium or carbon
- Torque wrench
- New handlebar tape
- Electrical tape
Replace your road bike handlebars
Time required: 15 minutes
-
Kijk goed welke maat stuur je hebt
Kijk goed naar de maten van je stuur en stuurpen, is deze 31,8 mm of 26,4 mm?u003cimg alt=u0022u0022 src=u0022https://www.mantel.com/blog/wp-content/uploads/2022_01_vervangen-stuurbocht-race-blog_1.jpgu0022/u003e
-
Verwijder het oude stuurlint
Hoe je je stuurlint het beste kunt verwijderen, kun je zien in u003ca href=u0022http://www.youtube-nocookie.com/embed/AWp29a5JWIou0022 target=u0022_blanku0022 rel=u0022noreferrer noopeneru0022u003edeze videou003c/au003e. u003cimg alt=u0022u0022 src=u0022https://www.mantel.com/blog/wp-content/uploads/2022_01_vervangen-stuurbocht-race-blog_6-1.jpgu0022/u003e
-
Verwijder het onderliggende tape
Verwijder het isolatietape waarmee de kabels aan het stuur zijn geplakt. u003cimg alt=u0022u0022 src=u0022https://www.mantel.com/blog/wp-content/uploads/2022_01_vervangen-stuurbocht-race-blog_7.jpgu0022/u003e
-
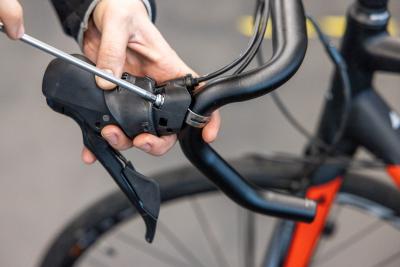
Draai de shifters los
Zoek de inbusbout onder de shifter cover, en draai deze voldoende los zodat je de shifters van het stuur kunt verwijderen. u003cimg alt=u0022u0022 src=u0022https://www.mantel.com/blog/wp-content/uploads/2022_01_vervangen-stuurbocht-race-blog_8.jpgu0022/u003e
-
Draai het stuur nu los
Draai vervolgens de inbusboutjes aan de voorzijde van de stuurpen volledig eruit en verwijder het stuur. u003cbr/u003eu003cimg alt=u0022u0022 src=u0022https://www.mantel.com/blog/wp-content/uploads/2022_01_vervangen-stuurbocht-race-blog_10.jpgu0022/u003e
-
Breng wat montagevet aan
Plaats wat montagevet op de contactpunten van het nieuwe stuur en op de stuurpen.u003cimg alt=u0022u0022 src=u0022https://www.mantel.com/blog/wp-content/uploads/2022_01_vervangen-stuurbocht-race-blog_11.jpgu0022/u003e
-
Plaats het nieuwe stuur
Plaats het nieuwe stuur in het centrale punt van het stuur in de stuurpen en draai vervolgens de boutjes weer aan tot ze net niet helemaal vast zitten. u003cimg alt=u0022u0022 src=u0022https://www.mantel.com/blog/wp-content/uploads/2022_01_vervangen-stuurbocht-race-blog_13.jpgu0022/u003e
-
Zet het stuur in de juiste positie
Draai het stuur naar boven totdat het onderste gedeelte van de stuurbocht nagenoeg horizontaal staat.u003cimg alt=u0022u0022 src=u0022https://www.mantel.com/blog/wp-content/uploads/2022_01_vervangen-stuurbocht-race-blog_14.jpgu0022/u003e
-
Draai nu het stuur helemaal vast
Als je een carbon stuur monteert, gebruik dan een momentsleutel om het stuur met de juiste kracht vast te draaien. Hoeveel Nm je moet gebruiken staat vaak op het stuur aangegeven.u003cimg alt=u0022u0022 src=u0022https://www.mantel.com/blog/wp-content/uploads/2022_01_vervangen-stuurbocht-race-blog_13.jpgu0022/u003e
-
Plaats de shifters terug
Plaats de shifters terug op het nieuwe stuur in de aangegeven positiemarkeringen op het stuur.u003cimg alt=u0022u0022 src=u0022https://www.mantel.com/blog/wp-content/uploads/2022_01_vervangen-stuurbocht-race-blog_17.jpgu0022/u003e
-
Tabe de kabels vast
Gebruik isolatietape om de kabels vast te tapen aan het racefiets stuur. u003cimg alt=u0022u0022 src=u0022https://www.mantel.com/blog/wp-content/uploads/2022_01_vervangen-stuurbocht-race-blog_20.jpgu0022/u003e
-
Wikkel nu het nieuwe stuurlint om je stuur
Bekijk u003ca href=u0022http://www.youtube-nocookie.com/embed/AWp29a5JWIou0022 target=u0022_blanku0022 rel=u0022noreferrer noopeneru0022u003ehieru003c/au003e hoe je dit het beste doet. u003cimg alt=u0022u0022 src=u0022https://www.mantel.com/blog/wp-content/uploads/2022_01_vervangen-stuurbocht-race-blog_26.jpgu0022/u003e
-
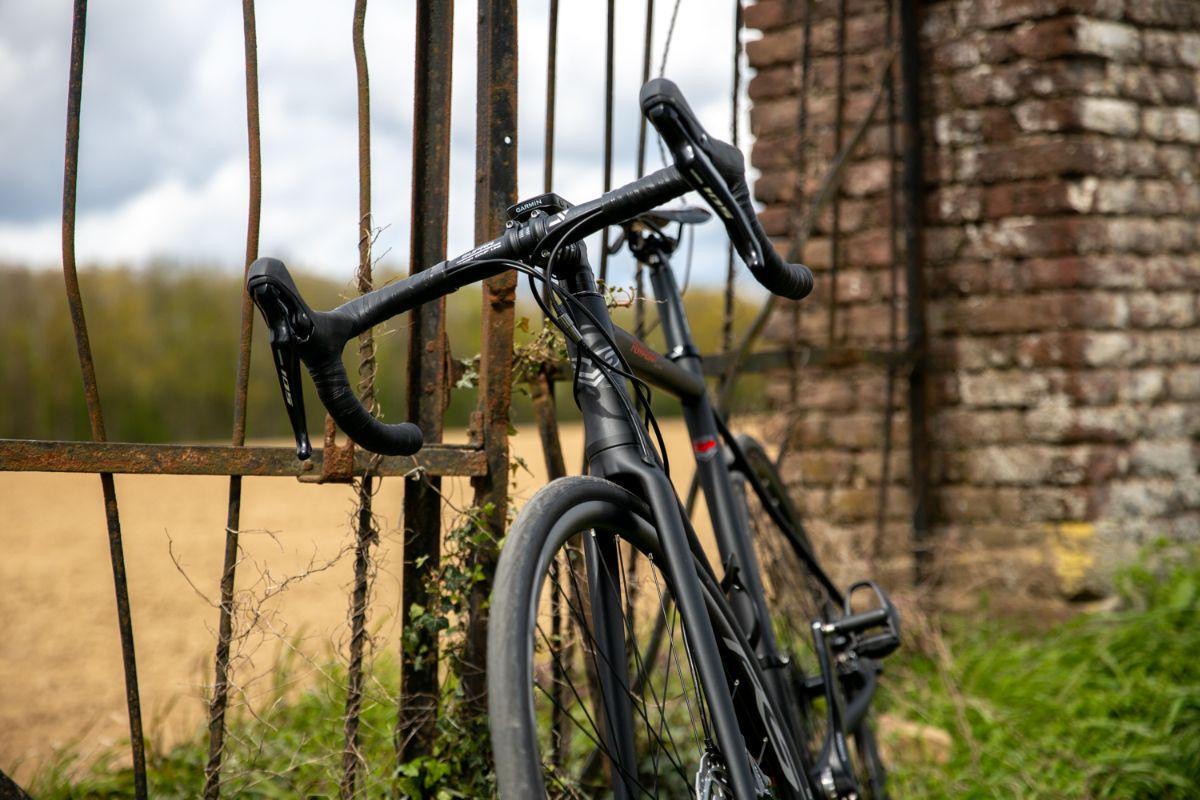
Voila, je hebt een nieuw racefiets stuur!
u003cimg alt=u0022u0022 src=u0022https://www.mantel.com/blog/wp-content/uploads/2022_01_vervangen-stuurbocht-race-blog_39.jpgu0022/u003e
Replace your MTB handlebars
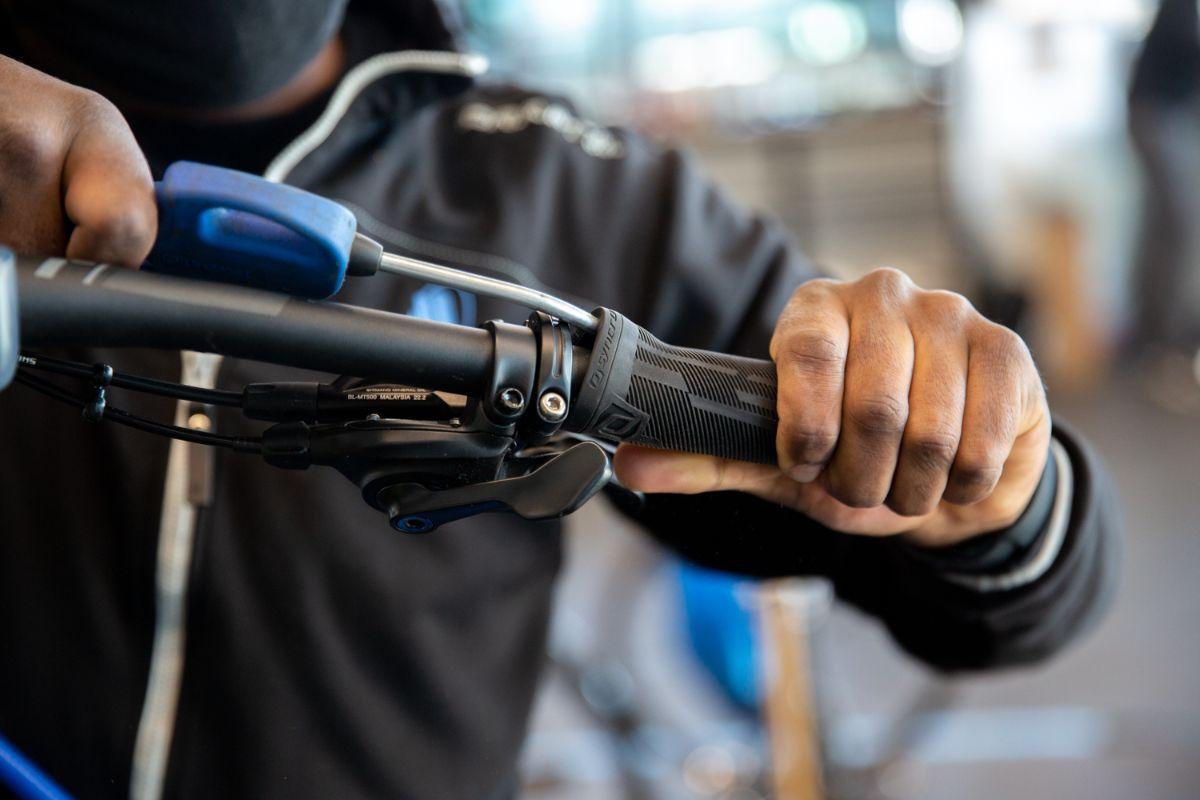
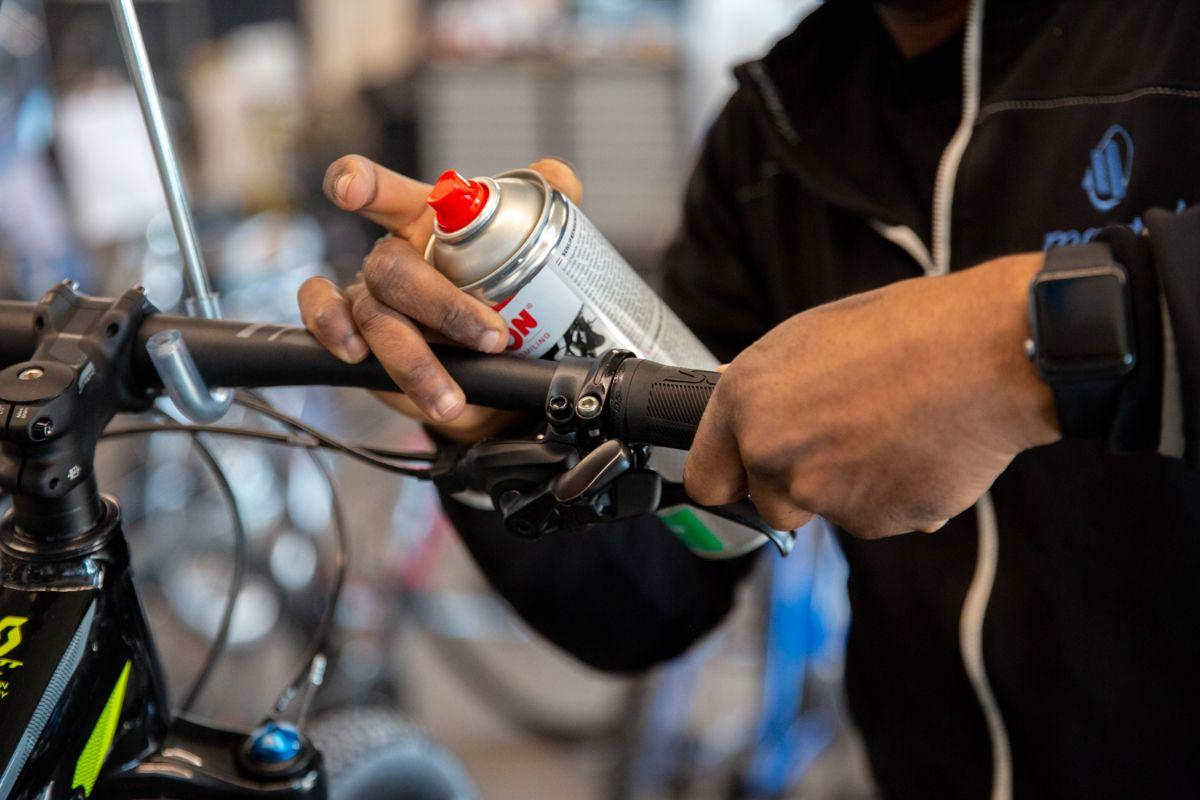
1. Remove the grips Begin by removing the grips. Use a compressor to do so; grips are easy to remove when you blow air between them. Some grips have a small hex bolt, which you only need to loosen somewhat to be able to remove the grip.
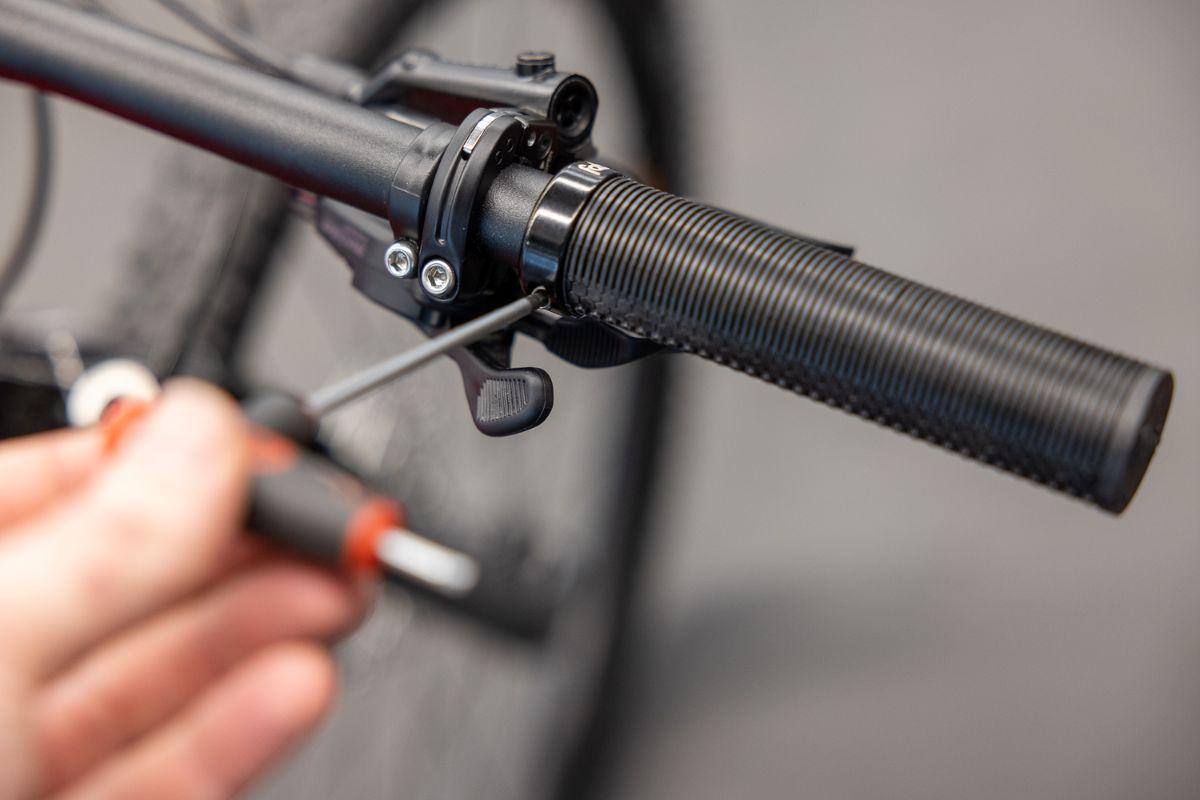
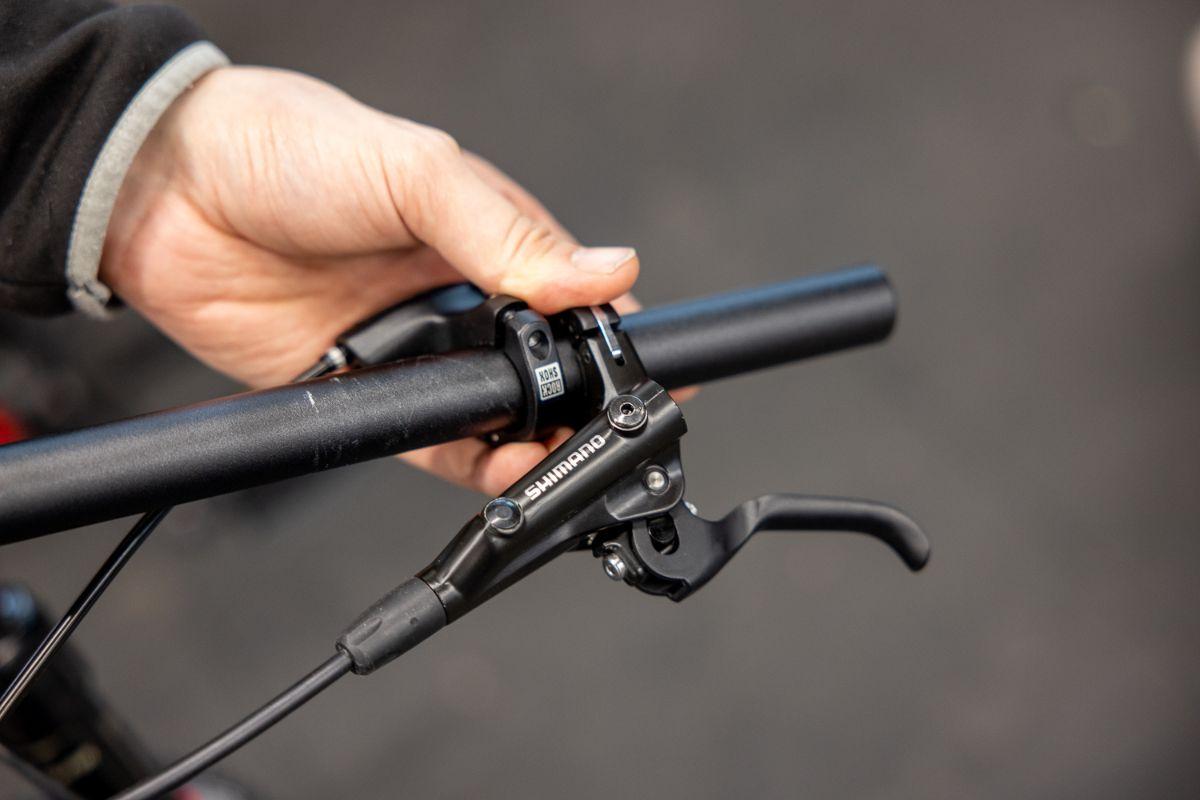
2. Remove the shifters by loosening the hex bolt In some cases the shifter is attached to the brake, and can be removed easily by loosening a hex bolt.
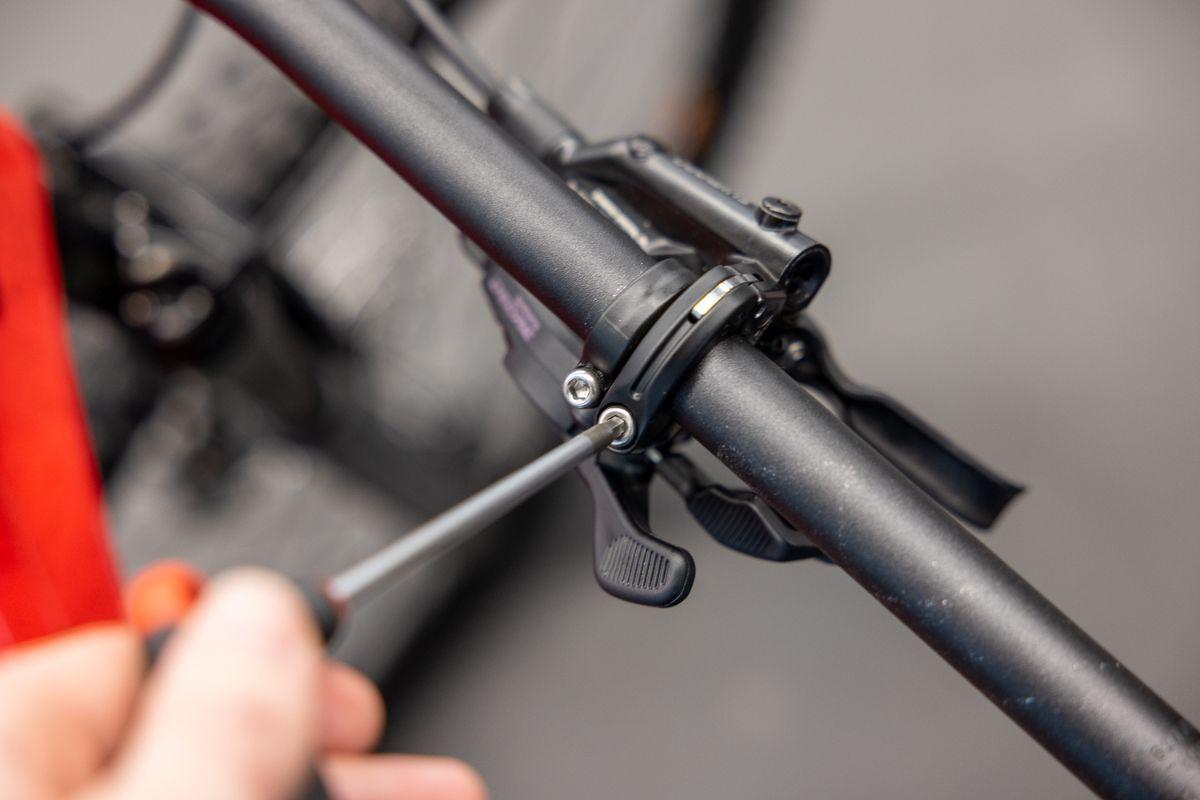
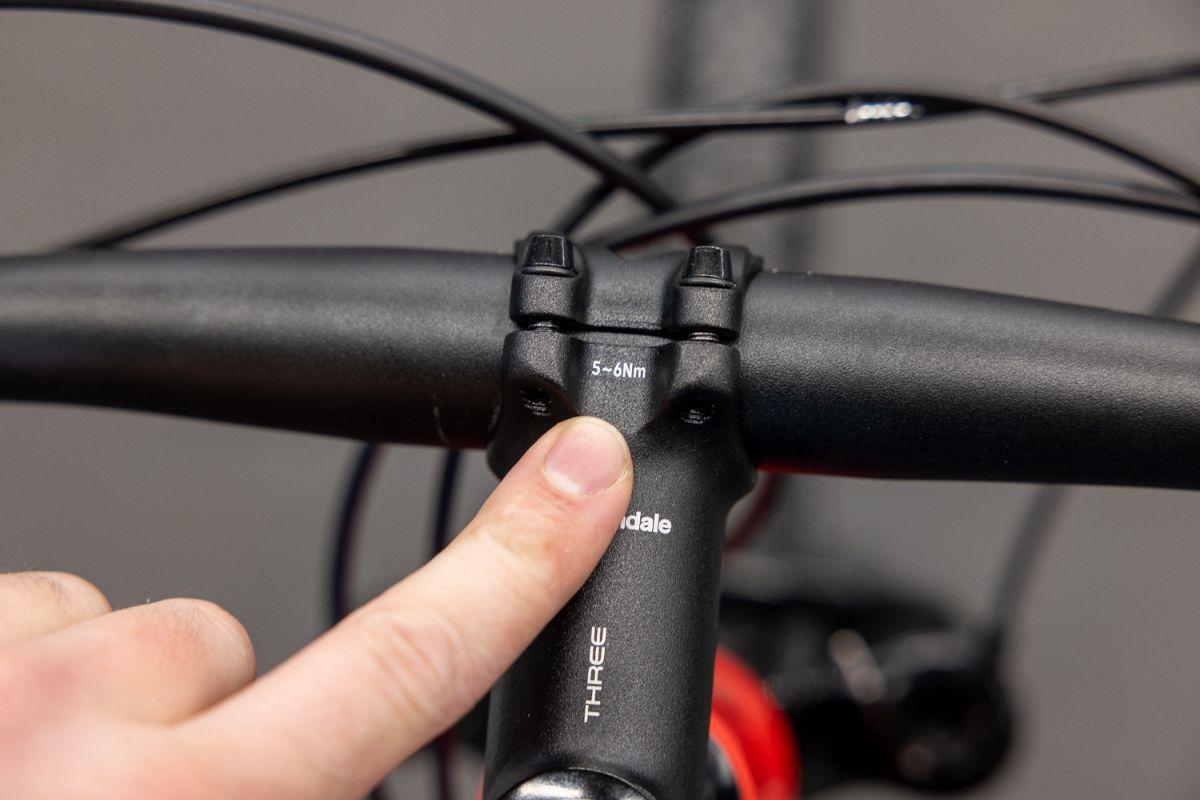
3. Remove the handlebars Now loosen the hex bolts at the front of the stem until they come out.
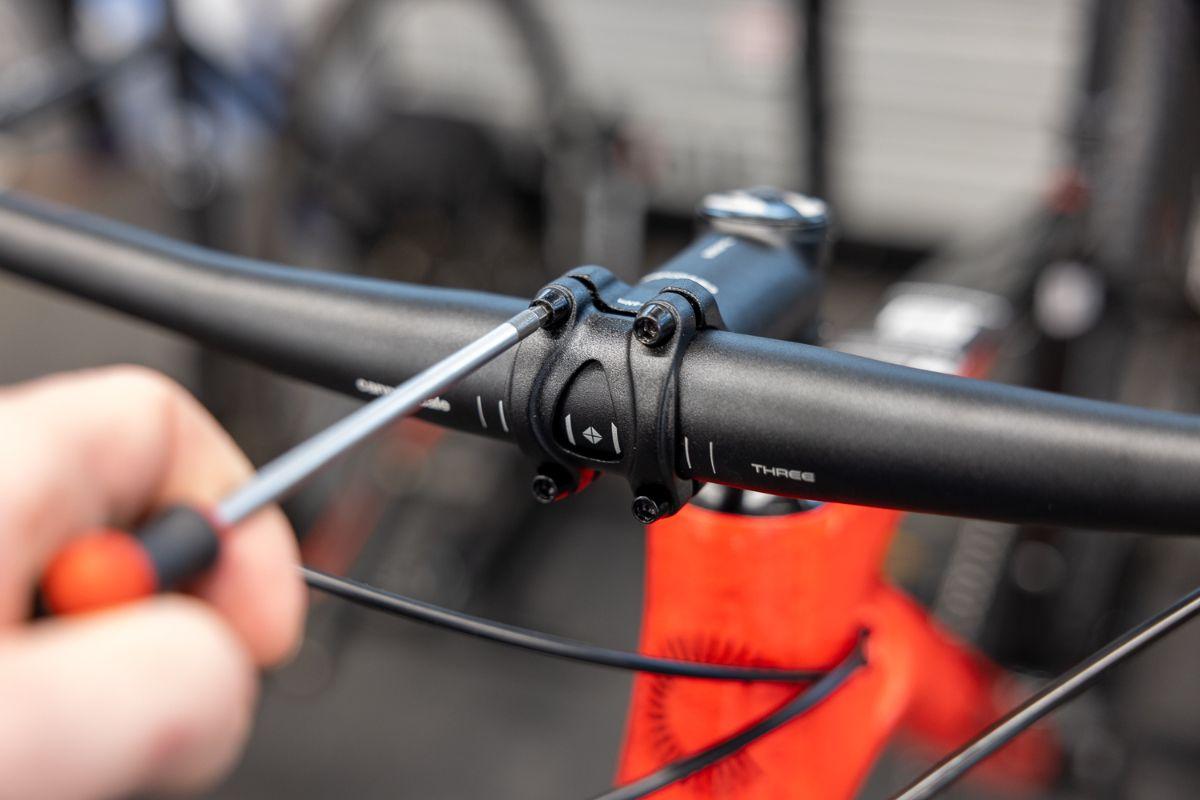
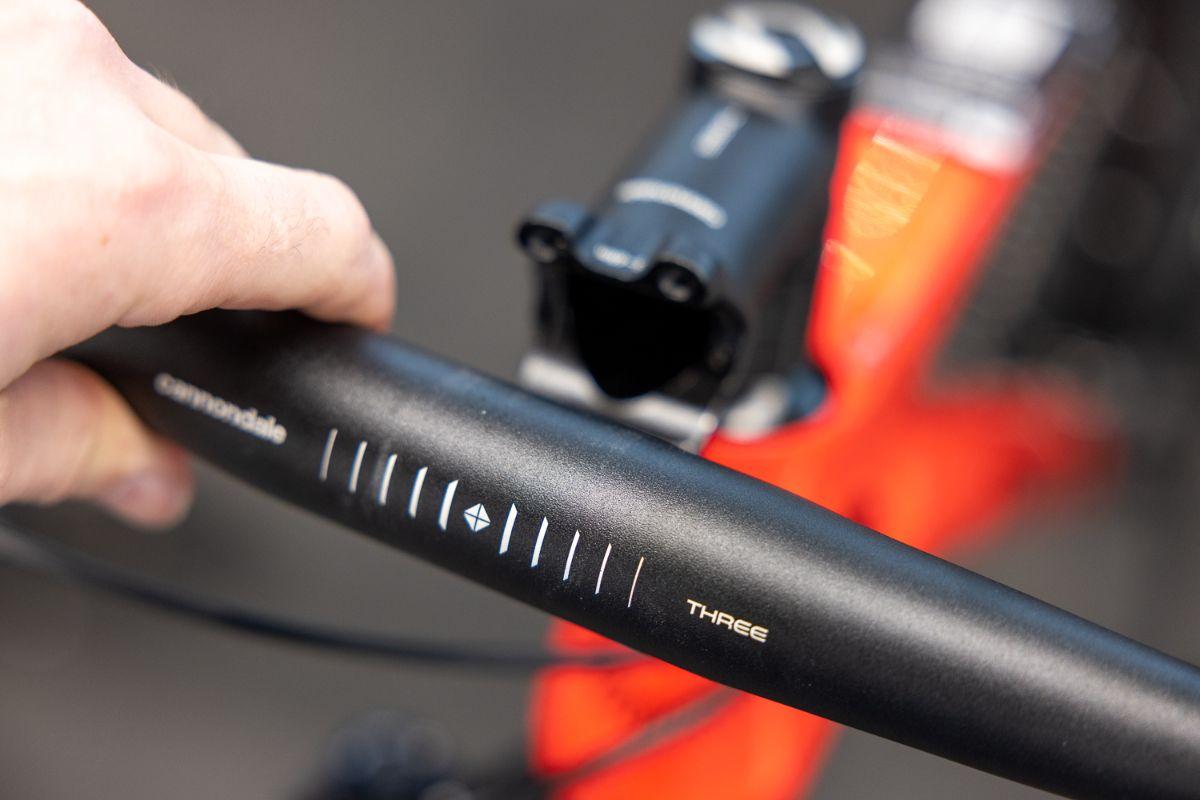
4. Put the new handlebars in position Place the new handlebars into the stem at the centre of the handlebars, then re-tighten the bolts but not all the way. Before continuing to tighten them, apply some assembly grease to the contact points of the new handlebars, and to the stem.
5. Finish tightening the new MTB handlebars Use the torque wrench to tighten the handlebars to the recommended torque (indicated in Nm on the handlebars or stem).
6. Put the brakes back into place Place the brakes onto the new handlebars at an angle of about 45 degrees downward and tighten the hex bolts.
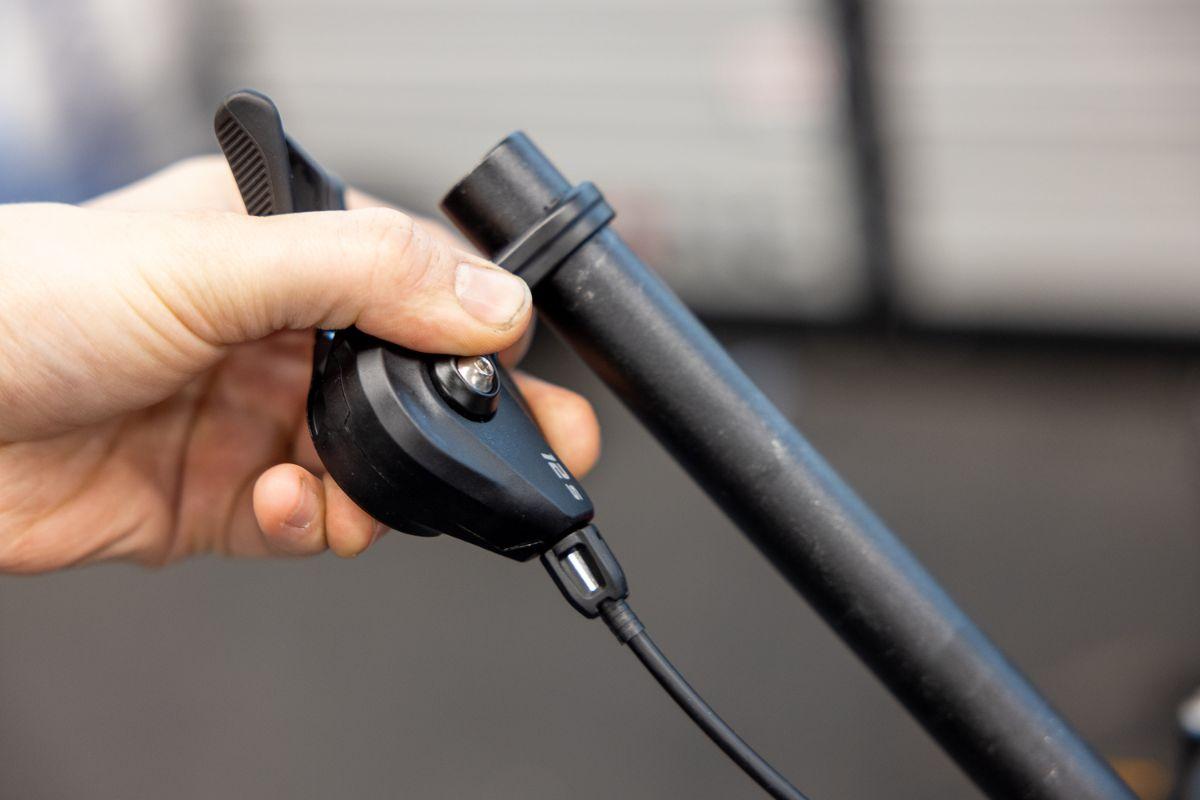
7. Put the shifters back into place Place the shifters tightly against the underside of the brake levers and tighten the hex bolts.
8. Put the grips back into place Spray some grease into the grips and put them back into place; use the compressor to make putting them back easier.
9. Voilà, your new MTB handlebars are ready for use!
Mees Janssen
I am very occupied with everything that has to do with cycling in my spare time. The fact that I get to do this during my job as well makes it all the more special. Since I live in Arnhem, I like to go cycling in my “backyard” (de Posbank) with my road bike or mountain bike. Besides cycling myself, I also love to watch professional cycling on the tv. My television is doing overtime during the summer, because I like to follow all the big cycling tours like the Giro, the Tour de France and the Vuelta. It may come as no surprise that when the Giro d´Italia crossed Arnhem in 2016, I was over the moon!
Related posts
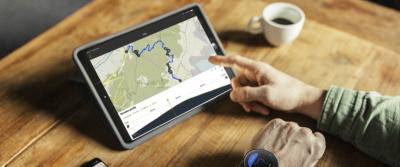
How To Plan a Route Using Komoot? [How-To]
27 March 2023Planning and finding your own cycle routes sounds more complicated than it actually is ...
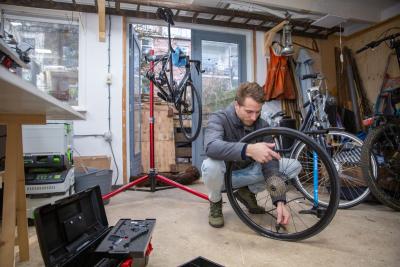
Do your own bike maintenance work! [Do It Yourself Tips]
7 February 2023Buying a new road, mountain or gravel bike is one thing. Maintaining your bike properly is another ...
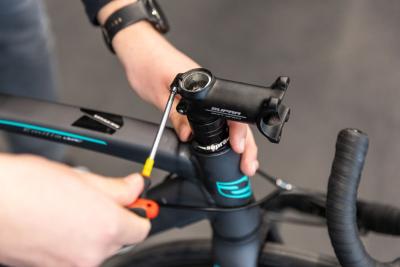
Replace the stem of your road bike in 11 steps [Bike Techcenter]
26 April 2022For road cyclists, being comfortable on your bike is of the utmost importance ...