 Nederland
 België
 Deutschland
 United Kingdom
 Finland
 Ireland
 Luxembourg
 Portugal
 Poland
 Österreich
 France
 España
 Italia
 Sverige
 Danmark


How to change a road bike´s inner tube - Techcenter
Only some of us have the luxury of a team car, so the rest of us have to do with replacing or patching our road bike´s tyre to be able to continue the ride. It’s always convenient to bring spare parts. Ruurd explains in this blog ‘How to change or repair a bike´s inner tube’
What do I need?
- Inner tube or tyre repair kit (glue, sandpaper, sticker)
- Tyre levers
- Air pump
- Inner tube(s)
Step 1- Removing the wheel from the road bike
After your tyre is flat, first you have to brake and step off. Sounds a bit, well, obvious, but in those last yards you can try to shift to the smallest sprocket.
In the heaviest gear it is easier to remove the wheel. It all starts in those last yards on the bike.
Step 2
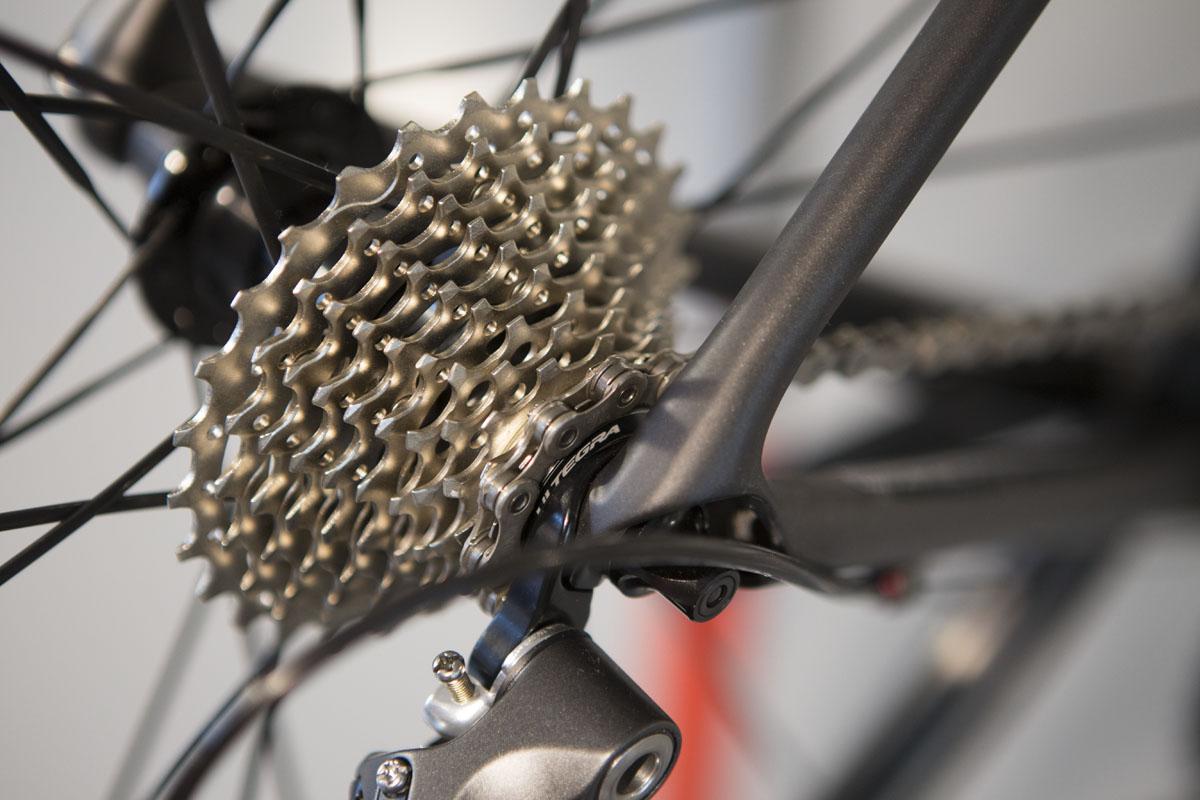
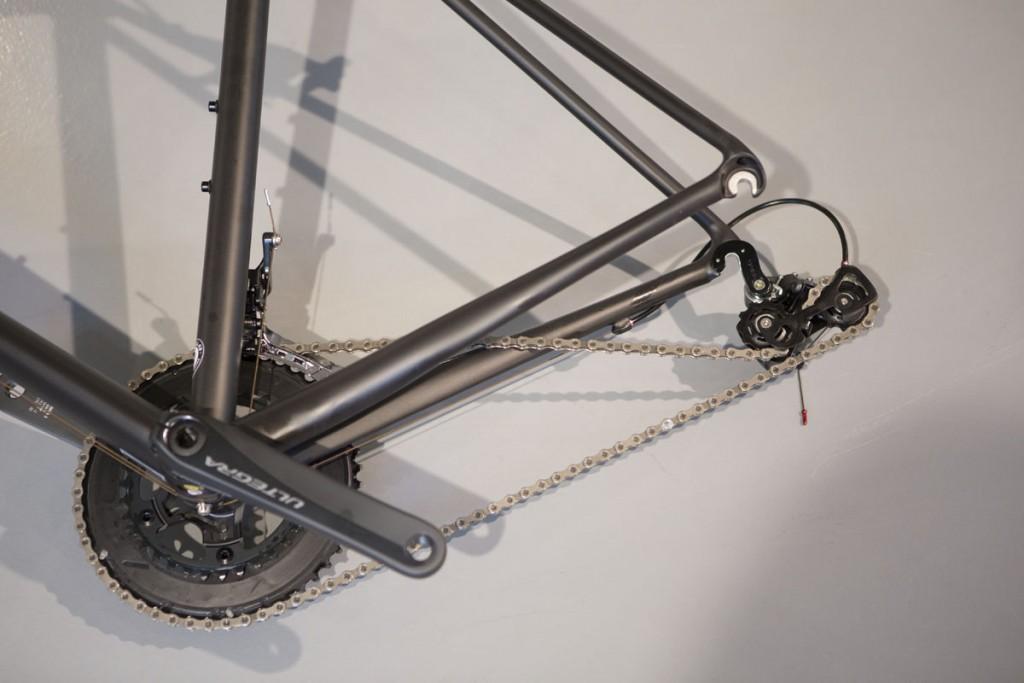
Open the brakes. If you have a Mountain bike with a 10 or 11-speed Shimano derailleur, put the derailleur "off". Then loosen the quick release or through-axle and remove the wheel.


If you have a mountain bike? Then also switch the clutch of the derailleur "off" if you have to work on the rear wheel.
Step 3
Put your bike aside. Make sure it doesn't lean on the rear derailleur.


Also make sure you're not standing in the way of other road users.
Stap 4- Removing the inner tube
Unscrew the valve cap and the valve ring.

Step 5-
Get the wheel and tyre levers. Remove the tyre by sticking the levers between the rim and the tyre. Try not to hit the inner tube.


Use the rim for leverage to get the tyre off. Once it is off, you can hold on to the lever and use it to remove the entire tyre.
Step 6
If you're going to patch the tube, follow this step as well. If you're going to replace it, then skip this step and go to step 7.


In short:
- Pump a bit of air in the inner tube to find the hole. Feel where air is leaking out.
- If you don't feel anything, than try if you can hear it by keeping your ear close to the tube.
- Tip 1: Start at the valve so you know where you started
- Tip 2: You could also stretch the tube a bit to find the puncture
- If you've found the spot, then use the sandpaper around the puncture.
- Put a bit of air in the inner tube.
- Glue the sandpapered parts.
- Put the sticker (without the plastic) on the tube and let the glue dry for a minute or 2
Step 7- replacing the inner tube
Check the tyre before you put the inner tube back in. Make sure nothing sharp is left in the tyre and that it's clean.


In some cases you can see it from the outside, but feel with your fingers along the inside to make absolutely sure. Otherwise you can do it all over again in a few minutes.
Step 8
Now you're sure that your tyre is fine, it's time to put the (new) tube tyre back in.


First put the valve through the valve hole and tighten the ring just a bit.
Put a bit of air in the inner tube. This makes it easier to put it back in.
Now put the inner tube on the rim
Step 9
Now place the tyre on the rim. Start at the valve and work your way around. Do not use the tyre levers.
This protects your inner tube from getting punctured again, as it could get stuck between the lever and the rim.


If it's hard to do the last bit, then let out a bit of air.
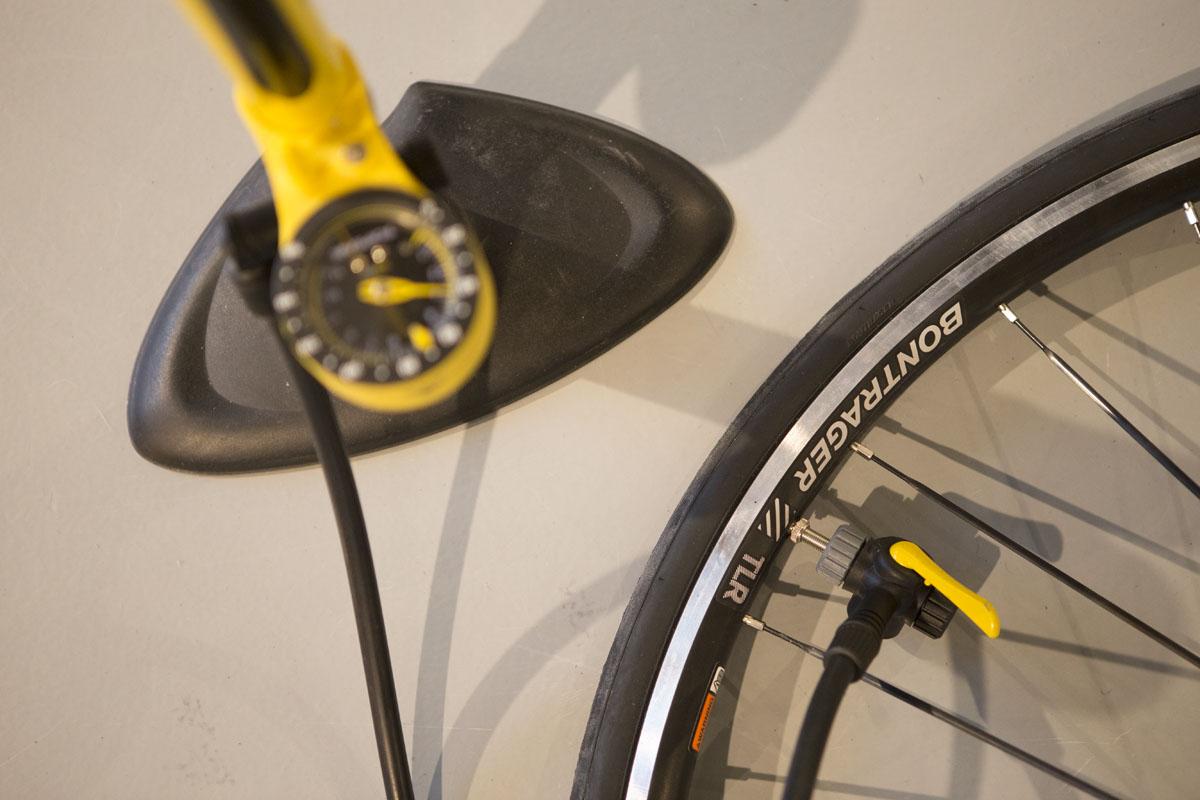
Step 10- Inflating the new inner tube
Fully inflate the tyre and tighten the valve ring.
Step 11- Replace the wheel
Put the wheel back on and tighten it with the quick release or through axle. Road bike? Then close your brakes again.


Mountain bike? Don't forget to put the rear derailleur clutch back 'on' after you put the back wheel back on the bike.
Step 12
Ready to rumble! Have a nice ride!

Ruurd Faas
After having left the catering business, I started down a new road with a study on nutrition and diet. Life = Food. In order to unwind, and to be able to eat even more, I frequently ride my BMC Teammachine and Trek Procaliber. I also work at the MTB department at Mantel.
