 Nederland
 België
 Deutschland
 United Kingdom
 Finland
 Ireland
 Luxembourg
 Portugal
 Poland
 Österreich
 France
 España
 Italia
 Sverige
 Danmark


DIY: How to make your own MTB tubeless in 30 minutes [How-To]
It is not even as hard as you think to convert your MTB tyre to a tubeless tyre. What do you need: just good liquid latex, a set of tubeless MTB tyres and a tubeless valve. But why would you convert your MTB to one with tubeless tyres? The main advantages of tubeless tyres are lower rolling resistance, more traction, control and comfort. In addition to that, tubeless MTB tyres ensure very good puncture resistance and a lower rotating weight. And the good news is, if you are a bit of a handyman you’ll be able to do a tubeless conversion within 30 minutes!
There are plenty of benefits for riding tubeless on your MTB. The only downsides of a tubeless conversion are that it takes a little more time and effort to assemble the tyre and your wheels need to be suitable for a tubeless conversion.
Which MTB wheels are suitable for a tubeless conversion?
All major brands of MTB tyres have already made the switch to tubeless. And since you can also use a tubeless-ready tyre with an inner tube, non-tubeless tyres are about to disappear from the shelves.
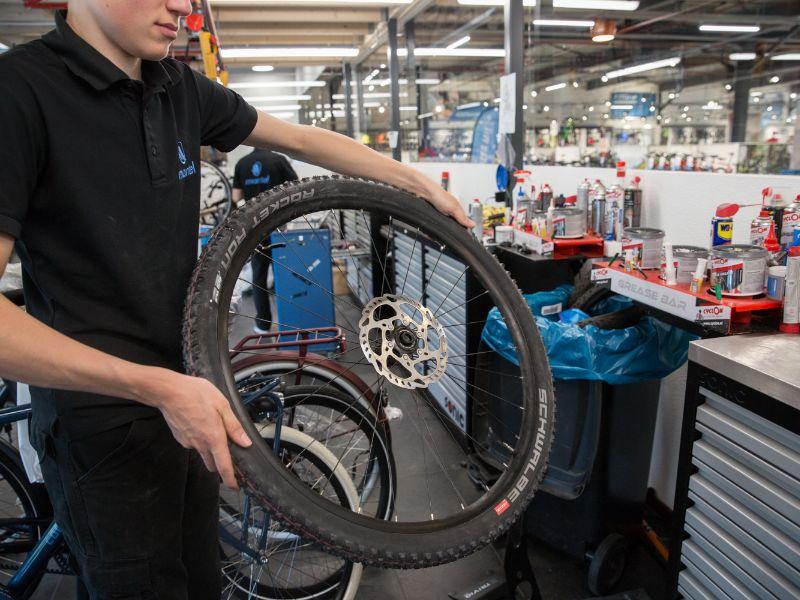
It is important to know that not only your MTB tyre needs to be compatible, the MTB wheel itself also needs to be suitable for a tubeless conversion. Because without the right wheels you won’t make any tyre tubeless, of course.

A tubeless or tubeless-ready MTB wheel is slightly different from a traditional wheel. Firstly, the rim flange where the tyre intervenes is a lot deeper. That’s because the tyre really has to come in with its bead to be airtight.
In addition, the spoke holes are sealed or easily taped with special rim tape for tubeless tyres. Some rims even have a double wall, making the inside of the rim completely smooth and airtight.
Now that you know if your wheels can be made tubeless, we will be happy to help you through the steps for tubeless conversion of your MTB tyres. We start with the necessities, because besides a tubeless MTB wheel and a tubeless MTB tyre, you need a little more.
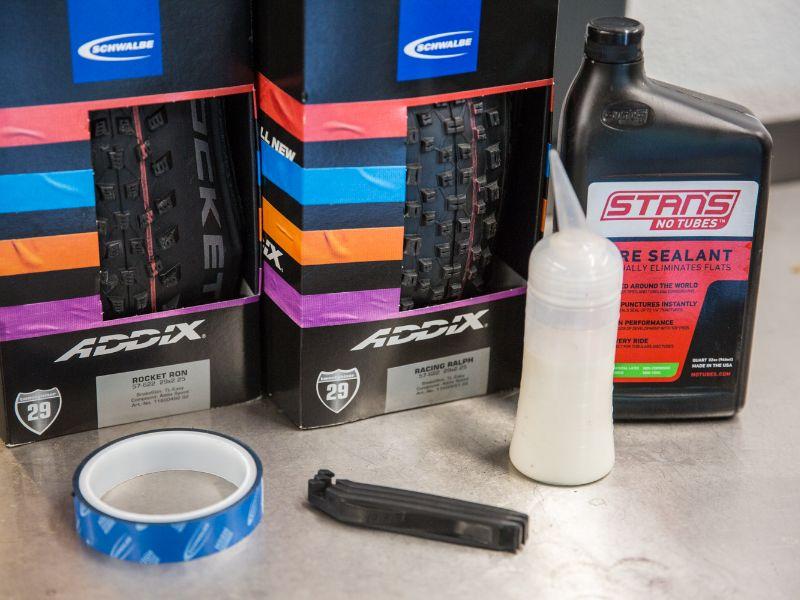
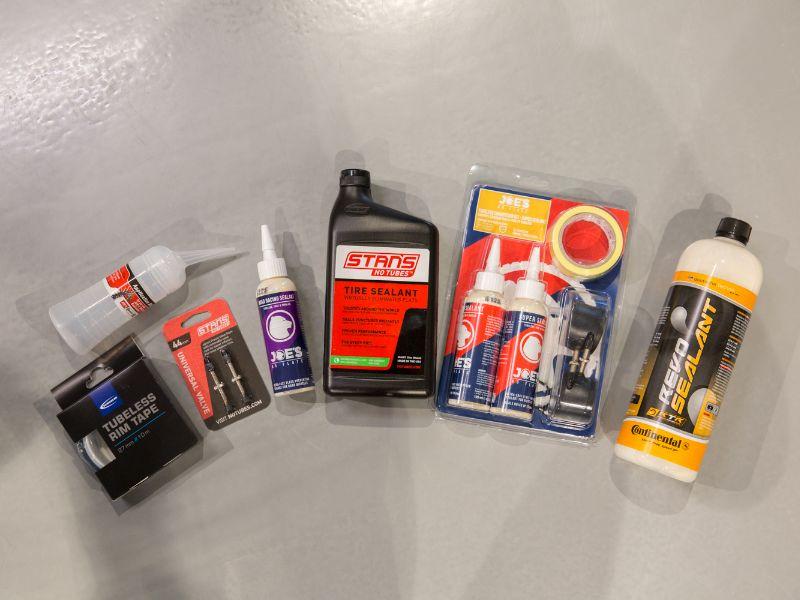
What do you need to make your MTB tubeless?
- Tubeless rim tape
- Liquid latex
- Tubeless valve
- Detergent*
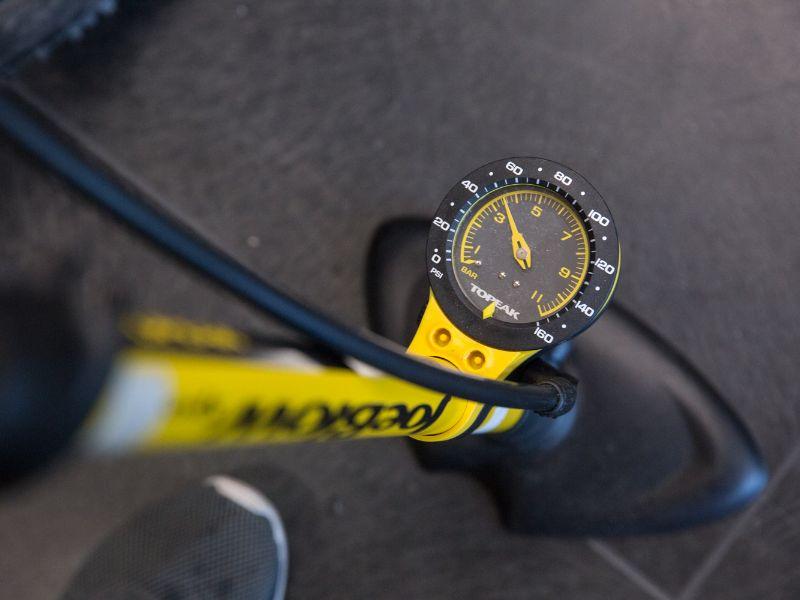
- Bicycle pump (with pressure chamber*)
- Compressor or CO2 cartridge*
*Not mandatory, but useful
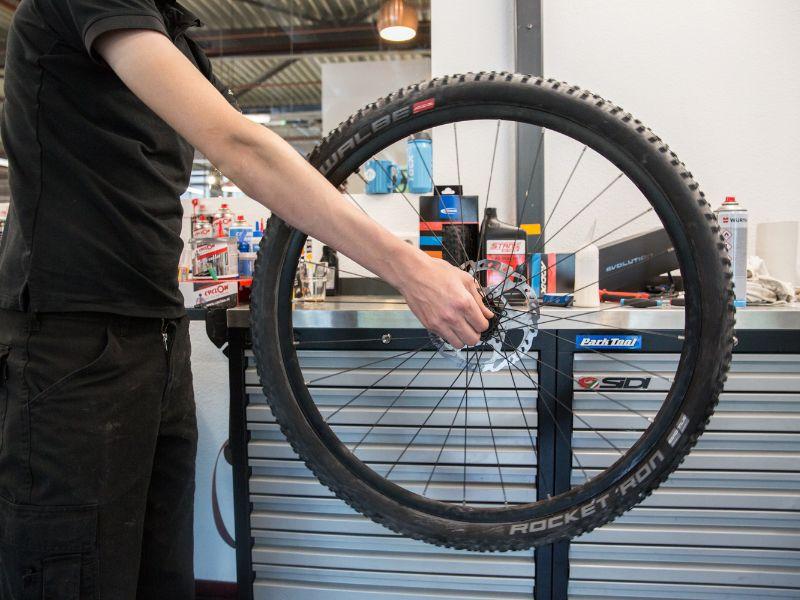
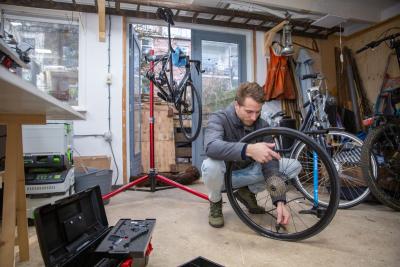
MTB tubeless conversion - Assemble a tubeless MTB tyre
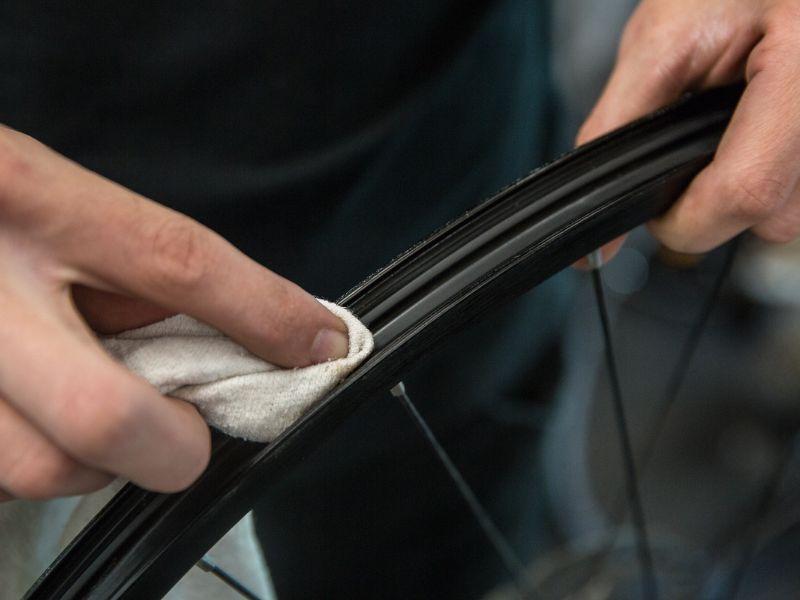
Is your rim already airtight? Then you can skip this first step. If not, you must first make the spoke holes airtight. Of course, it all starts with a good cleaning with a bit of soap. Before you do so, be sure to remove the valve if it is (still) in the tyre.
As soon as the wheel is dry, you can apply the rim tape very tightly onto the spoke holes. Make sure the rim tape generously covers the holes. Use as wide a tape as possible. The closer you get to the internal rim width of your MTB wheel, the better. Also apply the tape over the valve hole.
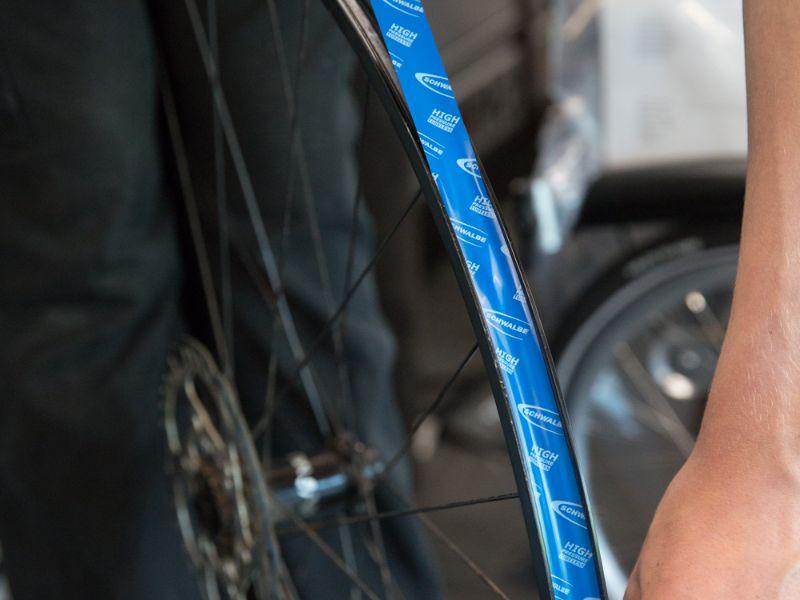
Ensure a wide overlap of the tape of at least 30 centimetres. Are you satisfied with how the rim tape fits? Lastly, you can pierce a hole where the valve must pass through.
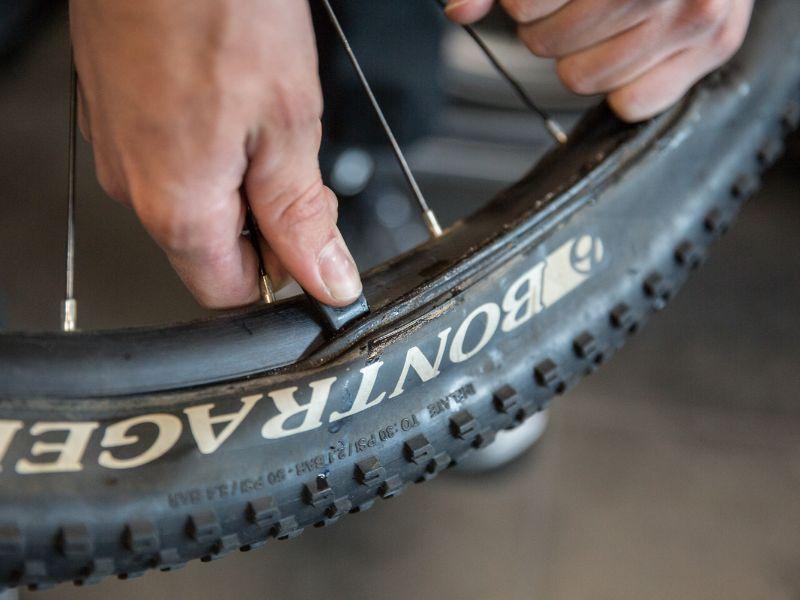
Mounting your tubeless valve
Before you start working with your tubeless MTB tyre, you must first mount your tubeless valve. Push the valve from the inside through the hole you made in the rim tape.

Then use the nut to pull the valve tight from the outside into the rim. Keep in mind that this must also be airtight, and therefore must be very tight. Not every tubeless valve fits every rim, so make sure the two fit well before you continue.
Putting the MTB tyre on the rim
The first side of the tyre is easy to get on the rim. The other side can be a bit more challenging. Is it difficult to put it on? Lubricate the bead of the MTB tyre with some detergent.
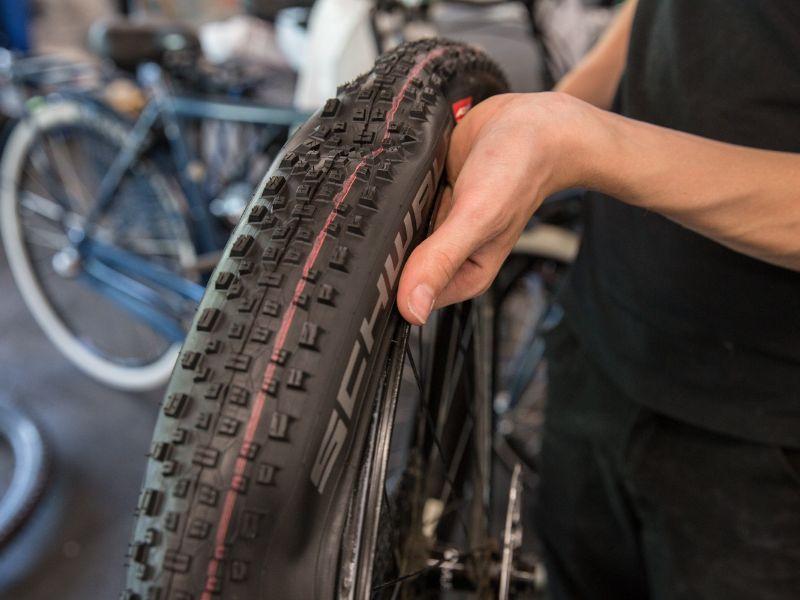
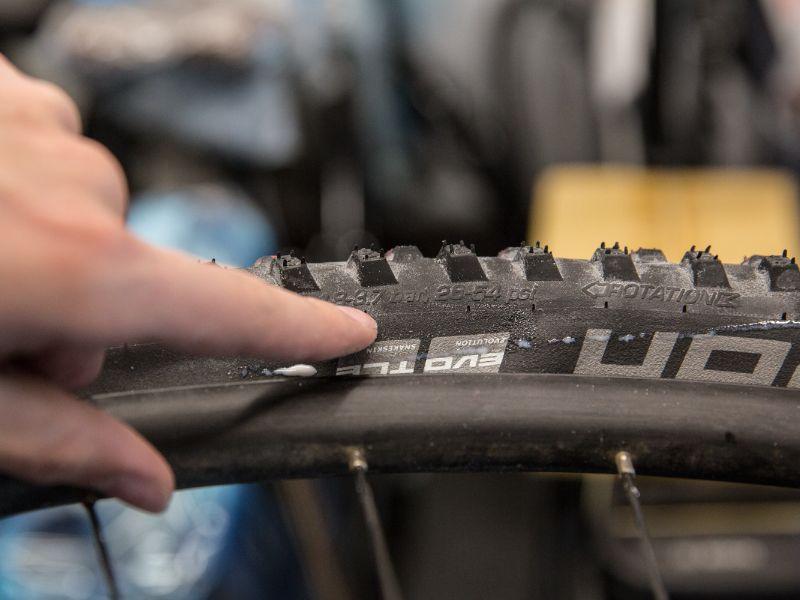
Make sure you mount the tyre in the right direction. On almost every MTB tyre it says the word Rotation with an arrow for the rolling direction.
If you care about the little details, you can align the brand name nicely with the valve when the tyre is on the wheel. Not a requirement, but it looks so good…
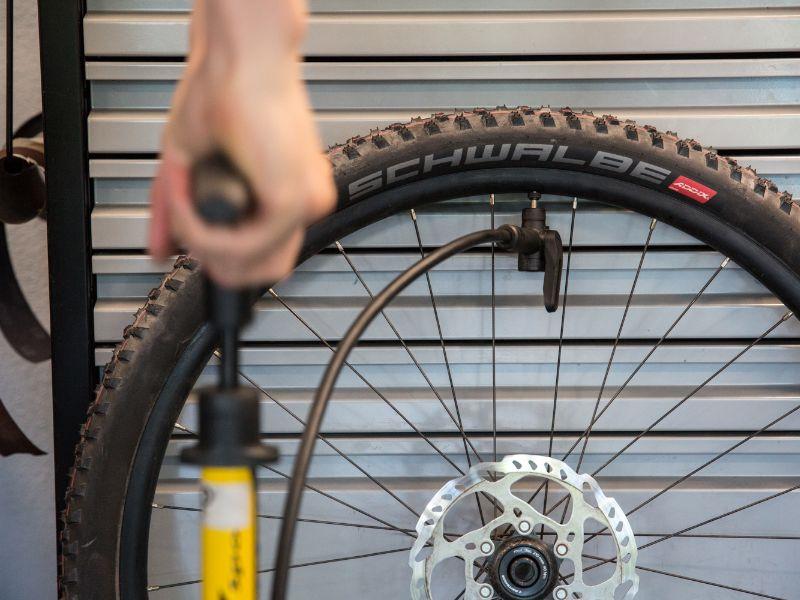
Pump the tyre
Before you start working with the liquid latex, you can already let the MTB tyre slip into the rim bed. You can do this by simply inflating the tyre with a compressor, a good bicycle pump (with pressure chamber) or a CO2 cartridge.
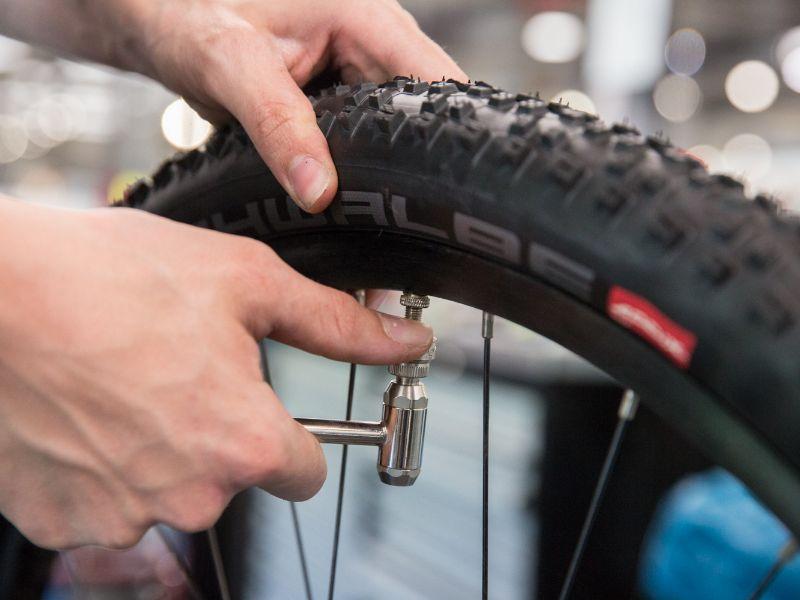
Are you using a CO2 cartridge? Then you can only use the cartridge to put the tyre on the rim. As soon as you have added the latex to your MTB tyre, you can’t use a CO2 cartridge anymore. This produces very cold air that taints the characteristics of the latex.
If your valve has the opportunity to do so, it is useful to remove the valve core. This way you create a bigger hole in which the air can flow faster and more powerful.
Whilst pumping you hear a few big pops, which is supposed to happen. That’s the bead of your tyre that attaches itself to the rim. Make sure you check if the tyre is properly seated in the rim flange.
Tubeless latex or not?
Technically speaking, you could already go into the woods with your tubeless MTB wheels. However… only when you add tubeless latex will it really become tubeless, because latex can close small holes in your tyres for you.
Tubeless latex has countless small balls and/or fibres that seal a puncture in your tyre. The latex then quickly hardens and fastens the fibres or balls. The result: no more punctures.
And in case you do get a puncture, you can still continue cycling. In fact, that even helps the process of closing the hole. Who would not want that? But how do you get the latex in your tyre? Fortunately, this is not so difficult.
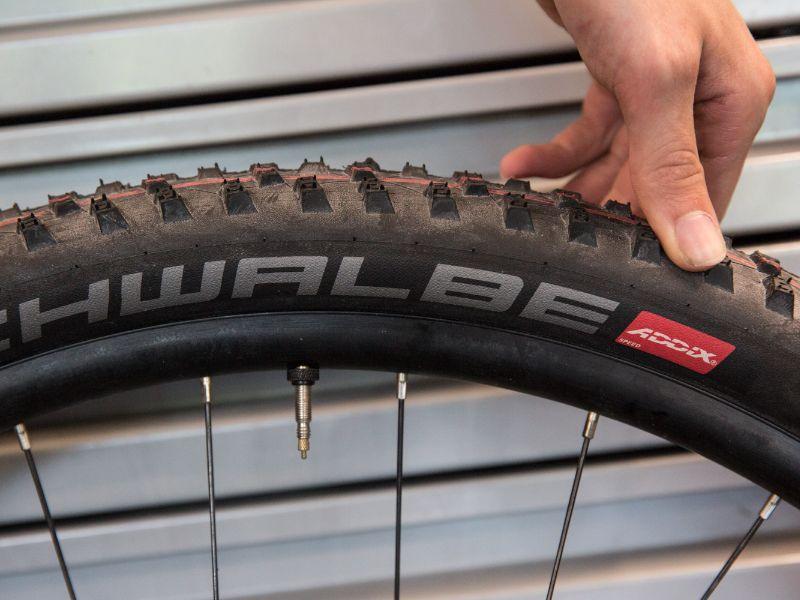
Fill your tubeless MTB tyre with latex
Before pouring the latex into the tyre, first you need to measure the right amount of latex. The amount of latex you need differs per brand, but on average you need about 60 ml of latex per MTB tyre. You can always add more latex in between if you have a puncture, for example.

Do you have a valve of which you can remove the valve core? Then it is best to pour the latex through that hole.
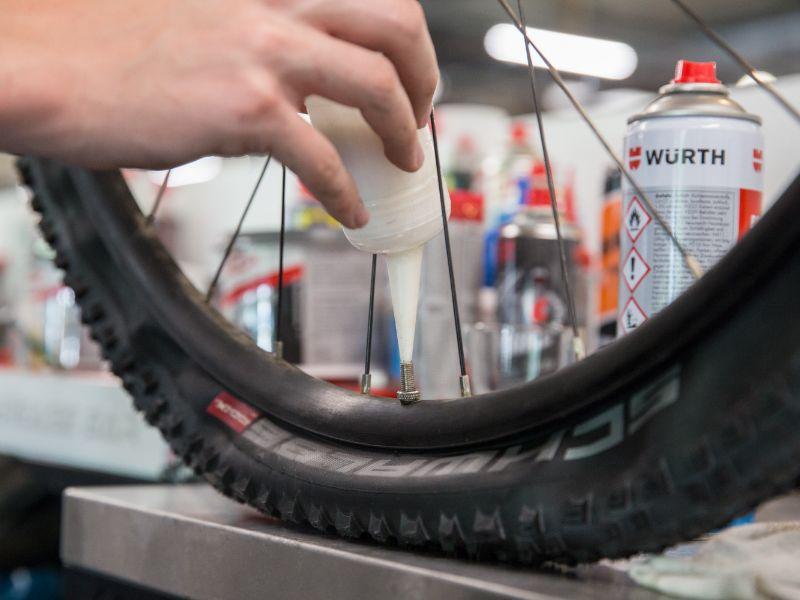
Most brands of liquid latex are supplied in a small bottle with a pointed cap, or a separate cap included with a bulk packaging.
You can inject the latex you need with that bottle through the opening of the valve hole. When the valve is at the top, press the cap and turn the valve to the ground to fill the tyre. When the bottle is empty you can screw on the valve core again.
Fill latex MTB tyre without removable valve core
You don’t have a removable valve core? Don’t worry. Then remove 1 side of your outer tyre a little bit. More than 15 centimetres is not necessary. You can then pour the latex in through the crack.
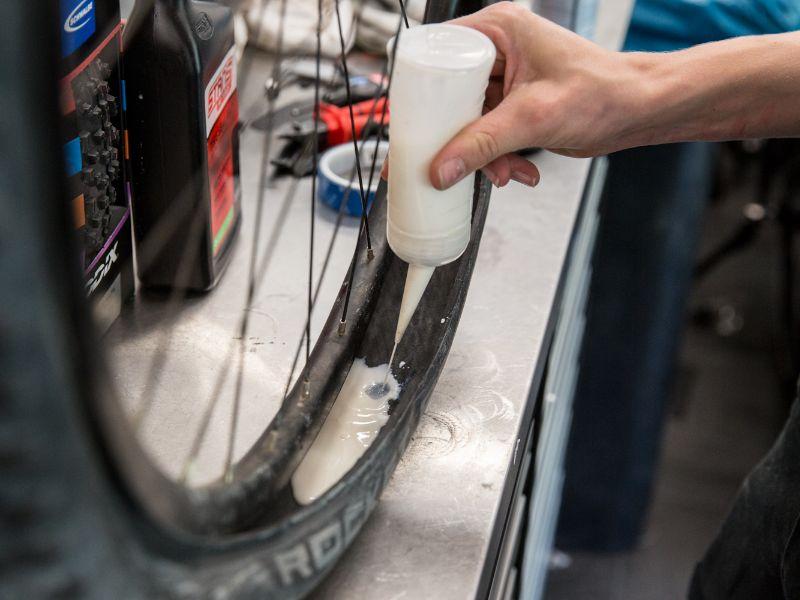
This is a bit messier than the first method, so make sure you don’t do this on your ornate rug at home.
Pumping up for the first time
Now the latex is inside the tyre you can inflate the tyre again. Did you only remove the valve core? Then you can even work with a hand pump from now on.
Did you have to loosen the side of the tyre? Then you probably have to put in a little more effort. The bead of the tyre has to be pushed back into the groove of the rim. It could be that you need a pressure chamber for this.
Never use a CO2 cartridge. As we said before, this affects the latex and all your hard work will have been for nothing.
The hardest part; a little more patience...
When the tyre is pressurised again, you have to shake it thoroughly. In doing this, you make sure that the latex flows through the tyre. If there is a tiny puncture somewhere, it will be sealed by the latex.
Place the wheel on one side for a few hours and then on the other side for a few hours. You could start cycling on them sooner, of course. But by giving it just a little bit more time you will ensure optimal airtightness.
How often should you inflate a tubeless tyre?
By the way, it is normal that you have to pump up a tubeless MTB tyre with air more often than a tyre with an inner tube. You could lose some air on the first few rides, because the tyre still has to set properly.
So don’t immediately conclude it didn’t work out, but be patient for a while. Do you think the tyre is still leaking a bit somewhere? Pump it up until the maximum pressure and cycle for a bit on a flat road.
This increased pressure causes the latex to be pressed just a little harder into difficult to reach corners.

Olle Vastbinder
You can find me on a bicycle almost every day. I commute each day from my house to work and back. Often on my road bike, and during the winter on an old crosser. And if that isn't enough, you can find me on my bike during most weekends too. On my trusty road bike or my mountainbike. And if you can't find me outdoors riding my bike, odds are I might be riding on Zwift
Related posts

How To Plan a Route Using Komoot? [How-To]
27 March 2023Planning and finding your own cycle routes sounds more complicated than it actually is ...
Do your own bike maintenance work! [Do It Yourself Tips]
7 February 2023Buying a new road, mountain or gravel bike is one thing. Maintaining your bike properly is another ...
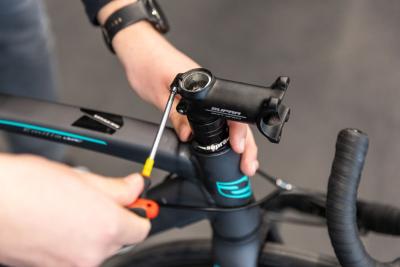
Replace the stem of your road bike in 11 steps [Bike Techcenter]
26 April 2022For road cyclists, being comfortable on your bike is of the utmost importance ...