 Nederland
 België
 Deutschland
 United Kingdom
 Finland
 Ireland
 Luxembourg
 Portugal
 Poland
 Österreich
 France
 España
 Italia
 Sverige
 Danmark


How-To: Set Up your Tubeless Tyres
Tubeless tyres are a regular sight with mountain bikers, and the classic tyre-inner tube combination is beginning to lose ground. Road cyclists have been less headstrong in adopting this change. Tubeless is something relatively new to road racing, and something most of us have yet to try. How does it actually work? Should I give it a chance? What do I need to convert to tubeless, and how do I fix one if things do go wrong? Questions we’ll answer in this blog, hopefully getting you to give them a try!
Why tubeless? The Benefits
The tubeless setup has several advantages with road bikes: more comfort and grip because you can run the tyres at a lower pressure, the latex sealant will plug minor holes and cuts, and -provided you’re using the latest tubeless wheels- a slightly lower overall weight. Should you get a puncture which can’t be sealed by the latex, then you can just pop in an inner tube and ride on home!
The Basics
Tubeless tyres can best be compared to the tyres on your car, since these use the same basic principle. The name tubeless refers to the lack of an inner tube. Instead, just a specially designed tyre is used, negating the need for the classic tube.
The tubeless tyre does require a specifically designed rim, as the entire system has to be airtight. These rims have a more pronounced lip on the inside of the rim, which the tyre can hook into. Regular clincher tyres do use a similar system, but the lip inside the rim is often not wide and strong enough for a tubeless tyre to hook on to.
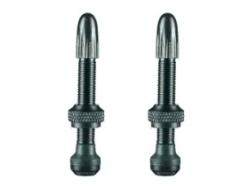
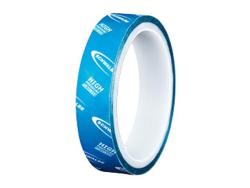
In order to complete the system, a few more items are required: proper valves, a suitable pump with which you “set” the tyre onto the rim, and possibly some tubeless rim tape should your wheels have exposed spoke holes. Finally, we highly recommend adding some liquid latex sealant.
So what do I need?
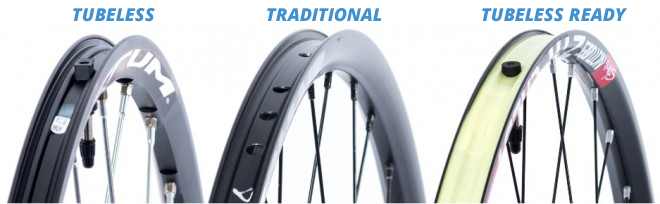
The first question you need to answer: are wheels suitable for tubeless tyres? There are two different versions available: tubeless, and tubeless-ready wheels. As we said before, regular clincher rims don’t usually have an inner lip which is either large or strong enough to cope with a tubeless tyre. There will no doubt be exceptions to this rule, but we strongly suggest you don’t risk using regular clincher wheels for a tubeless setup. We simply can’t guarantee your particular setup will work, and while it might initially work when stationary, the stresses on your wheels while riding can be severe, and failure will often be sudden and potentially catastrophic.
So back to the compatible systems. The main difference between tubeless-ready and tubeless is the rim bed design. Tubeless wheels have a flush rim bed with just one opening for the valve. These don’t require you to use rim tape, further lowering the overall weight! Tubeless-ready rims have an “open” rim bed, with exposed spoke holes. These holes need to be covered with tubeless-specific rim tape. It’s important you use the right type of tape, as regular rim tape isn’t strong enough to create an airtight seal.
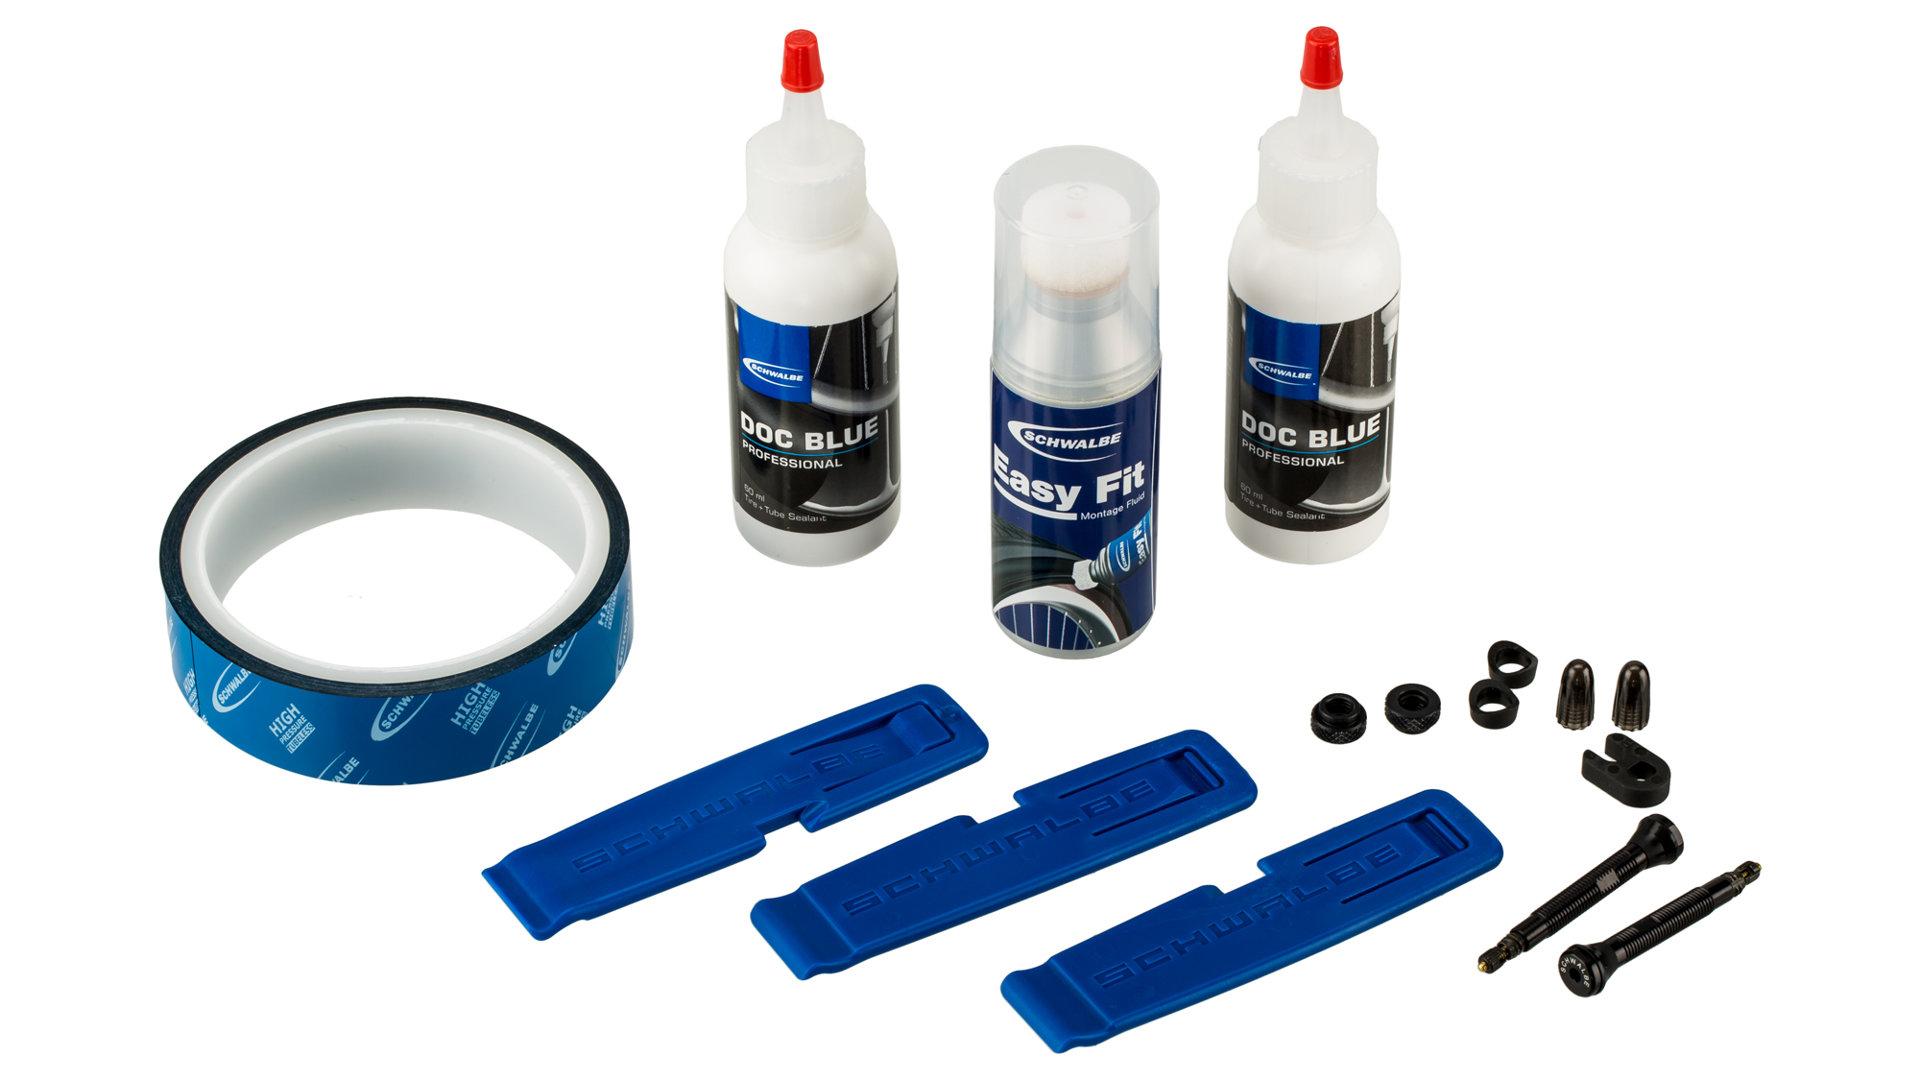
Once you have the right wheels, you’ll be needing a few more things: tubeless tyres, valves, latex (like Schwalbe DocBlue), and some tubeless rim tape for the tubeless-ready wheels out there. A compressor or special floor pump with dedicated pressure chamber is also required to properly seat the tyre. A regular pump is usually not suitable to do so.
Completing your tubeless setup
Below is a short description of how you can complete your tubeless setup. The clip by Schwalbe also shows you this process.
Step 1
Clean working surfaces are key, so make sure your wheels are clean and have been degreased. Once this is done, install the tyre on the rim like you would with a regular clincher. As the system needs to be airtight, it might take a little more effort to get the tyre on the rim. If you’re using tubeless-ready rims with exposed spoke holes, install the rim tape first! When installing the tape, make sure to leave the valve hole exposed and you’re still able to install the valve itself.
Step 2
Once the tyre is seated on the rim, add a little assembly fluid to the edges of the tyre which come into contact with the wheel. This allows the bead of the tyre to slide into place more easily. Also make sure the valve sits between the beads of the tyre and doesn’t cause any warping.
Step 3
Pressurise the tyre. This will take a considerable burst of air, which is when the compressor or floor pump with pressure chamber comes in. The tyre will seat itself onto the rim with one or more clearly audible pops. Check whether the tyre sits on the rim straight and if there is any misalignment along the rim.
Step 4
Deflate the tyre and remove the core of the valve. Add 30 milliliters of liquid latex per wheel, and then reinsert the core. Pressurise the tyre to the desired pressure and spin the wheel a few times, allowing the latex to distribute itself along the length of the tyre. Once this is done, you’re all set to enjoy the benefits of running tubeless!


Bart van Es
My heart stilll lies with my boat, though it's forever being tugged at by the bike. I spend most of my time on or around the water, either as a rower or a coach. However, I'm always up for a blast around the countryside after work with my colleagues! Proud owner of a Giant TCR Composite, and addicted to upgrading it...
Related posts
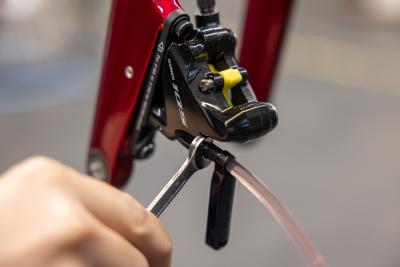
How to service the Shimano hydraulic disc brakes on your road or mountain bike [How-To]
25 February 2022A growing number of sports bikes are equipped with disc brakes nowadays ...
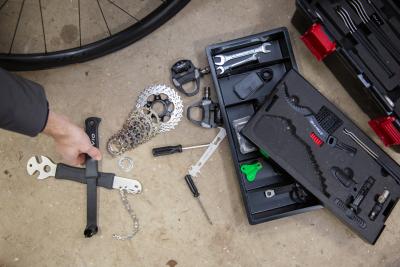
How do I know when I need to replace my bike parts?
31 January 2022As a cyclist, you often read about the importance of maintaining your bike well ...
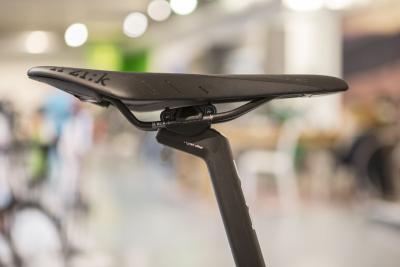
How to Determine the Correct Saddle Height
5 January 2018The correct saddle height and saddle position are essential for enjoyable and injury free rides on your road bike ...